
How to Install an Exhaust System in Car? Step-by-step
An exhaust system is an important part of any vehicle as it helps to remove the gases produced by the engine during combustion. The exhaust system comprises a series of pipes, mufflers, and other components that work together to ensure that harmful gases are expelled from the engine and released into the environment. Over time, the exhaust system can wear down or sustain damage, causing poor performance, fuel efficiency, and environmental hazards.
If your vehicle’s exhaust system is not functioning correctly, it can affect the performance of your vehicle and even lead to some health hazards. In this blog post, we will discuss how to install an exhaust system step by step.
In such cases, you may need to install a new exhaust system to restore the functionality of your vehicle. In this blog post, we will provide a detailed guide on how to install an exhaust system step by step.
- Steps to Install an Exhaust System in a Car
- Step 1: Gather the necessary tools and equipment
- Step 2: Choose the right exhaust system
- Step 3: Prepare the car
- Step 4: Remove the old exhaust system
- Step 5: Install the new exhaust system
- Step 6: Test the new exhaust system
- Step 7: Adjust the position of the exhaust system
- Step 8: Double-check and finalise
- Conclusion
1 Steps to Install an Exhaust System in a Car
Step 1: Gather the necessary tools and equipment
Before you start the installation process, ensure that you have all the necessary tools and equipment. Here are some of the tools you’ll need:
- Jack stands or car ramp
- Socket wrench set
- WD-40 or other lubricants
- New exhaust system (cat-back, axle-back, or header-back system)
- Safety glasses
- Gloves
Step 2: Choose the right exhaust system
Choosing the right exhaust system is critical in getting the desired outcome. You can either choose a cat-back, axle-back, or header-back exhaust system, depending on your needs. A cat-back exhaust system replaces the exhaust system from the catalytic converter to the muffler, while an axle-back exhaust system replaces the exhaust system from the rear axle to the muffler. A header-back exhaust system, on the other hand, replaces the entire exhaust system from the header to the muffler. Choose a system that matches your vehicle’s make and model, as well as your desired level of performance and sound.
Step 3: Prepare the car
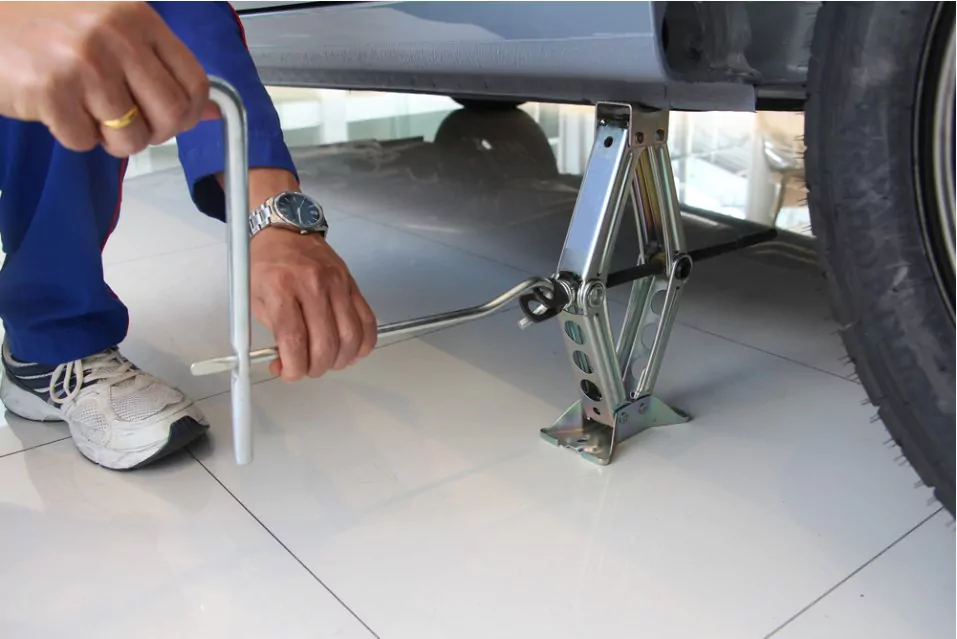
Before installing the new exhaust system, ensure that the car is parked on a flat surface and that the emergency brake is engaged. Next, use a car ramp or jack stands to lift the vehicle to a comfortable working height. You should also disconnect the battery to avoid any electrical shock during the installation process.
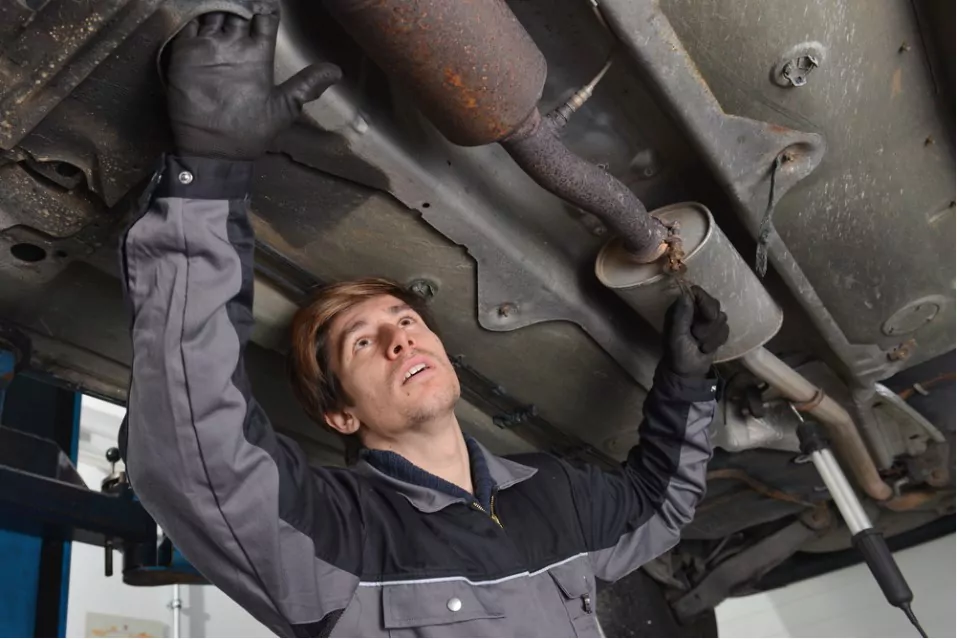
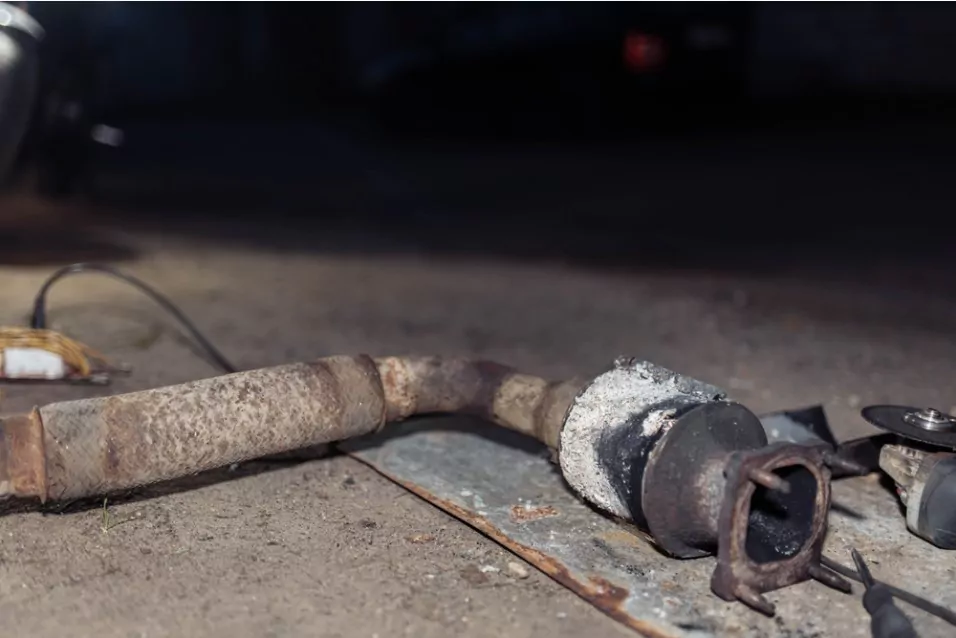
Step 4: Remove the old exhaust system

The next step is to remove the old exhaust system. Start by spraying WD-40 or any other lubricant on the exhaust system’s bolts, nuts, and hangers to loosen them. Then, use a socket wrench set to loosen the clamps that connect the exhaust system to the engine. Be careful not to damage the bolts and nuts or the exhaust system’s pipes. Once you’ve loosened the clamps, detach the exhaust system from the hangers and slide it out of the car.
Step 5: Install the new exhaust system
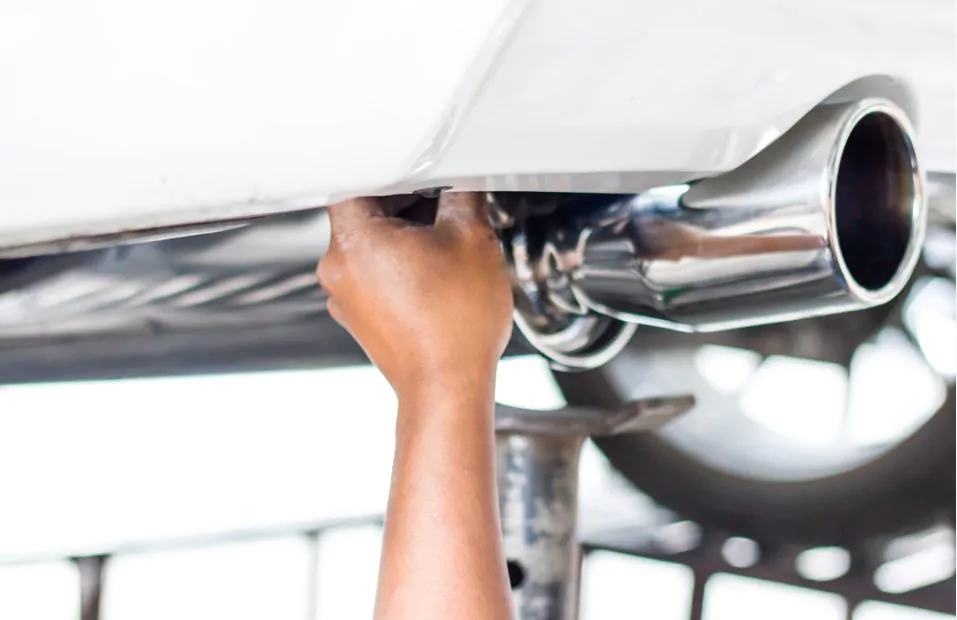
With the old exhaust system removed, it’s time to install the new one. First, attach the new exhaust system to the hangers on the car, ensuring that it’s aligned correctly. Next, attach the new exhaust system to the engine, starting from the rear and working your way forward. Use the clamps and bolts provided with the new exhaust system to secure it in place. Tighten the bolts and clamps to the manufacturer’s specifications using a torque wrench.
Step 6: Test the new exhaust system
After installing the new exhaust system, it’s essential to test it to ensure that it’s working correctly. Start the car and listen for any unusual noises. If you hear any strange sounds, turn off the car and check the exhaust system to ensure that everything is aligned correctly. You should also check for any leaks in the exhaust system. To do this, you can run your hand over the pipes and feel for any air escaping.
Step 7: Adjust the position of the exhaust system
In some cases, the new exhaust system may not be aligned correctly, causing it to rattle or scrape against the car’s undercarriage. To adjust the position of the exhaust system, use a rubber mallet or a jack to move the hangers and pipes into the correct position. Make sure that there is enough clearance between the exhaust system and the undercarriage or any other components of the car.
Step 8: Double-check and finalise
Once you’ve installed the new exhaust system, checked for leaks, adjusted its position, and tested it, it’s time to double-check and finalise the installation. Make sure that all bolts and clamps are tightened to the correct torque specifications. Reconnect the battery, and lower the car back to the ground. Start the car and listen for any rattling or scraping sounds. Take the car for a test drive to make sure that everything is working correctly.
2 Conclusion
Installing a new exhaust system is an excellent way to improve your vehicle’s performance, sound, and fuel efficiency. While the process may seem daunting, following the steps outlined in this blog post will make it more manageable. Remember to choose the right exhaust system, gather all the necessary tools and equipment, prepare the car, remove the old exhaust system, install the new one, test it, and adjust its position if necessary. With a little bit of patience and effort, you can install a new exhaust system and enjoy a better driving experience.
Also check our detailed guide on how to adjust your seat position for a safe driving experience.
Community Q&A
About This Article

This article has been viewed 700 times.

Featured Articles
 7 Best Car Vacuum Cleaners in India – For Clean & Tidy Car
 Best Car Air Purifiers in India – For Fresh & Healthy Drive