
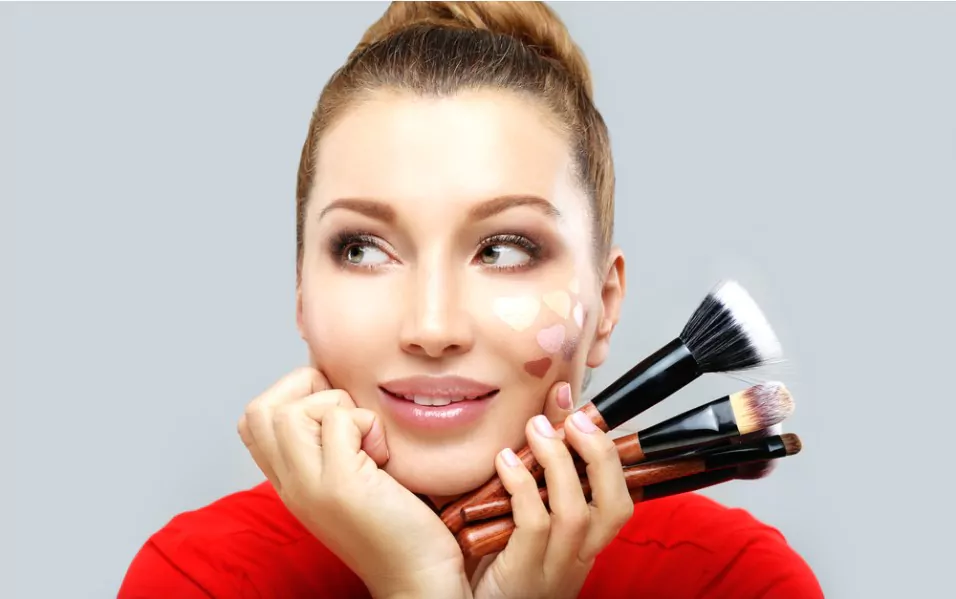
How to Use Highlighter Brush for Radiant Finish?
A highlighter brush is an essential tool in any makeup enthusiast’s kit, and for a good reason. It can transform a dull complexion into a radiant one in just a few swipes, creating an effortless, dewy glow that can enhance your features and add dimension to your face. However, using a highlighter brush may seem intimidating if you’re new to the world of makeup or haven’t used one before.
With so many different types of brushes and formulas available, it can be overwhelming to know where to start. Fear not, though, because, in this article, we’ll be providing you with a step-by-step guide on how to use a highlighter brush like a pro, no matter what your skill level is. From choosing the right brush to applying the highlighter to blending it seamlessly, we’ve got you covered. So, let’s get started and learn how to achieve that beautiful, luminous glow you’ve been dreaming of!
- Step by step guide on How to use a Highlighter Brush
- Step 1: Choose the Right Highlighter Brush
- Step 2: Apply Your Base Makeup
- Step 3: Choose Your Highlighter Product
- Step 4: Load Your Brush with Product
- Step 5: Apply the Highlighter to Your Face
- Step 6: Blend, Blend, Blend
- Step 7: Build Up the Intensity
- Step 8: Set Your Highlighter
- Step 9: Clean Your Highlighter Brush
- Wrapping Up
1 Step by step guide on How to use a Highlighter Brush
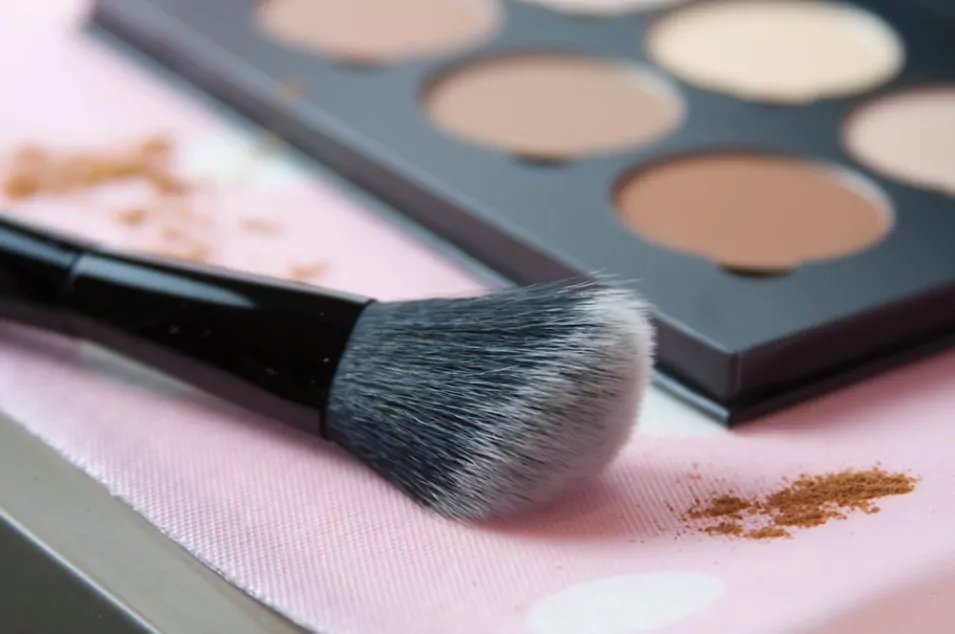
Step 1: Choose the Right Highlighter Brush
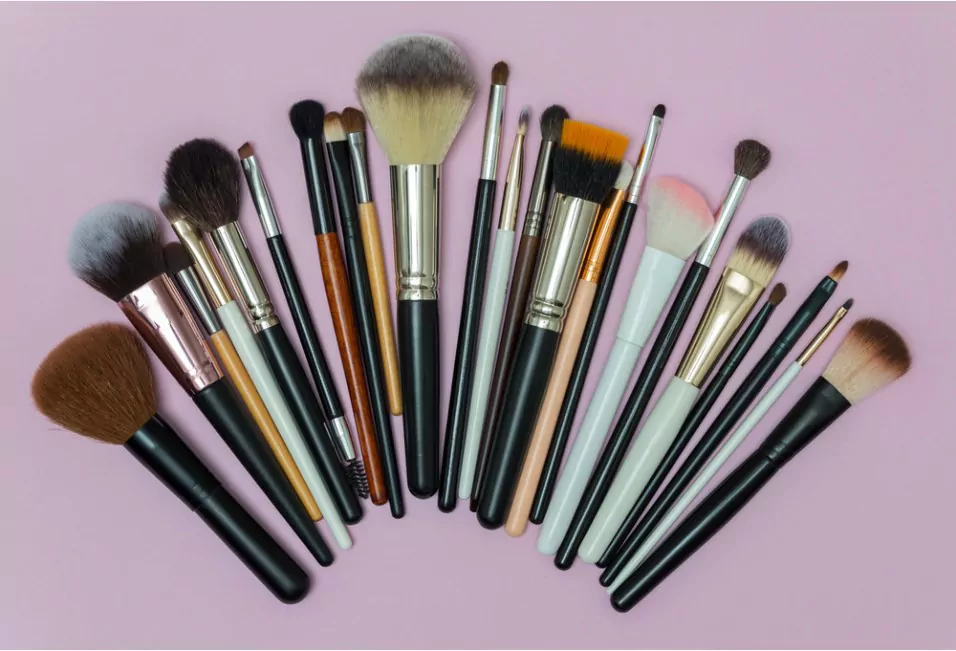
Before you start using your highlighter brush, it is essential to ensure that you have the right brush for the job. Highlighter brushes come in various shapes and sizes, so it is crucial to select one that suits your preferences and the type of product you are using.
Some of the most popular highlighter brush shapes include fan brushes, tapered brushes, and fluffy brushes. Fan brushes are excellent for applying a sheer layer of highlighter, while tapered brushes are perfect for precise application. Fluffy brushes, on the other hand, are ideal for blending and diffusing the highlighter product.
When choosing your highlighter brush, consider the size of the brush head, the type of bristles, and the density of the brush. A smaller brush head is better for precise application, while a larger brush head is great for sweeping the product across a larger area. Soft, synthetic bristles are perfect for creams and liquids, while natural bristles work well with powder products.
Step 2: Apply Your Base Makeup
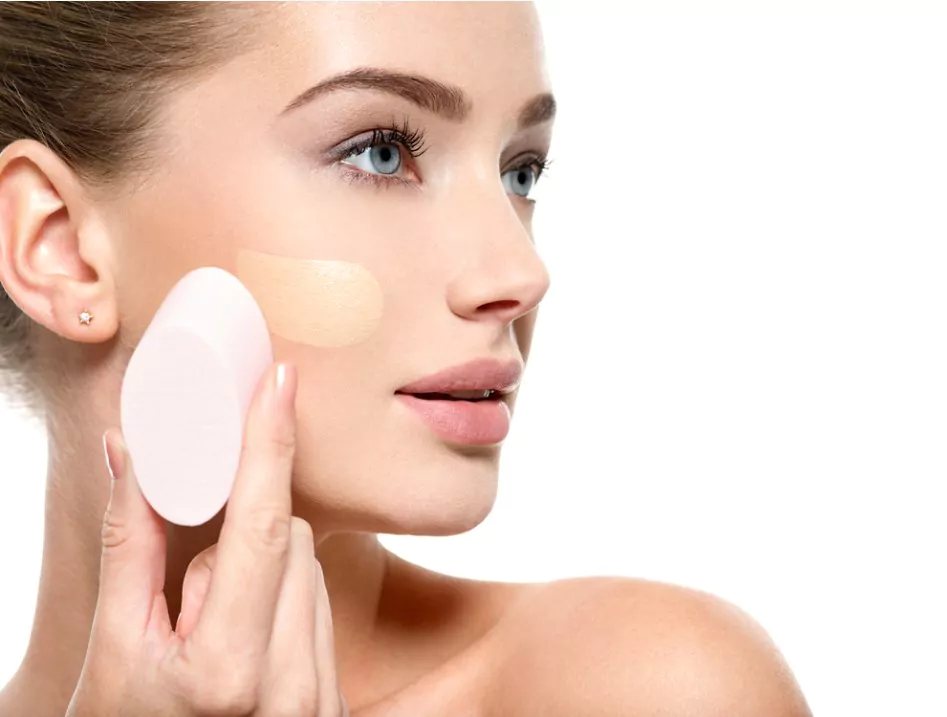
Before you apply your highlighter, it is essential to apply your base makeup. This includes foundation, concealer, and powder. Applying your base makeup first will ensure that your highlighter product sits smoothly on your skin and does not move around.
To apply your base makeup, start by applying a thin layer of foundation to your entire face. Use a concealer to cover any blemishes or dark circles, and then set your makeup with a light dusting of powder.
Step 3: Choose Your Highlighter Product
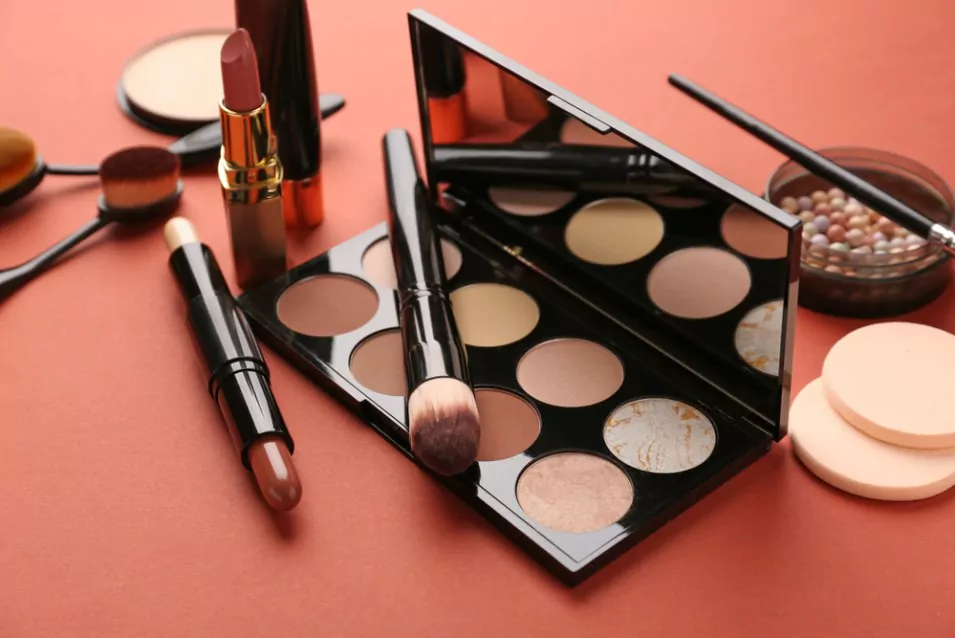
Highlighter products come in a range of formulas, including powders, creams, and liquids. Powder highlighters are easy to use and offer a subtle glow, while cream and liquid highlighters provide a more intense, dewy finish.
When selecting your highlighter product, consider your skin type and the finish you want to achieve. If you have oily skin, a powder highlighter may work best, while those with dry skin may prefer a cream or liquid product.
Step 4: Load Your Brush with Product
To apply your highlighter, you need to load your brush with the product. For powders, dip your brush into the product and tap off any excess. For creams or liquids, use a small amount of product and apply it directly to the brush.
It is essential to use the right amount of product. Too much product can make your highlighter look too intense and create a harsh line. Too little product, on the other hand, can make your highlighter appear barely visible.
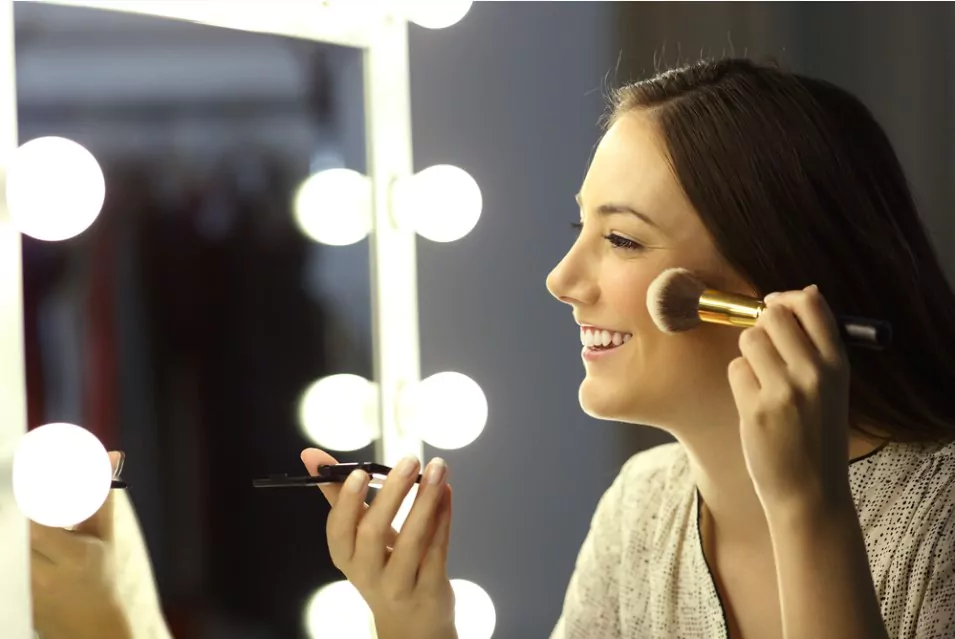
Step 5: Apply the Highlighter to Your Face
Once you have loaded your brush with the product, it is time to apply the highlighter to your face. Start by applying the highlighter to the high points of your face, including the tops of your cheekbones, the bridge of your nose, the Cupid’s bow, and the inner corners of your eyes.
When applying the highlighter, use a light hand and blend the product into your skin. The goal is to create a natural-looking glow, not a streaky or overly-shimmery finish.
Step 6: Blend, Blend, Blend
After applying your highlighter, it is essential to blend the product into your skin. This will ensure that your highlighter looks seamless and natural.
Use a clean, fluffy brush to blend the highlighter into your skin. This will help to diffuse any harsh lines and create a natural-looking glow. Blend the highlighter outwards towards the edges of your face to create a gradient effect.
Step 7: Build Up the Intensity
If you want to intensify your highlighter, you can build up the product gradually. Apply a small amount of product at first, and then add more as needed. This will help you to achieve the level of intensity you desire without going overboard.
Remember, less is more when it comes to highlighter. It is easier to build up the intensity than to remove excess product.
Step 8: Set Your Highlighter
To ensure that your highlighter lasts all day, it is essential to set it with a setting spray or powder. This will also help to prevent any oil or sweat from interfering with your highlighter.
If you are using a powder highlighter, you can set it with a setting spray or powder. If you are using a cream or liquid highlighter, set it with a translucent powder to prevent it from moving around.
Step 9: Clean Your Highlighter Brush
After using your highlighter brush, it is essential to clean it thoroughly. This will help to prevent any bacteria from building up on the brush and causing breakouts.
To clean your brush, use a brush cleanser or gentle shampoo. Wet the brush with warm water, and then apply the cleanser to the bristles. Gently massage the bristles with your fingers, and then rinse the brush under warm water until the water runs clear. Gently squeeze out any excess water and reshape the bristles, and then leave the brush to air dry.
2 Wrapping Up
Using a highlighter brush is an excellent way to add dimension and radiance to your makeup look. By following these steps, you can achieve a natural-looking glow that enhances your features and creates a flawless complexion. Remember to choose the right highlighter brush for your needs, apply your base makeup first, use the right amount of product, blend well, and set your highlighter to ensure that it lasts all day. With these tips, you can create a beautiful, glowing look that will make you feel confident and radiant.
Community Q&A
About This Article

This article has been viewed 872 times.

Featured Articles
 Best Trimmers for Men under 2000 to Buy – Detailed Review
 Best Beard Growth Oil in India for Thick Beard – Reviews