
How to Whip Cream in Mixer Grinder [6 Easy Steps!]
Let’s admit that adding whipped cream to our favorite dishes has its own kind of fun!
Making Whipped cream at the ease of your home has its own perks.
Did you know you can whip cream even without conventional hand blenders with the help of a mixer grinder?
It’s a different kind of enjoyment when you can add this cream to a boring but healthy Indian breakfast. Now, you can slurp your boring food with creamy lustrous whipped cream and get your mood set for the day.
Here is a simple guide on How to Whip Cream? Let’s check it out here!
Whipped cream: Our Dessert hero!
Whipped cream is a jack-of-all ingredients when the name of dessert pops up!
Just add some whipping cream and any recipe becomes the dish fit for the gods!
You can use whipping cream with almost anything!
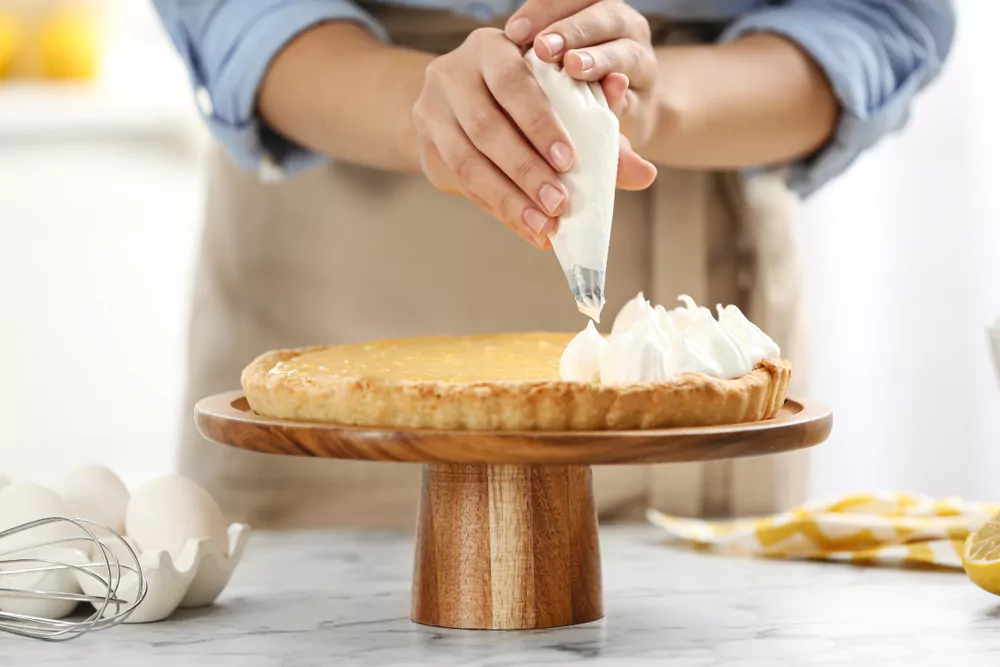
Obviously, whipped cream is prominently used as a frosting over cakes, and also works as a topping for pancakes, trifles, and many more desserts along with a black coffee recipe for a perfect healthy breakfast.
But did you know that you may serve many fruit dishes with freshly whipped cream?
And yes one more thing, To get instant chocolate frosting, we simply need to add melted chocolate in your homemade whipped cream!
Apart from the lockdown’s famous Dalgona trend to popular varieties of coffee, we can add cream’s beauty to our lemon cheesecake shots, Jell-O, tiramisu, etc.
Well, the list is endless…
1 Why Homemade Whipped Cream?
What happens when you run out of whipped cream brought from the grocery shop?
Chaos! Nope!
You can make whipped cream just by using your one and only life-long companion: Your mixer grinder!
Plus, you can earn certain benefits from homemade cream:
1. You cream, your taste!
Canned creams come with kind of a boring & plain taste. At home, you can decide the sugar amount and also the type.
From our experience, freshly made cream at home tastes much better than canned and frozen one’s synthetic taste!
2. You cream, your flavors:
Canned creams are mostly plain, flavorless.
Some brands sometimes use artificial flavorings. Some people might not like it.
You can add the flavor of your choice or can leave it fully organic.
3. More texture:
Homemade cream won’t be full of air like cream bought from outside.
It will give a richer texture to your cream.
Plus it won’t melt down easily.
2 How to Whip Cream using Mixer Grinder?

By loading the video, you agree to YouTube’s privacy policy.
Learn more
Things you need for making whipped cream:
- One Mixer grinder
- One mixing bowl
- Cold heavy cream or heavy whipping cream
Buy Whipping Cream Powder at affordable prices here:


4. Vanilla Extract
Buy Vanilla Extract at affordable prices here:

")
5. Sugar


An important note regarding sugar:
When you start googling about HOW TOs, you get tons of suggestions from so many bakers! Some bakers suggest using confectioners’ sugar, some suggest using granulated one.
Well, it doesn’t matter if your target is just a cup full of whipped cream! But for larger batches, you should carefully choose your sugar.
In the case of granulated sugar, It is preferable to add a well-measured amount from the very beginning so you can have sufficient time to let it dissolve totally. Otherwise, it may result in grainy or too sweet cream!
On a quick note, let’s check some GK Facts:
As we have added vanilla extract in our Whipped Cream, The French savor their tongs by calling it ‘Crème Chantilly’‘!
3 Step by Step making Whipped Cream Using a Mixer Grinder
Whipping cream in a mixer is quite easy, hassle-free & convenient in case if you don’t have a hand whipper or electric beater.
Follow these very simplest steps without breaking the wrong tree, & get handmade whipped cream for your favorite dishes!
Step 1:
Collect all the ingredients mentioned above.
Tips:
Be aware of the amount you need, as the cream’s volume increases twice after whipped.
Step 2 :
- While making Whipped cream, The temperature plays an essential part!
- Before whipping, it is essential to store both your bowls, grinder’s vessel & also the cream into deep freezing(three to four hours for better result) and let them get chilled as much as possible.
Tips:
Choose metal or glass vessel for good chilling & better results.
Step 3:
- Start whipping in a mixer from very moderate speed.
- Make sure to run the mixer for a calculated timing precisely.
- Also, run the mixer in the same direction while whipping.
- Keep checking the progress while running the mixture by frequently checking from the upper lid.
Tips:
When you run the mixer, start from a moderate speed for whipping, & then increase the speed step by step to avoid wastage & maintain a creamy texture.
You can get a faint idea of progress from the sound your mixer makes.
At the initial stage, you can hear some friction, but after some instances, you can only hear the mechanical swirling sound of the mixer.
Which means your whipping cream has begun to take shape.
Step 4:
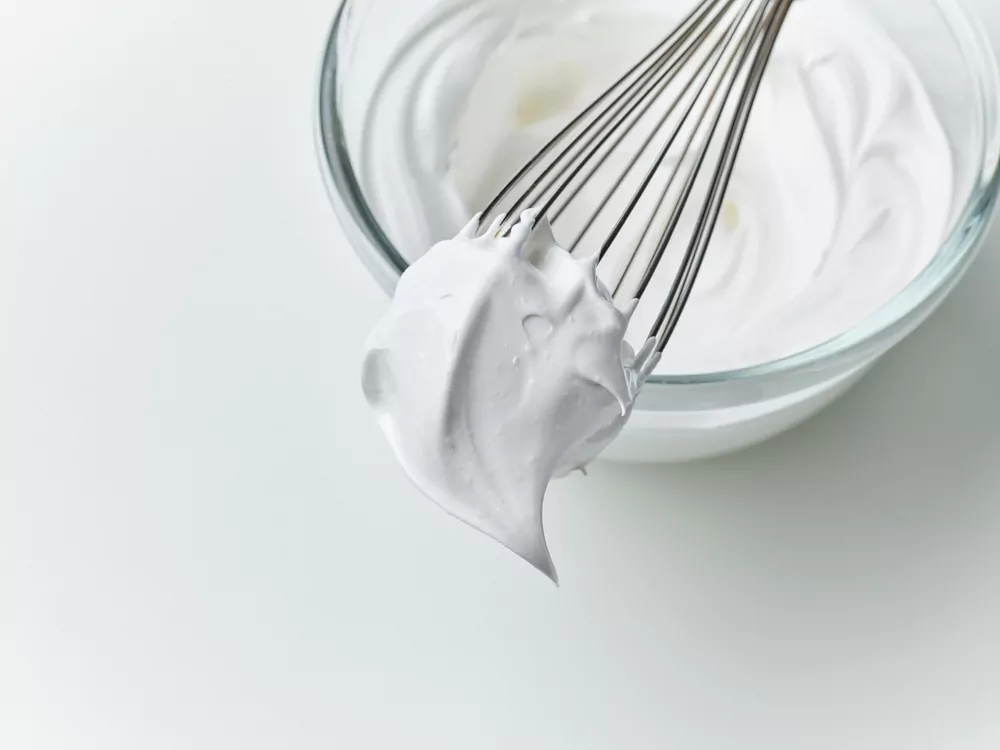
- When you hear a fine blending sound, open the mixer & check for the peak stage of cream.
- Initially, it would be at the soft peak stage.
- If the soft peak stage is what you desired, stop here.
- To gain more stiffness, continue the next steps.
- The timing decides the peak stage of your cream. & the peak stage describes the creaminess and softness of the cream.
- So, your cream, your choice!
Tips:
It is better not to over whip your cream, which means not to run the mixer for more time than needed for your choice of the peak.
To know more about the type of peaks, keep reading the article.
Step 5:
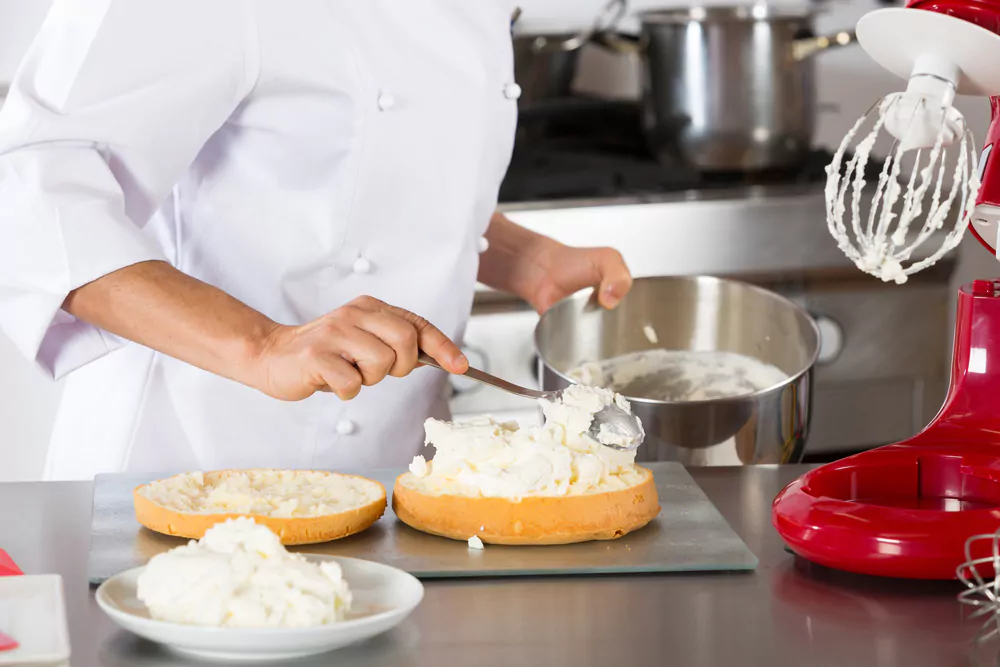
- It’s time to Sweeten your cream!
- Decide the amount of sugar as per the quantity of the cream and your taste.
- Do not forget to read the ‘An important note regarding sugar’ section mentioned above.
- Also, add a little amount of vanilla extract.
Step 6:
- Start running the mixer at a higher speed now.
- From the opening of the upper lid, Do keep checking the cream’s stiffness.
- Stop immediately when you see the cream at the perfect peak stage.
- Voila! Your cream is ready to serve!
Tips:
It’s better to use cream just when you make it, or cover it & chill it.
Frozen cream might lose that charm but can get a firm shape for better frosting.
In both ways, You can still get goody-good outputs by acting smartly!
See, Easy-Peasy, Lemon Squeezy!
4 Tips to protect you from tipping over the peaks
How to decide the type of peaks of your cream?
After whipping your cream for few minutes in the mixer, Lift the lid to check the edges of the cream with your spoon.
This granular texture & softness shows the peak stage of your cream.
5 Types of Peaks in Whipped Cream
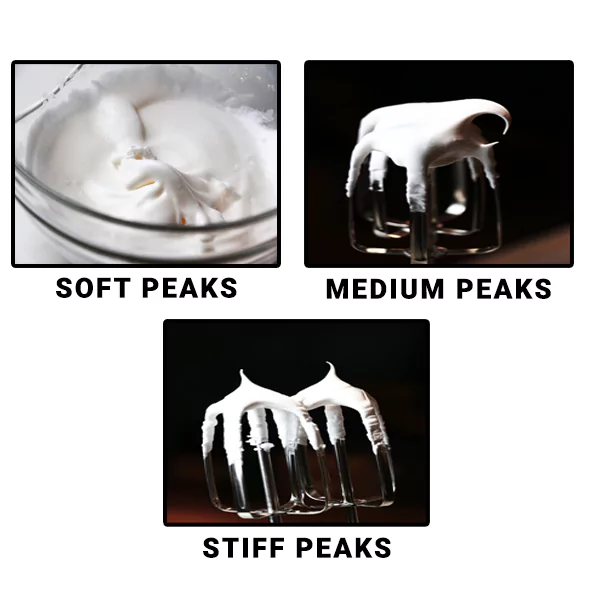
Soft peak stage:
After whipping for a certain time, your cream will start gaining volume & thickness.
If your cream curls down & slip back then it’s at its soft peak stage.
Medium peak stage:
At medium peak form, your cream’s texture would be firm & glossy.
It will slip slowly & will hold its form better.
Stiff Peak stage:
In a stiff peak stage, the cream would be more firm & stable.
Nothing will slip down from the spoon In a better condition.
Your cream is ready. So, either store it in the freezer or use it immediately!
Over-whipped stage:
When whipped for more than the required time, the fat of cream and water get separated.
So your cream gains rough structure.
You can see small clots appearing.
If this happens, the nightmare has come true.
You need new cream, a new batch, & a new hope!
Tip:
It is better to whisk the cream for more time & make butter rather than wasting the cream.
What to do when the ship has sailed already?
Making a whipped cream may sound like child’s play but you need to be careful at some aspects!
Make sure you don’t over-whisk your cream!
It just needs few seconds and voila! You reach from creamy whip to grainy disaster!
And if a nightmare comes true, your whip turns into butter!
Remedies:
If your cream is stiffened into clots but not torn out like shown in the image, then there’s still hope!
Just add a few spoons of fresh cream to your bowl and whip it in the mixer.
Your cream can return it to its smooth, creamy texture again.
Community Q&A
About This Article

Shreyal Shingala is a Content Writer and also a Product tester at BestCheck. Overseeing the content and products, she edits our preceding articles too. Along with that, she loves to spend time with her family when she got her leisure time. Previously, she worked as a content writer and researcher for a digital marketing agency and has written in different niches like blogs, comparison guides, entertainment, and many more.
This article has been viewed 2468 times.

Featured Articles
 How to Make Crispy Dosa at Home? Crispy Dosa Recipe
 Maggi Mania: The Best Recipe on How to make Maggi Noodles?