
Calligraphy for Beginners: A Guide to Mastering the Art
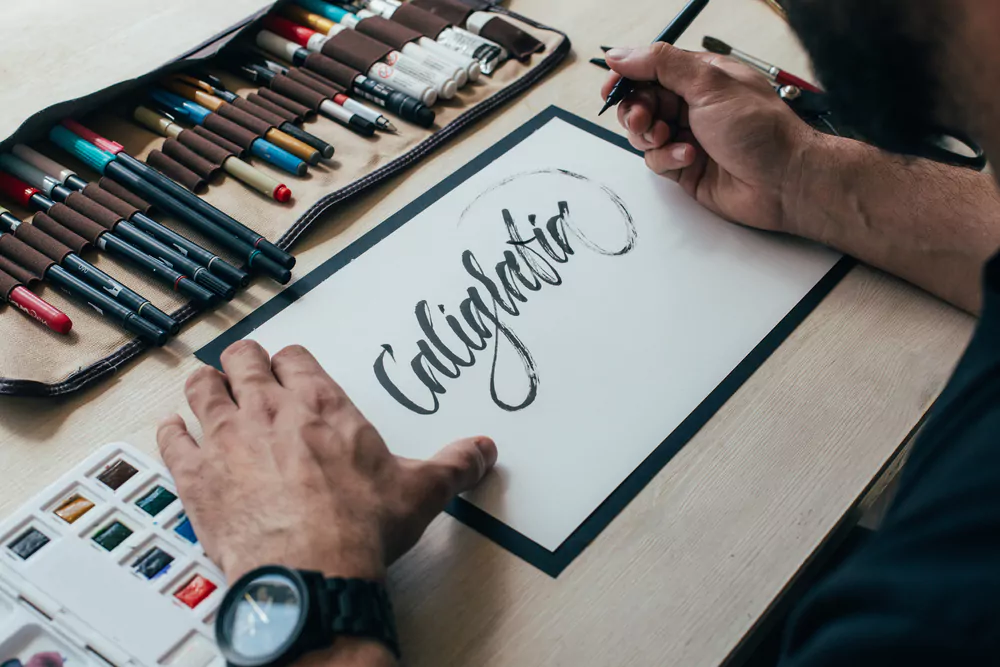
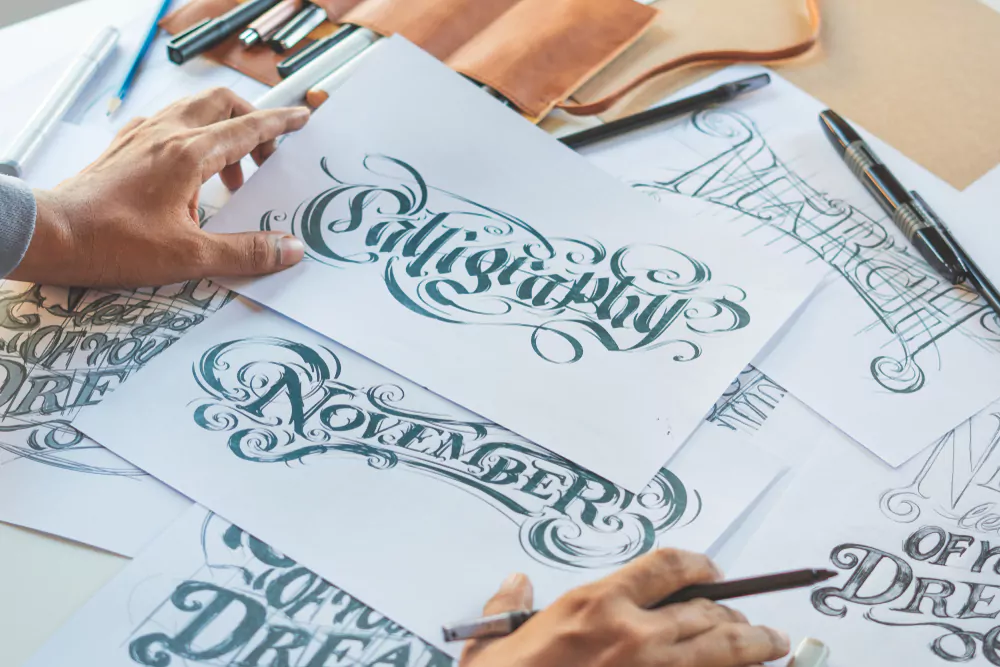
Derived from the Greek words ‘kallos’ which signifies ‘beauty,’ and ‘graphein’ translating to ‘write,’ Calligraphy is the captivating art of aesthetically pleasing and expressive writing. Steeped in history, it has shaped cultures, inspired literature, and continues to be a revered art form across the globe. It is a dance of text on paper, making the act of writing a visually enchanting experience.
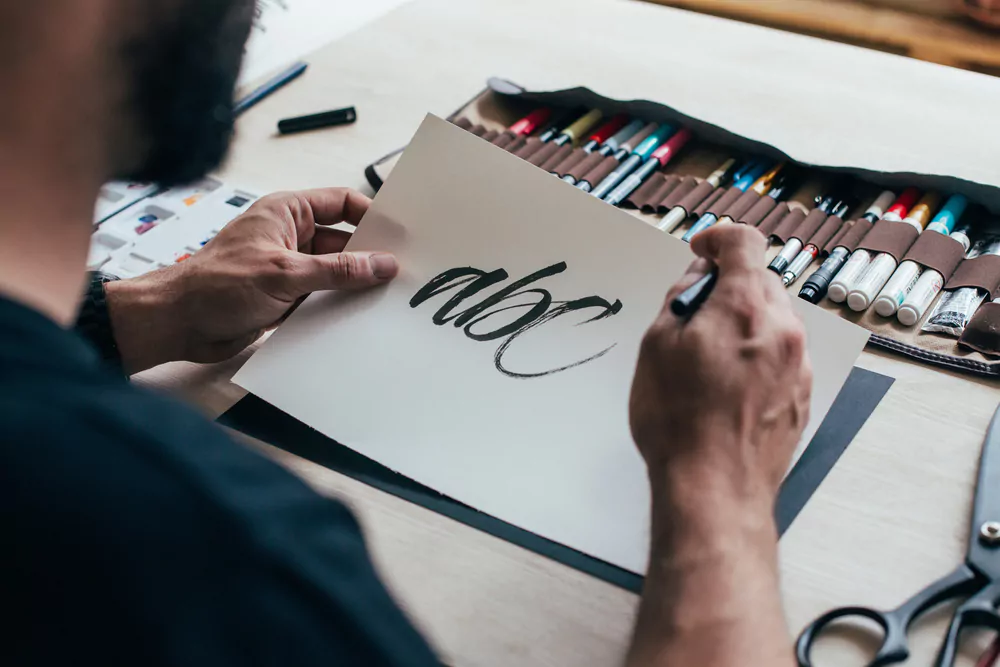
At first glance, calligraphy for beginners may seem intimidating. The delicate curves, intricate strokes, and varying line widths, all meticulously formed to create harmony, can appear daunting to the untrained eye. However, calligraphy, as intricate as it might appear, is not an exclusive art form reserved for the exceptionally artistic or the professionally trained.
Learning calligraphy can be a fun and enriching journey, a gradual discovery of your personal style, and an exploration of your creative potential. If you’re ready to embark on this exciting journey, you’re in the right place! This comprehensive guide is designed to help beginners like you understand the basics of calligraphy, introduce you to the essential tools, and provide step-by-step instructions to get you started on your calligraphy adventure.
Regardless of your artistic background, with the right guidance, practice, and a dash of patience, you’ll be well on your way to creating beautiful letters in no time. So, let’s begin this fascinating journey of loops, swirls, and flourishes that make up the world of calligraphy.
1 Why Calligraphy?
Before diving in, let’s understand why calligraphy is a skill worth learning. First, it’s an excellent creative outlet that offers a different kind of satisfaction from regular handwriting. Secondly, it’s a versatile skill that can be used in multiple ways, such as creating personalized greeting cards, wall art, wedding invitations, and more. Plus, in the digital age where typing is the norm, calligraphy offers a hands-on, tangible connection to our words.
2 Tools for Calligraphy
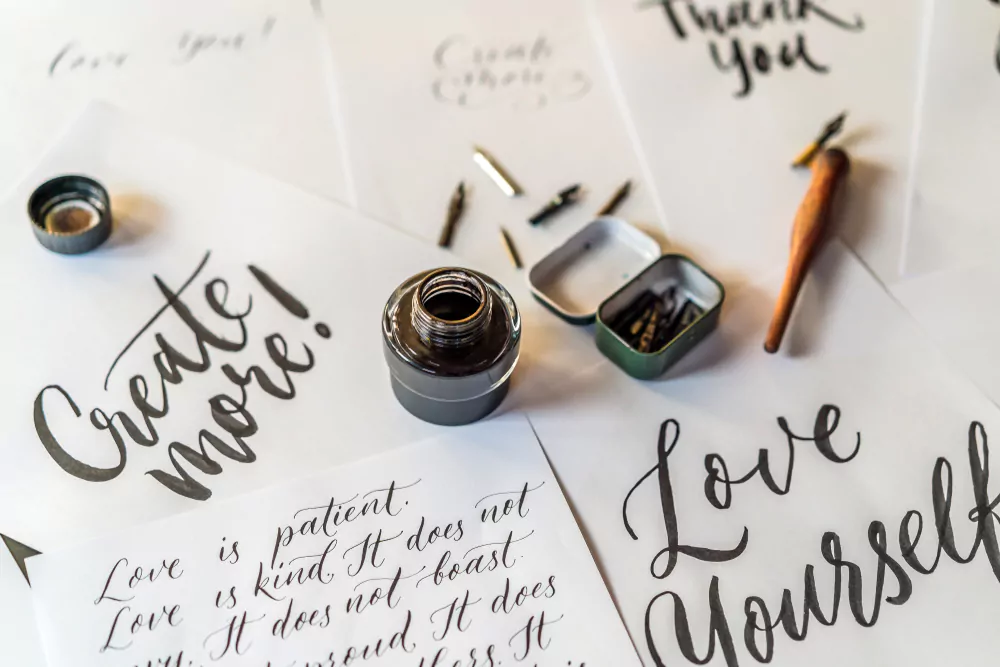
One of the first steps towards learning calligraphy is understanding and gathering your tools. Here are the essentials:
Calligraphy Pens: There are three main types: dip pens, fountain pens, and calligraphy markers. For beginners, calligraphy markers are the easiest to use as they do not require you to dip the pen in ink regularly.
Ink: If you choose to use a dip pen, you’ll need to buy ink separately. You can find this in a variety of colors.
Paper: Special calligraphy paper is recommended as it’s thicker and smoother, preventing the ink from bleeding. However, any high-quality, thick paper will suffice for beginners.
Ruler and Pencil: These are essential for drawing guidelines to keep your writing straight and consistent.
Eraser: To erase the pencil lines after your ink has dried.
3 Basic Principles of Calligraphy
Understanding the Anatomy of Letters

In calligraphy, the letterforms are made up of a combination of basic strokes. These are the upstroke (thin), downstroke (thick), over-turn, under-turn, compound curve, oval, and the loop. The shapes and sizes of these strokes vary from script to script, but the fundamental concept remains the same.
Learning to Control Pressure
The unique characteristic of calligraphy is the variation in line width within a single stroke. This is achieved by varying the pressure applied to the pen. Generally, upstrokes are light and thin, and downstrokes are heavier and thicker. This requires a good understanding and control of your pen.
Maintaining Consistency
Consistency is key in calligraphy. Consistent spacing, consistent shapes, and consistent slant give your writing a rhythm and make it aesthetically pleasing. It’s not about creating perfect letters, but rather about creating letters that work well together.
4 Steps to Learning Calligraphy
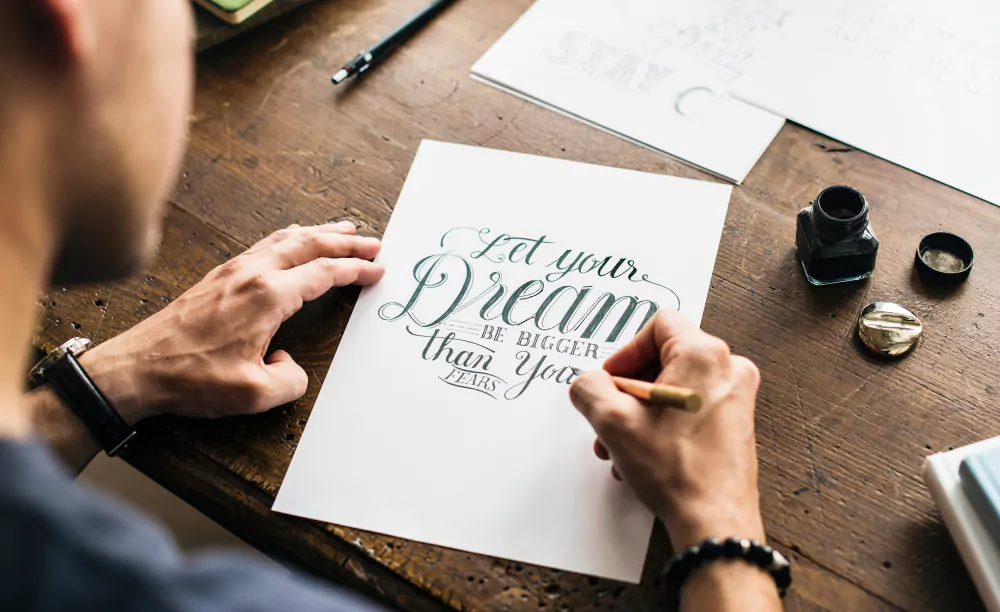
Step 1: Understanding Your Tools

Start by getting a feel for your tools. Hold the pen at a 45-degree angle. This allows the nib to flex and create the thick and thin lines characteristic of calligraphy. Practice applying different amounts of pressure and see how the line changes.
Step 2: Basic Strokes
Before you dive into letters, it’s important to practice the basic strokes. Use your guide sheet and draw lines to create the different strokes: thin upstrokes and thick downstrokes, ovals, loops, etc. This will not only help you control your pen but also familiarize you with the shapes that make up the letters.
Step 3: Lowercase Letters
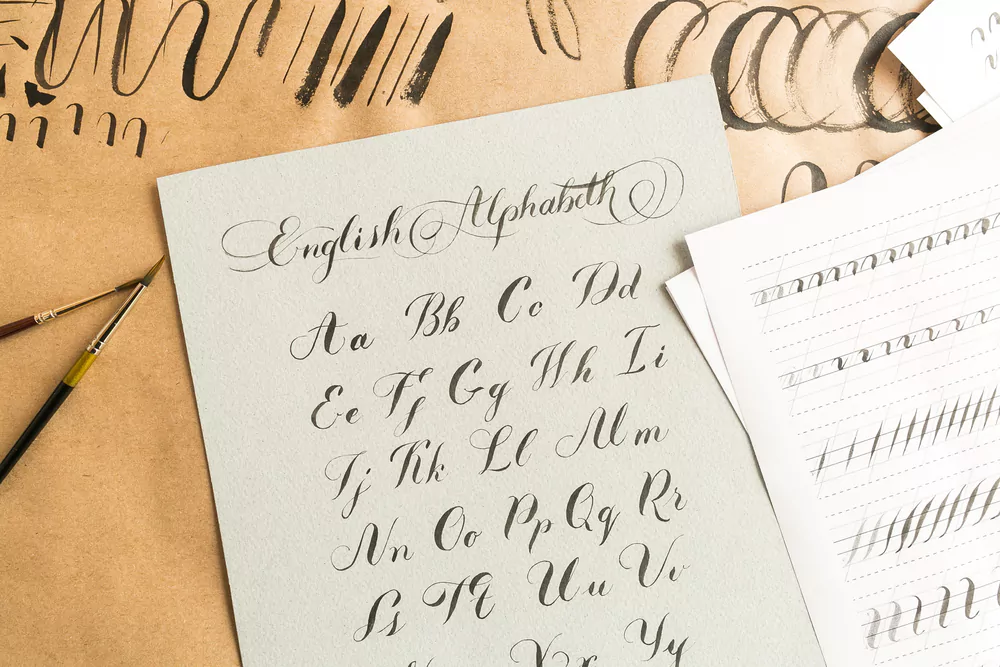
Once you’re comfortable with the basic strokes, you can move on to lowercase letters. It’s best to start with these as they make up the majority of our writing and they are generally simpler to form than uppercase letters. Use an exemplar (a guide showing how to form each letter) as a reference. Remember, letters are made up of combinations of the basic strokes you’ve practiced. Try to identify these strokes within each letter.
Step 4: Uppercase Letters
After mastering lowercase letters, you can move on to uppercase letters. These are generally more complex and varied than lowercase letters. Again, use an exemplar as a guide. You’ll find that the strokes you practiced are used here too, just in different combinations.
Step 5: Connecting Letters
Now that you’re comfortable forming individual letters, it’s time to start connecting them. In calligraphy, not all letters connect and the ones that do may not connect as you’d expect. A good exemplar will show you how to correctly connect letters. Practice writing short, common words to start.
Step 6: Practicing Regularly
Like any skill, calligraphy requires regular practice. Try to dedicate a little time each day to writing. It doesn’t matter what you write – it could be your name, a favorite quote, or even the alphabet. The more you practice, the more muscle memory you’ll build, and the better you’ll become.
5 Tips and Tricks for Calligraphy Beginners
- Patience is Key: Remember, calligraphy is a skill that takes time to master. Don’t be disheartened if your work isn’t perfect from the start.
- Guide Sheets: These are your best friends when starting. They help maintain consistency in your writing.
- The Right Environment: Make sure you have good lighting and a comfortable seat. It’s easier to produce beautiful writing when you’re comfortable and can see clearly.
- Cleaning Your Nibs: If you’re using a dip pen, ensure that you clean your nibs properly after each use to avoid clogging.
- Join a Community: There are many online communities and forums for calligraphy where you can share your work, get feedback, and find motivation.
6 Conclusion
Calligraphy is a beautiful art form that anyone can learn with patience and practice. It’s a journey of continuous learning, and the beauty of it is that there’s always something new to learn. From mastering the basic strokes to writing full sentences and paragraphs, each step in your calligraphy journey is rewarding and fulfilling.
Remember, it’s not about perfection, but about progress. Even the most experienced calligraphers were once beginners. With dedication, patience, and practice, you too can master the art of beautiful writing and explore the endless creative possibilities that calligraphy offers.
So, why wait? Grab your pen and paper, and start your calligraphy journey today!
Community Q&A
About This Article

Hardik Jethva is an experienced author of the BestCheck family. Working from scratch, he has developed an amazing interest in testing and writing about different products in a transparent manner. His writing skills got more audience for BestCheck. Apart from his professional life, Hardik has his eyes on travelling, meditation, eating healthy food, socializing with people, and car rides.
This article has been viewed 476 times.

Featured Articles
 How to Hide Reels on Instagram? An Ultimate Guide
 How to Add Stop in Ola? A Step-by-Step Guide