How To Clean Baby Bath Seat Effectively?
As parents, we always prioritize the safety and well-being of our little ones. Among various baby products, bath seats are an essential item, playing a critical role in ensuring a safe and enjoyable bathing experience. However, the moist and warm environment of bathrooms makes bath seats susceptible to mould, mildew, and bacterial growth. Regular and thorough cleaning of your baby’s bath seat is not just a matter of cleanliness; it’s a critical step in safeguarding your child’s health. This guide is your one-stop resource for understanding and mastering the art of how to clean baby bath seat and keeping it hygienic.
1 Understanding Your Baby Bath Seat
Types of Baby Bath Seats
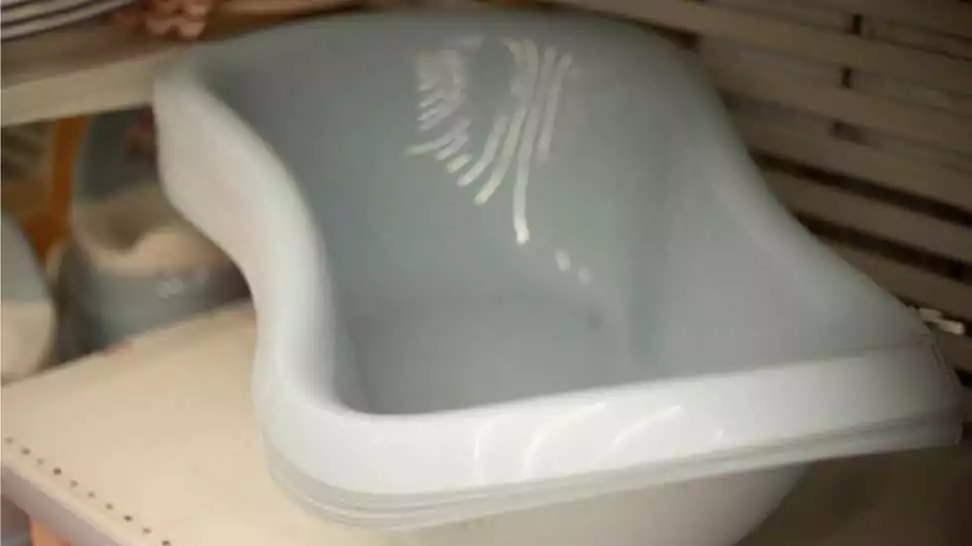
Baby bath seats come in a variety of materials, each requiring specific care:
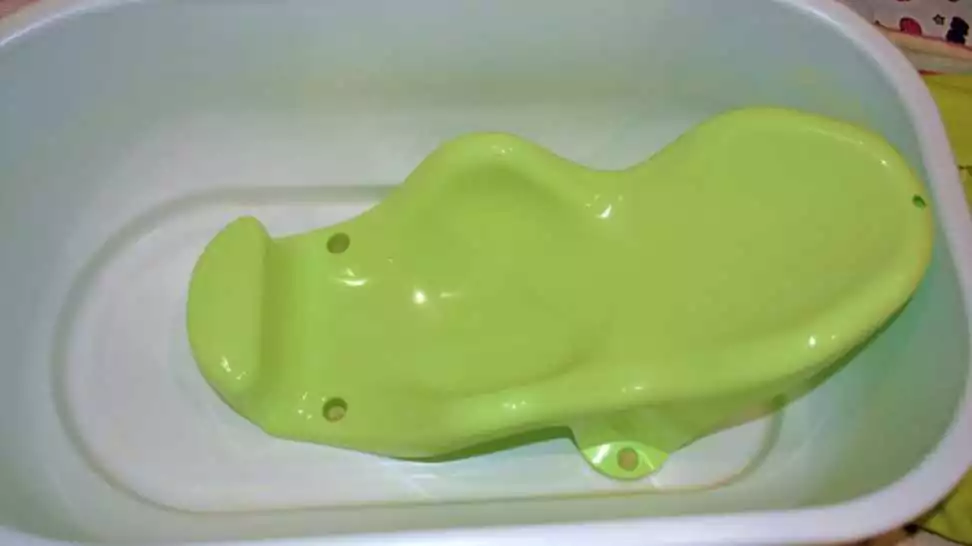
- Plastic Bath Seats: These are the most common. Durable and easy to clean, plastic bath seats can typically handle stronger cleaning agents. However, they can also be prone to soap scum build-up and may require regular deep cleaning.
- Mesh or Fabric Bath Seats: Designed for comfort, these seats require gentle cleaning. Mesh seats are prone to absorbing soap and water, which can lead to mould if not properly dried and cleaned.
- Foam Bath Seats: Soft and cushiony, these seats are perfect for newborns but can be challenging to keep clean. Foam is highly absorbent and requires thorough drying to prevent mildew.
Importance of Regular Cleaning
Regular cleaning is not just about maintaining the appearance of the bath seat; it’s crucial for your baby’s health. Here’s why:
- Preventing Mould and Mildew: Bath seats are constantly exposed to water and humidity, ideal conditions for mould and mildew growth. These can cause respiratory issues and skin irritation in babies.
- Eliminating Bacteria: Babies have sensitive skin and underdeveloped immune systems. A bacteria-laden bath seat can lead to skin rashes and other infections.
- Ensuring Overall Hygiene: A clean bath seat is part of a hygienic environment for your baby. Regular cleaning ensures that your baby’s bath time is safe and healthy.
2 Pre-Cleaning Preparations
Before diving into the actual cleaning process, proper preparation is key. This ensures that you have everything you need at hand and that the bath seat is ready to be cleaned effectively and safely. Here’s how to get started:
Gathering Necessary Supplies
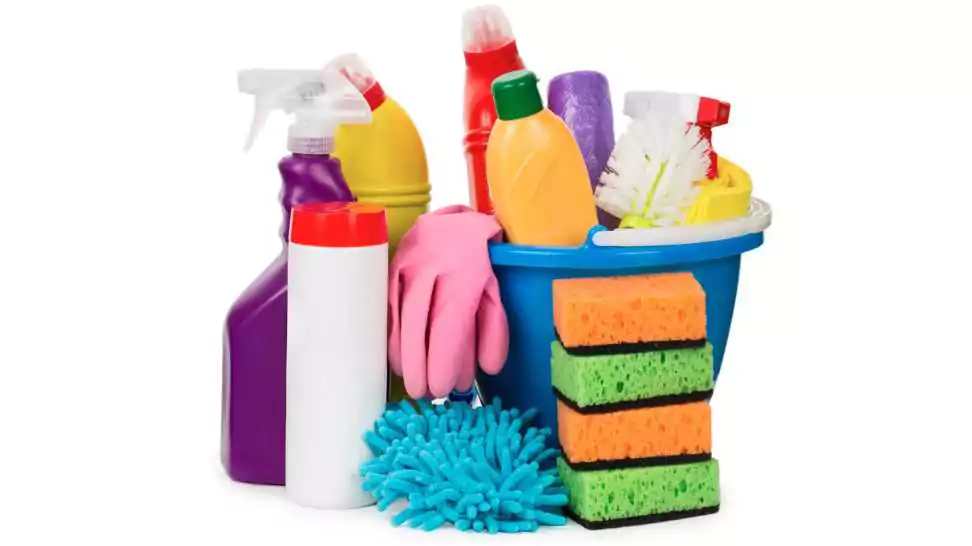
Having the right cleaning materials is crucial for an efficient and safe cleaning process. Here’s a list of items you should have:
- Gentle Detergents: Choose mild, baby-safe detergents. Harsh chemicals can harm the seat’s material and pose health risks to your baby.
- Soft Brushes or Sponges: These are essential for scrubbing without scratching the surface of the bath seat. Soft bristles are particularly important for mesh or fabric seats.
- Microfiber Cloths: Perfect for wiping the seat after cleaning, as they are gentle and highly absorbent.
- White Vinegar: An excellent natural disinfectant, ideal for dealing with mould and mildew, especially on plastic seats.
- Baking Soda: Useful for removing tough stains and neutralising odours, particularly in fabric seats.
- Toothbrush: A small toothbrush can get into nooks and crannies, especially in areas where mould tends to accumulate.
- Bucket or Basin: For mixing cleaning solutions or holding water for rinsing.
- Towels: Handy for drying the seat after cleaning.
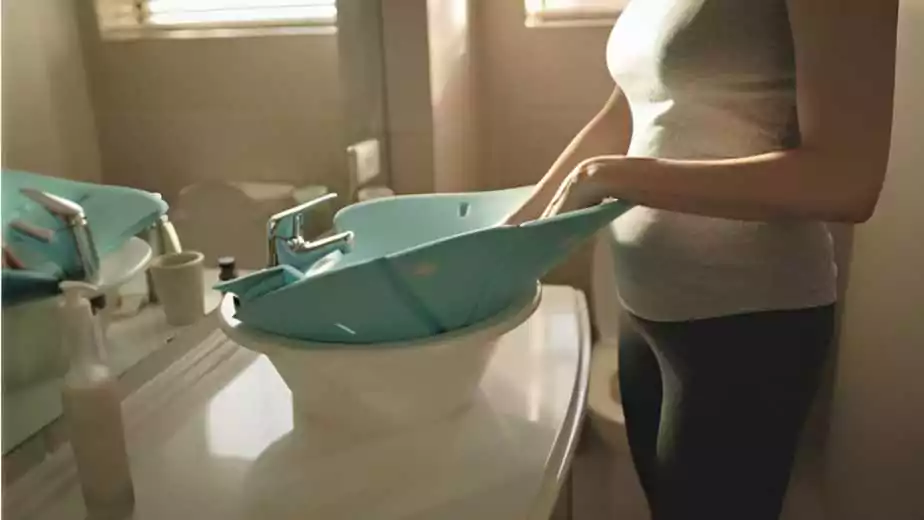
Preparing the Bath Seat
Depending on the type of bath seat you have, some dismantling might be necessary to clean every part thoroughly:
- Read the Manufacturer’s Instructions: Before disassembling, check the manual for specific instructions. This ensures you won’t damage the seat and will reassemble it correctly.
- Remove Soft Parts: If your seat has removable fabric or foam parts, take them off. These will often need separate, more gentle cleaning.
- Disassemble Removable Components: Some seats come with detachable parts for easier cleaning. Remove these parts and clean them separately.
- Check for Areas with Mould and Mildew: Before cleaning, inspect the seat for any signs of mould or mildew, especially in hidden spots or under suction cups.
3 Step-by-Step Cleaning Process
Cleaning your baby’s bath seat doesn’t have to be a daunting task. By following these simple steps, you can ensure a thorough cleaning that keeps the seat safe and hygienic for your little one.
Step 1: Rinsing Off Visible Debris
The first step is to rinse off any loose dirt and grime. This can be done in a few simple ways:
- Use Lukewarm Water: Run the bath seat under lukewarm water. This helps to loosen and remove any surface dirt.
- Gentle Tapping: For mesh or fabric seats, gently tap them to shake off any loose debris.
- Soft Brushing: Use a soft brush or cloth to lightly brush off visible dirt, especially from nooks and crannies.
Step 2: Applying Cleansers
It’s essential to use safe, baby-friendly cleaning agents to avoid any harmful residues:
- Dilute Gentle Detergent: Mix a mild, baby-safe detergent with water in a bucket or basin. For natural options, you can use a solution of white vinegar and water.
- Apply the Solution: Use a sponge or cloth to apply the cleaning solution to the seat. Ensure all surfaces are covered, especially areas that are frequently touched.
- For Tough Stains: Apply a paste of baking soda and water directly on stains, particularly on fabric or foam parts.
Step 3: Scrubbing and Deep Cleaning
This step involves a more thorough cleaning, especially for areas prone to mould and bacteria build-up:
- Soft Brush for Scrubbing: Use a soft brush or toothbrush to gently scrub the seat. Pay special attention to crevices, seams, and any areas with visible mould or mildew.
- Circular Motions: Clean with circular motions to ensure that all areas are covered.
- Gentle on Fabric: For fabric seats, use a softer brush and scrub gently to avoid damaging the material.
Step 4: Rinsing and Checking for Residues
The final step is crucial to ensure that no cleaning agents are left on the seat:
- Thorough Rinsing: Rinse the seat thoroughly with clean water. Make sure all soap suds and cleaning solutions are washed away.
- Check for Residues: After rinsing, inspect the seat closely for any soap residues or remaining dirt.
- Drying: Allow the seat to air dry completely before reassembling or storing it. This prevents mould growth due to moisture.
4 Drying and Reassembling
After thoroughly cleaning the bath seat, the next crucial steps are effective drying and proper reassembly. These steps are essential to ensure the longevity of the seat and the safety of your baby.
Effective Drying Techniques
Proper drying is key to preventing mould and mildew growth. Here are some tips to dry the bath seat effectively:
- Air-Drying: The best way to dry a bath seat is to let it air dry in a well-ventilated area. Place it in a position that allows air to circulate freely around all parts, including underneath and in between any crevices.
- Towel-Drying: If you’re in a hurry, gently pat the seat dry with a clean, absorbent towel. Make sure to get into all the nooks and crannies where water may collect.
- Sun-Drying: If possible, let the seat dry in the sun for a short period. Sunlight is a natural disinfectant and can help eliminate any lingering bacteria or mildew. However, avoid prolonged exposure to prevent the material from degrading.
Note: Do not leave the seat to dry in the bathroom or other humid areas, as this can encourage mould growth.
Reassembling the Bath Seat
Once the seat is completely dry, it’s time to reassemble it:
- Refer to the Manual: Always refer back to the manufacturer’s instructions for proper assembly. This ensures that every part is put back in its correct place.
- Check All Parts: Before reassembling, make sure all components are dry and clean. Inspect for any damage or wear that may have become evident after cleaning.
- Secure All Fastenings: When putting the seat back together, ensure that all screws, clips, or fastenings are secure. This is crucial for the safety and stability of the seat.
- Double-Check Stability: Once reassembled, give the seat a gentle shake to ensure that it is stable and all parts are properly attached.
- Store Properly: If you’re not using the seat immediately, store it in a dry, clean place away from direct sunlight and extreme temperatures.
5 Preventive Maintenance and Tips
Maintaining the cleanliness of your baby’s bath seat is not just about periodic deep cleanings. Regular maintenance and proper storage play a crucial role in keeping the seat hygienic and extending its lifespan. Here are some tips and best practices:
Regular Maintenance Tips
To keep the bath seat clean between deep cleanings, follow these simple yet effective tips:
- Quick Wipe-Down After Each Use: Use a clean, damp cloth to wipe down the seat after every bath. This removes any soap residue and prevents the build-up of grime.
- Air Out Regularly: Allow the seat to air dry in a well-ventilated area after each use. This reduces the chance of mould and mildew growth.
- Spot Cleaning: Address spills or stains immediately. For plastic seats, a quick scrub with a mild detergent is usually sufficient. For fabric seats, use a gentle fabric cleaner and avoid harsh chemicals.
- Regular Checks for Mould: Inspect the seat regularly for any signs of mould or mildew, especially in hidden areas. Early detection makes cleaning easier and prevents the spread.
- Use Natural Deodorizers: Occasionally sprinkle baking soda on the seat, let it sit for a few minutes, and then wipe it off. This natural deodorizer helps keep the seat fresh.
Storage Suggestions
How and where you store the bath seat can impact its cleanliness and durability:
Dry Environment: Store the bath seat in a dry area to prevent mould growth. Avoid damp or humid locations like bathrooms, if possible.
Upright Position: Store the seat in an upright position to allow any residual moisture to evaporate and to maintain its shape.
Covered Storage: If possible, cover the seat with a clean cloth or store it in a protective bag to keep dust and dirt at bay.
Avoid Direct Sunlight: While some sunlight can help prevent mould, prolonged exposure can degrade the material of the seat. Find a balance to prevent damage.
Accessible but Safe: Store the seat in an easily accessible place but out of reach of children to prevent any unsupervised play that could lead to accidents or damage to the seat.
6 Natural and DIY Cleaning Solutions
While store-bought cleaners can be effective, many parents prefer natural and homemade solutions, especially for items used by their babies. These natural cleaners are not only safe and gentle but also eco-friendly and cost-effective.
Homemade Cleaners
Here are a few recipes for safe and natural cleaning solutions:
Vinegar and Water Solution
- Mix 1 part white vinegar with 3 parts water in a spray bottle.
- This solution is great for disinfecting and removing mildew.
- Note: Do not use on natural stone or certain metals as vinegar can be corrosive.
Baking Soda Paste
- Combine baking soda with enough water to form a paste.
- Apply it to stains or areas with mould and scrub gently.
- This paste is effective for removing stains and neutralizing odours.
Lemon Juice Spray
- Mix the juice of one lemon with a cup of water in a spray bottle.
- Lemon juice is a natural disinfectant and leaves a fresh, clean scent.
Tea Tree Oil Solution
- Add a few drops of tea tree oil to a cup of water in a spray bottle.
- Tea tree oil has natural antibacterial and antifungal properties, making it ideal for tackling mould and mildew.
Hydrogen Peroxide
- Use 3% hydrogen peroxide directly or diluted with water.
- It’s a non-toxic disinfectant, suitable for occasional deep cleaning.
Benefits of Natural Cleaners
Using natural cleaners for baby products has several advantages:
- Non-toxic: They are free from harsh chemicals and fumes, making them safe for use around babies.
- Environmentally Friendly: Natural ingredients are biodegradable and less harmful to the environment compared to conventional cleaners.
- Gentle on Materials: They are less likely to damage the materials of baby products, ensuring their longevity.
- Cost-Effective: Most ingredients for natural cleaners are readily available and affordable.
- Allergy-Friendly: They are less likely to cause allergic reactions, both for the baby and the rest of the family.
7 Wrapping Up
Maintaining a clean and hygienic baby bath seat is crucial for your child’s health and safety. Regular cleaning is essential to prevent the growth of mould and bacteria, especially in the humid conditions of bath time.
By understanding the specific cleaning needs of different bath seats and preparing them properly, you can ensure a safe and sanitary environment for your baby. A detailed cleaning process is key to achieving this goal.
Utilising natural and DIY cleaning solutions can further protect your baby’s health. Incorporating these cleaning routines into your regular childcare regimen not only extends the life of the bath seat but also ensures your baby’s well-being.
Remember, the effort you put into keeping the bath seat clean is a valuable investment in your child’s health and happiness. A clean bath seat is fundamental for a joyful and healthy bath time, allowing your baby to enjoy their splashes and bubbles in a safe and clean environment.
Community Q&A
About This Article

This article has been viewed 144 times.