How To Clean Kids Water Bottle? Easy DIY Steps
As parents, guardians, or caregivers, ensuring the health and well-being of our children is a top priority. One often overlooked aspect of this is the cleanliness of their water bottles. Water bottles are a daily companion for most kids, accompanying them to school, playgrounds, and various activities. However, these bottles can be a breeding ground for bacteria and mould if not cleaned properly. Understanding the importance of keeping kids’ water bottles clean is not just about maintaining hygiene but also about safeguarding the health of our little ones.
In this guide, we’ll learn how to clean kids water bottle. Kids’ water bottles come in various shapes, sizes, and materials, each presenting its unique cleaning hurdles. From hard-to-reach corners to intricate lid mechanisms, these challenges can often lead to frustration or, worse, neglect in regular cleaning. But fear not! Our step-by-step guide is designed to simplify this task, making it easier for you to ensure that your child’s water bottle is not just clean but also safe for their daily use.
1 Understanding Your Water Bottle
Before we embark on the cleaning process, it’s crucial to understand the types of water bottles your kids use. This knowledge will not only help in choosing the right cleaning method but also in ensuring the longevity and durability of the bottles.
Different Types of Kids' Water Bottles
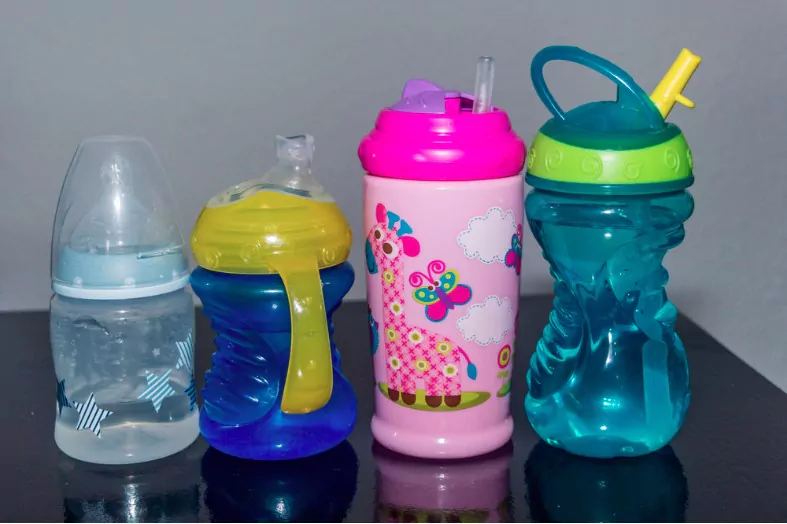
Kids’ water bottles come in various designs, each serving a different purpose and preference. Some common types include:
- Standard Water Bottles: These are the most common and typically feature a screw-on cap. They are straightforward in design and easy to use.
- Sports Bottles: Designed for easy access during physical activities, these often have a flip-top or a spout for quick sipping.
- Straw Bottles: Popular among younger kids, these bottles have a built-in straw for easy drinking without tilting the bottle.
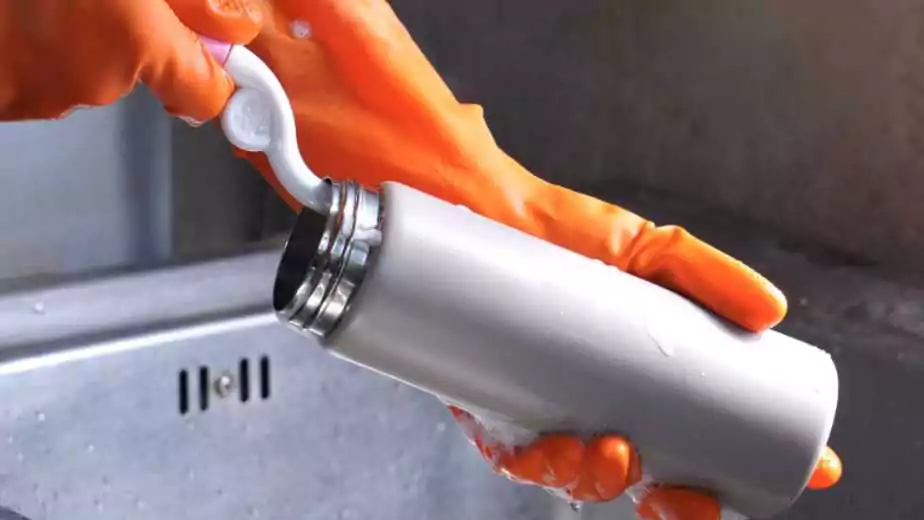
- Insulated Bottles: These are designed to keep liquids cold or hot for extended periods and are often made of stainless steel.
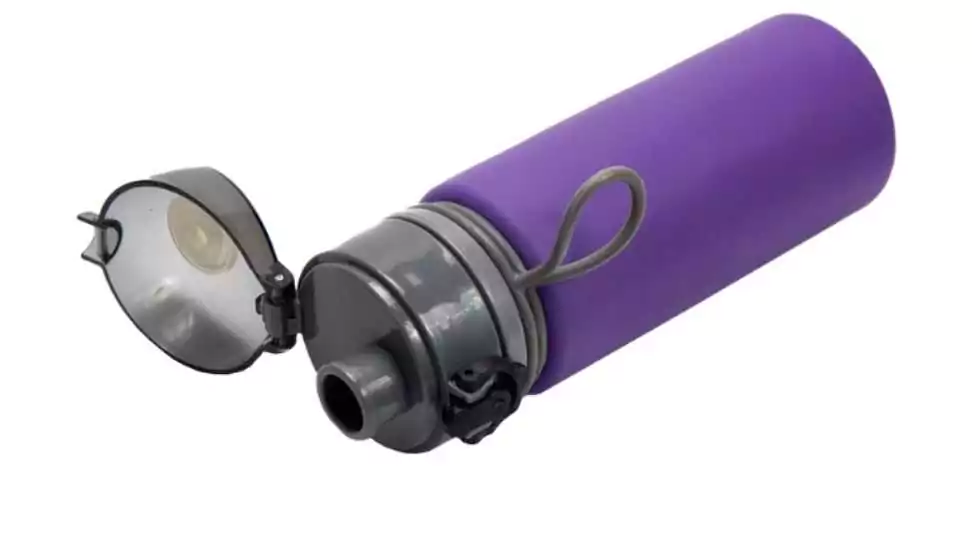
- Collapsible Bottles: Made of flexible materials, these bottles are space-saving and can be folded or collapsed when empty.
Materials Used in Kids' Water Bottles
The material of the water bottle plays a significant role in determining the appropriate cleaning method. The most common materials are:
- Plastic: Lightweight and durable, plastic bottles are a popular choice. They are often BPA-free but can hold onto odours and stains over time.
- Stainless Steel: Known for their durability and insulation properties, stainless steel bottles are great for maintaining temperature but can be heavier and prone to dents.
- Silicone: Often used in collapsible bottles, silicone is flexible, lightweight, and resistant to mould and bacteria.
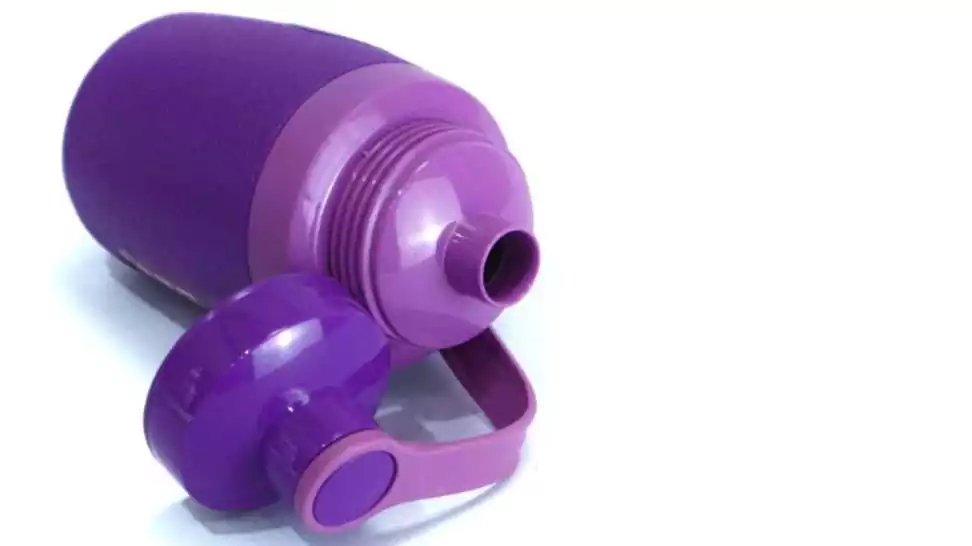
Parts of a Water Bottle
Understanding the parts of a water bottle is essential for thorough cleaning. The main components include:
- Cap/Lid: Can range from simple screw-on caps to complex flip-tops or straws.
- Body: The main container of the bottle. Its shape can vary, affecting how easy or difficult it is to clean.
- Straw: Some bottles have removable straws that require separate cleaning.
- Seals and Gaskets: Often found in insulated bottles, these parts are crucial for maintaining temperature but can harbour bacteria if not cleaned properly.
2 Step-by-Step Cleaning Process
A meticulous cleaning routine is essential for maintaining the hygiene of your child’s water bottle. Here’s a comprehensive guide to ensure every part of the bottle is cleaned effectively.
Rinsing and Soaking
Start by emptying the water bottle and giving it a good rinse with warm water. If the bottle hasn’t been cleaned in a while or has visible residue, fill it with warm soapy water and let it soak for about 15 to 20 minutes. This preliminary step helps loosen any grime or build up inside the bottle.
Scrubbing the Bottle

Techniques for Scrubbing the Body
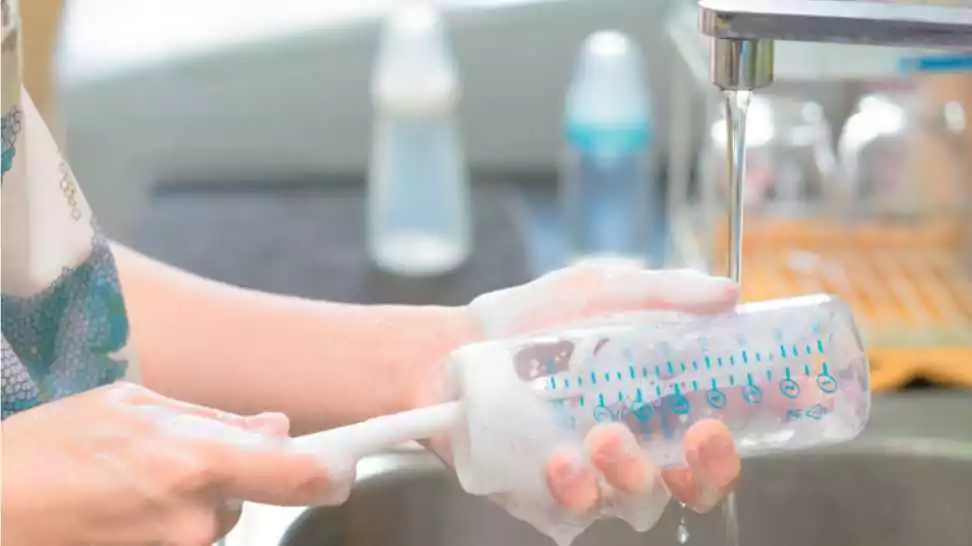
Use a long-handled bottle brush to reach the bottom and sides of the bottle. Move the brush in circular motions, ensuring that all interior surfaces are scrubbed. For plastic bottles, use a gentler brush to avoid scratches.
Special Attention to Caps and Straws
Caps and straws require special attention due to their nooks and crannies. Use a smaller brush or a pipe cleaner for straws and scrub all parts of the cap, paying close attention to threads and under the seal.
Using a Bottle Brush
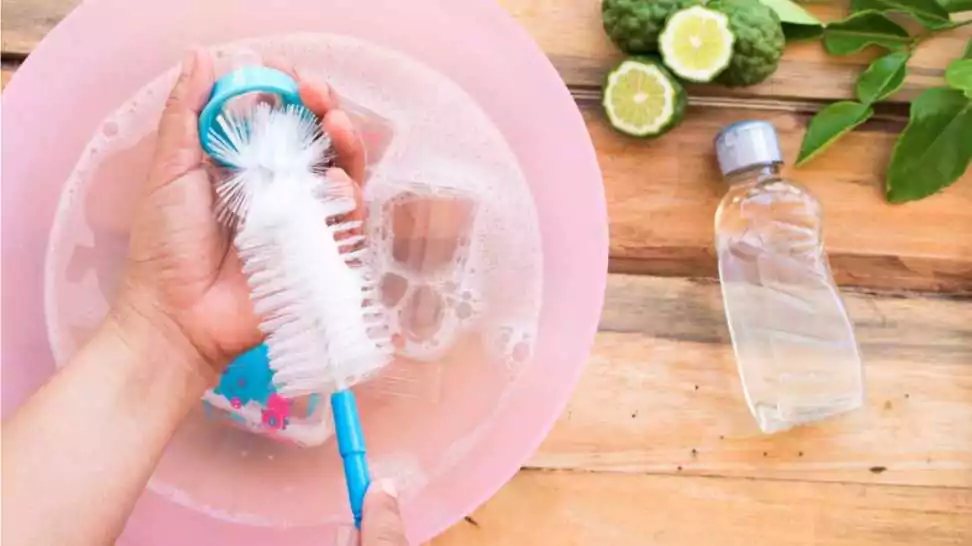
A bottle brush is an indispensable tool for cleaning water bottles. Its design allows it to reach areas that sponges or cloths can’t. Ensure the brush you use has soft bristles to prevent scratching, especially for stainless steel or coated bottles.
Cleaning with Baking Soda or Vinegar for Tough Stains
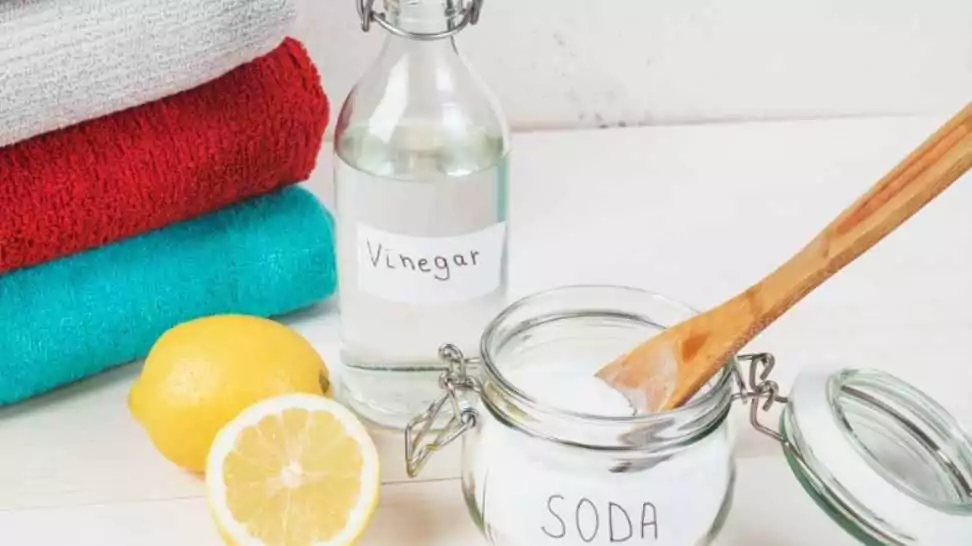
For stubborn stains or odours, natural cleaners like baking soda or vinegar can be effective. For baking soda, create a paste with water and apply it to the stained areas, letting it sit for a few minutes before scrubbing. Alternatively, fill the bottle with a mixture of vinegar and water, let it sit for a few hours or overnight, then rinse and scrub as usual.
Rinsing Thoroughly
After scrubbing, it’s crucial to rinse the bottle thoroughly to remove any soap residue. Ensure that you rinse under the cap and inside the straw. Shake the bottle with water inside, then empty and rinse again. This step is vital to ensure that no cleaning agent remains in the bottle.
3 Drying and Reassembling
After thoroughly cleaning the water bottle, the next essential steps are proper drying and reassembling. These steps are vital to prevent the growth of mould and bacteria in damp areas.
Best Practices for Drying
- Air Drying: The best method for drying water bottles is air drying. Place all components — bottle, cap, straw, and any seals — on a clean, dry dish rack or towel in an area with good air circulation. Ensure that the bottle and parts are spaced out and not touching each other to allow air to circulate freely around them.
- Avoid Enclosed Spaces: Do not dry the bottle and its components in enclosed spaces like cabinets or drawers, as the lack of airflow can promote bacterial growth.
- Use of Clean Towels: If you need to speed up the drying process, use a clean, dry towel to gently pat the parts dry. Be sure the towel is lint-free, especially for bottles with narrow openings where lint can get trapped inside.
- Completely Dry Before Storage: Make sure all parts are completely dry before reassembling and storing the bottle. Any moisture left in the bottle or cap can become a breeding ground for bacteria and mould.
Reassembling the Bottle Correctly
- Check All Parts: Before reassembling, ensure all parts are clean and fully dry. Check for any damaged parts, especially the seals and gaskets, as these are crucial for preventing leaks.
- Correct Assembly: Reassemble the bottle in the correct order. Make sure the straw, if present, is firmly attached, and the seals are properly positioned. Misaligned parts can cause leaks or hinder proper closure.
- Secure the Lid: When screwing the lid back on, ensure it is tight enough to prevent leaks but not so tight that it’s difficult to open, especially for kids.
- Final Inspection: After reassembling, give the bottle a quick inspection to ensure everything is in place and functioning correctly. This step is especially important if the bottle will be used to hold liquids other than water, as leaks can be more problematic.
4 Wrapping Up
Ensuring that our kids’ water bottles are clean and hygienic is not just a routine task but a crucial aspect of safeguarding their health. Throughout this guide, we’ve explored the importance of regular cleaning, understood different types of water bottles and their materials, and walked through a detailed, step-by-step cleaning process. From initial rinsing and soaking to the final stages of drying and reassembling, each step plays a vital role in maintaining the cleanliness of the bottle.
We cannot emphasise enough the importance of these practices. A clean water bottle not only keeps harmful bacteria and mould at bay but also ensures that the water your child drinks is safe and healthy. Encouraging regular cleaning habits can also instil a sense of responsibility and hygiene in children from a young age.
As we conclude, remember that taking a few extra minutes out of your day to ensure your child’s water bottle is clean can make a significant difference in their health and well-being. Happy cleaning!
Community Q&A
About This Article

This article has been viewed 97 times.