How To Make Baby Cloth Diapers At Home?
In the world of parenting, ensuring our little ones’ comfort and health is a constant challenge, and choosing the right diapers is crucial. Many parents are turning to cloth diapers, an eco-friendly and skin-friendly alternative that’s also budget-friendly in the long term. Imagine enhancing this choice by making cloth diapers at home. This guide simplifies the process, making it accessible for everyone, regardless of sewing skills. We’ll explore how to make baby cloth diapers at home in a step-by-step approach, blending practicality with creativity. Suitable for both seasoned DIYers and beginners, this guide will help you create comfortable, absorbent, and charming cloth diapers from your home.
1 Understanding Cloth Diapers
Definition and Types of Cloth Diapers
Before embarking on the journey of creating cloth diapers, it’s essential to understand what they are and the different types available. Cloth diapers, in their simplest definition, are reusable diapers made from natural fibres, man-made materials, or a combination of both. Unlike their disposable counterparts, cloth diapers can be washed and reused multiple times.
There are several types of cloth diapers, each with its unique features and benefits:
- Flats and Prefolds: These are the most traditional types, made from a simple piece of cloth folded in various ways. They are economical and versatile but require a waterproof cover.
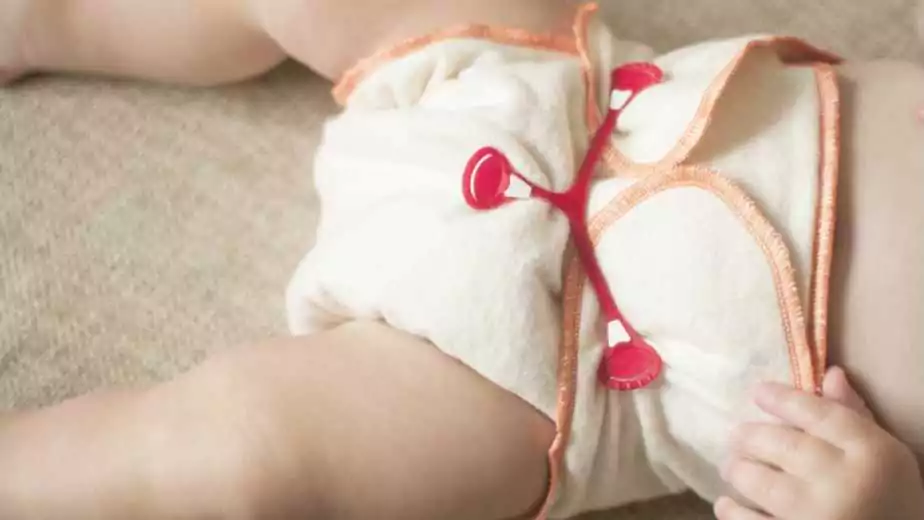
- Fitted Diapers: These are shaped like disposable diapers and have elastic around the legs and waist for a snug fit. They also need a waterproof cover.
- Pocket Diapers: These have a pocket for inserting absorbent pads and are known for their convenience and ease of use.
- All-in-Ones (AIOs): As the name suggests, these combine both the diaper and the cover in one piece, offering convenience but with longer drying times.
- Hybrids: These offer the flexibility of a reusable cover that can be used with either cloth inserts or disposable inserts.
Advantages of Homemade Cloth Diapers
Making cloth diapers at home comes with a unique set of advantages:
- Customisation: You can tailor the size, absorbency, and design to fit your baby’s needs and preferences.
- Cost-Effectiveness: Homemade cloth diapers can be significantly cheaper than buying ready-made ones or using disposables in the long term.
- Environmental Impact: By choosing sustainable materials and reducing waste, you contribute to environmental conservation.
- Health and Comfort: Homemade diapers allow you to select materials that are gentle on your baby’s skin and free from chemicals.
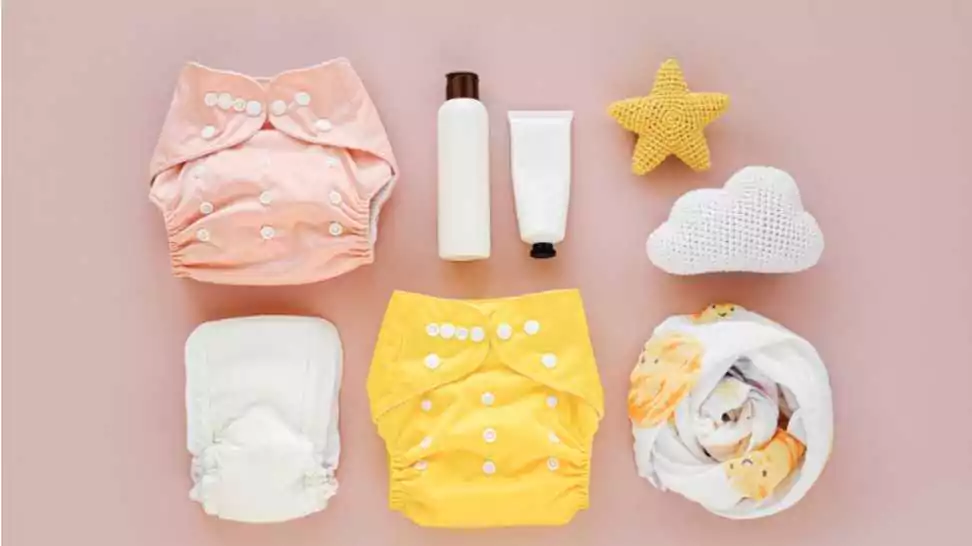
Materials Needed for Making Cloth Diapers
To start making cloth diapers, you’ll need the following materials:
- Fabric: The choice of fabric is crucial. Common options include cotton, bamboo, hemp, or a blend. You’ll need absorbent fabric for the inner layers and a waterproof fabric like PUL (Polyurethane Laminate) for the outer layer.
- Elastic: Soft elastic is needed for the legs and back to ensure a snug fit.
- Fasteners: Options include snaps, hook and loop (Velcro), or safety pins.
- Sewing Supplies: A sewing machine, thread, scissors, and pins will be your primary tools.
- Patterns: Diaper patterns are available online or you can create your own.
2 Choosing the Right Fabric
The cornerstone of any successful homemade cloth diaper is the fabric. It determines not only the diaper’s effectiveness in terms of absorbency and comfort but also its impact on your baby’s skin and the environment. Let’s explore the suitable fabrics for cloth diapers and some tips for selecting the best materials.
Suitable Fabrics for Cloth Diapers
- Cotton: Cotton is widely praised for its softness, breathability, and absorbency. It’s a natural fibre that’s gentle on the baby’s skin and can be easily washed. Cotton pre folds or flats are classic choices.
- Bamboo: Bamboo fabric is known for its incredible softness, absorbency, and thermal regulating properties. It’s also hypoallergenic, making it ideal for babies with sensitive skin. Additionally, bamboo is a sustainable choice as it grows quickly and requires less water than cotton.
- Hemp: Hemp is highly absorbent and becomes softer with each wash. It’s also durable and naturally resistant to mould and mildew. Hemp blends, often mixed with cotton, are an excellent choice for heavy wetter’s.
Tips for Selecting Absorbent and Comfortable Materials
- Absorbency: Look for fabrics that can hold a good amount of liquid without feeling too bulky. Blends of cotton, bamboo, and hemp are excellent for the inner absorbent layers.
- Comfort: Softness is key. Choose fabrics that feel gentle against the skin. Fleece, for instance, can be used as a stay-dry liner against the baby’s skin.
- Layering: Different fabrics can be layered to achieve the desired absorbency and feel. For instance, a hemp core with a bamboo or cotton outer layer can provide both absorbency and softness.
Importance of Skin-Friendly and Eco-Friendly Fabrics
- Skin-Friendly: Babies have sensitive skin, so it’s crucial to choose fabrics that are free from harsh chemicals and irritants. Organic fabrics are a great choice, as they are grown without harmful pesticides or synthetic fertilisers.
- Eco-Friendly: Cloth diapers are already a more sustainable option than disposables. Choosing eco-friendly fabrics like organic cotton, bamboo, or hemp further reduces your environmental footprint. These materials are not only renewable but also biodegradable.
3 Essential Tools and Accessories
Creating cloth diapers at home requires not only the right fabric but also a set of tools and accessories that make the crafting process efficient and enjoyable. This section will cover the necessary sewing tools, additional accessories needed for diaper making, and safety considerations to keep in mind.
List of Necessary Sewing Tools
- Sewing Machine: A good quality sewing machine is indispensable. It doesn’t need to be high-end, but it should handle multiple layers of fabric.
- Scissors: Sharp fabric scissors are a must for cutting fabrics and threads neatly.
- Measuring Tape: Accurate measurements are key in diaper making, so a flexible measuring tape is essential.
- Sewing Pins or Clips: These help in holding the fabric layers together before sewing.
- Thread: Use high-quality thread that matches or complements your fabric.
- Seam Ripper: This is handy for correcting mistakes and undoing stitches.
- Marking Pen or Chalk: To mark out patterns and cut lines on the fabric.
- Iron and Ironing Board: For smoothing out fabrics and creases, which is vital for accurate cutting and sewing.
Additional Accessories
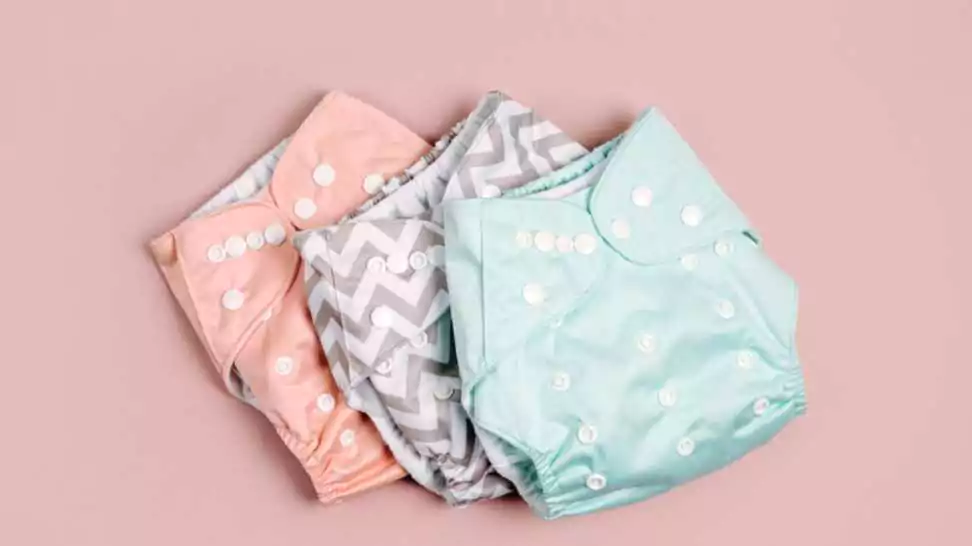
- Snaps or Hook and Loop Fasteners: These are used for securing the diaper around the baby. Snaps are durable and provide a more adjustable fit, while hook and loop fasteners offer ease of use.
- Elastic: Soft, stretchable elastic is used around the legs and back for a snug and leak-proof fit.
- Waterproof Liners: Materials like PUL (Polyurethane Laminate) are used for making the outer layer of the diaper waterproof.
- Absorbent Inserts: If you are making pocket diapers or want additional absorbency, you’ll need materials like microfiber, bamboo, or cotton for inserts.
Safety Considerations When Preparing Tools and Materials
- Keep Sharp Tools Out of Reach: Always keep scissors, pins, and needles away from children’s reach to prevent accidents.
- Careful Handling: Be cautious when cutting fabrics and using the sewing machine. Focus on what you’re doing to avoid needle-related injuries.
- Safe Workspace: Ensure your sewing area is well-lit and free of clutter to reduce the risk of mishaps.
- Material Safety: Choose fabrics and accessories that are safe and free from harmful chemicals, especially if you’re making diapers for newborns or sensitive skin.
4 Preparing the Fabric
Preparing the fabric correctly is a crucial step in the process of how to prepare cloth diapers at home. It involves washing, drying, and cutting the fabric to ensure the diapers are absorbent, soft, and the right size and shape for your baby. Let’s go through this step-by-step.
Washing and Prepping the Fabric
- Wash the Fabric: Before cutting, wash your fabric in hot water. This pre-washing step is essential to remove any natural oils, dirt, or chemicals present in the fabric. It also pre-shrinks the material, ensuring the diapers maintain their shape after future washes.
- Dry the Fabric: After washing, dry the fabric thoroughly. You can use a dryer or air dry, but remember that some fabrics, like hemp and bamboo, become more absorbent with multiple washes and dry cycles.
- Ironing: If necessary, iron the fabric to remove any wrinkles. This helps in achieving more precise cuts.
Cutting Fabric to the Right Size and Shape
- Select a Pattern: Choose a diaper pattern that suits your baby’s size and your preferred style (e.g., fitted, pocket, AIO). Patterns can be found online or created from an existing diaper.
- Transfer the Pattern: Lay the fabric on a flat surface and use your marking pen or chalk to transfer the pattern onto the fabric. Ensure the fabric is smooth and flat to avoid any inaccuracies.
- Cut the Fabric: Using your fabric scissors cut along the marked lines carefully. Make sure to cut as precisely as possible for the best fit.
- Repeat for Different Layers: If your diaper design has multiple layers (like absorbent layers and waterproof outer layers), repeat the cutting process for each type of fabric.
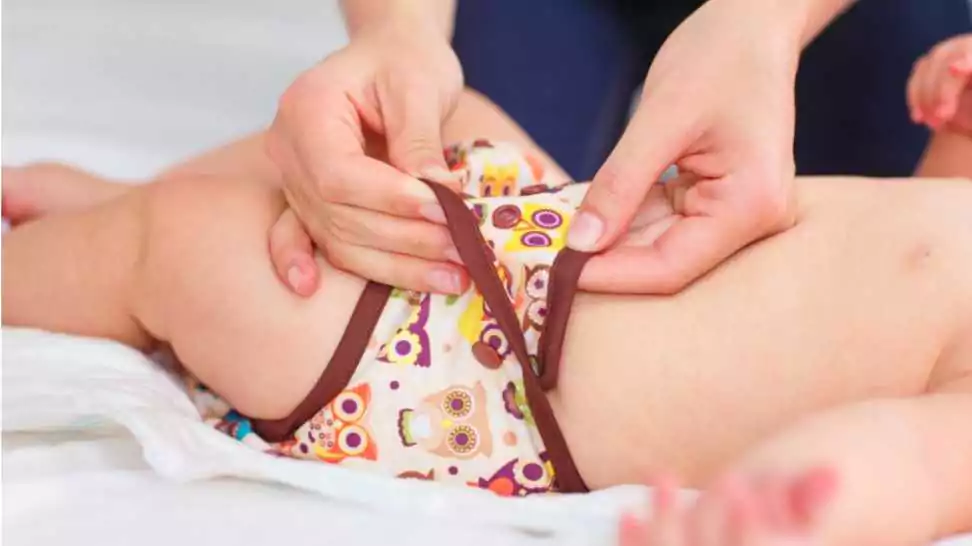
5 Sewing Your Cloth Diapers
Now that your fabric is prepped and ready, it’s time to bring your homemade cloth diapers to life. Sewing cloth diapers can be an enjoyable and rewarding experience, especially when you see the finished product. This section provides detailed instructions for sewing different styles of cloth diapers, such as pocket diapers and all-in-ones, and tips for ensuring durability and comfort.
Sewing Different Styles of Cloth Diapers
Pocket Diapers:
- Start by sewing the absorbent layer to the inner fabric.
- Then, sew the outer waterproof layer to the inner layer around the edges, leaving an opening for the pocket.
- Add elastic around the legs and back, and then sew on the fasteners.
All-in-Ones (AIOs):
- Sew the absorbent layer directly onto the inner fabric.
- Attach the waterproof outer layer to the entire perimeter of the diaper, ensuring all layers are secure.
- Add elastic around the legs and waist, and attach the fasteners.
Adding Absorbent Layers and Waterproof Barriers
- Place absorbent layers where they will be most effective (e.g., in the centre for boys, more towards the back for girls).
- Use materials like microfiber, bamboo, or cotton for absorbency, ensuring they are layered adequately.
- For the waterproof barrier, use PUL or another waterproof fabric. Be sure to place the shiny side of PUL facing the absorbent layers.
Tips for Ensuring Durability and Comfort
- Reinforce Stitches: Diapers undergo a lot of wear and tear, so reinforce your stitches, especially around the fasteners and elastic.
- Soft Edges: Ensure that the edges around the legs and waist are soft to prevent any irritation on your baby’s skin.
- Adjustable Fit: Consider adding multiple rows of snaps or a wider strip of hook and loop fasteners for an adjustable fit as your baby grows.
- Test for Leaks: After finishing a diaper, it’s a good idea to test it for leaks. You can do this by pouring a small amount of water on the diaper to ensure the waterproof layer is effective.
6 Customisation and Decoration
One of the most enjoyable aspects of making cloth diapers at home is the ability to customise and decorate them to your liking. This not only adds a personal touch but also makes the diapering experience more fun. Here are some ideas and considerations for customising and decorating your homemade cloth diapers.
Ideas for Customising Diapers
- Patterns and Colors: Choose from a wide range of fabrics with different patterns and colours. From playful animal prints to elegant floral designs, the choices are endless. You can also mix and match different fabrics for a unique look.
- Embroidery and Appliqués: For those who enjoy embroidery, adding small embroidered designs can be a lovely touch. Appliqués – small pieces of fabric sewn onto the diaper – can also add character and style.
- Contrasting Stitching: Use a thread of a contrasting colour for stitching to add an extra pop of colour and style to the diapers.
Adding Personal Touches for Aesthetic Appeal
- Themed Diapers: Create diapers themed around holidays, seasons, or your baby’s favourite things.
- Coordinated Sets: Make coordinated sets of diapers, wipes, and diaper covers for a cohesive look.
- Name or Initials: Adding your baby’s name or initials to the diaper can make it extra special and a great keepsake for the future.
Safety Considerations for Decorations
- Avoid Small Parts: Avoid using small parts like buttons or beads that can be a choking hazard for babies.
- Secure Attachments: Ensure that any added decorations are securely attached to prevent them from coming loose.
- Non-Toxic Materials: Use only non-toxic materials for decorating the diapers, especially if your baby tends to put things in their mouth.
- Comfort First: While decorations are delightful, ensure they do not compromise the diaper’s comfort or functionality. Avoid adding anything that might irritate the baby’s skin.
7 Caring for Homemade Cloth Diapers
Proper care and maintenance of your homemade cloth diapers are essential to ensure they remain effective and stand the test of time. This section will provide you with tips on washing, storing, and troubleshooting common issues associated with cloth diapers.
Washing and Maintenance Tips
- Pre-Wash: Before their first use, pre-wash the diapers to enhance their absorbency.
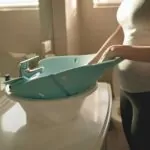
- Regular Washing: Develop a routine for washing cloth diapers. Most parents find that washing every 2-3 days works well. Use a gentle, baby-friendly detergent and avoid fabric softeners, which can reduce absorbency.
- Water Temperature: Wash diapers in warm water. Hot water can be used occasionally for more thorough cleaning but can shorten the lifespan of the fabric.
- Drying: Line drying is the best option as it’s gentle on the fabric and helps remove stains naturally. If using a dryer, use a low heat setting.
- Stain Removal: Sunlight is a natural stain remover. Lay wet diapers in the sun for a few hours to help remove stains.
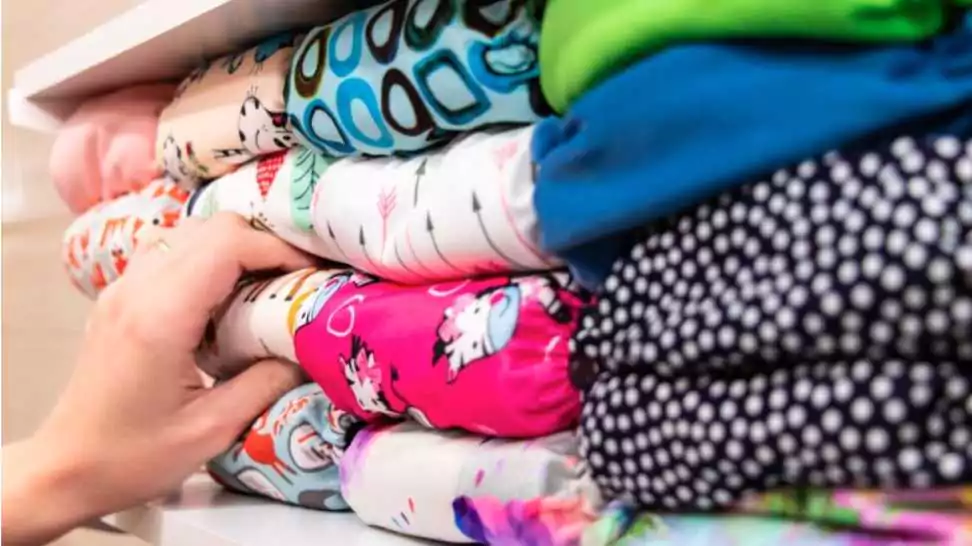
Storing Cloth Diapers Properly
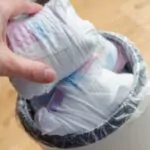
- Dry Storage: Store dirty diapers in a dry pail. A lined, breathable bin works well. Avoid soaking diapers in water before washing, as this can lead to mould and mildew.
- Organised Storage: Keep clean diapers organised for easy access. Fold them neatly or roll them up for compact storage.
- Travel Storage: When out and about, carry a waterproof wet bag to store used diapers until you can wash them.
Troubleshooting Common Issues
- Reduced Absorbency: If diapers become less absorbent over time, they may need to be “stripped.” This process removes build up from detergents and creams. There are many methods available online for stripping cloth diapers.
- Odour Issues: Persistent odours can be a sign that diapers are not getting clean enough. Try adding a bit more detergent, washing in smaller loads, or doing an extra rinse cycle.
- Leaks: If leaks occur, check the fit of the diaper and the condition of the elastic. Also, assess if the absorbent layers are adequate for your baby’s needs.
- Wear and Tear: Regularly check your diapers for signs of wear and repair any loose threads or damaged snaps.
8 Cost-Benefit Analysis
When deciding between making your cloth diapers and purchasing them from the store, it’s important to consider various factors such as cost, long-term savings, environmental impact, and the benefits of personalization. This section provides a comprehensive cost-benefit analysis to help you make an informed decision.
Comparing the Cost of Homemade vs. Store-Bought Cloth Diapers
- Initial Investment: The upfront cost of making cloth diapers includes purchasing fabric, accessories, and sewing supplies. Although this may seem high initially, these materials often yield multiple diapers, spreading the cost over several units.
- Store-Bought Costs: Ready-made cloth diapers vary in price, generally costing more per diaper than the average cost of a homemade one. Designer brands and specialised materials can increase the price significantly.
- Longevity and Quality: Handmade diapers, when crafted carefully, can be as durable and effective as store-bought options, often allowing for more robust customization to suit your baby’s needs.
Long-Term Savings and Environmental Impact
- Savings Over Time: Both homemade and store-bought cloth diapers offer significant savings over disposable diapers. However, the DIY approach can further reduce costs, especially if you’re able to repurpose fabrics or buy them at a discount.
- Environmental Benefits: Cloth diapers are already a more eco-friendly option compared to disposables. Making them at home further reduces environmental impact by allowing for sustainable fabric choices and minimising the carbon footprint associated with manufacturing and shipping commercial diapers.
Personal Satisfaction and Customization Benefits
- Custom Fit and Design: One of the most significant benefits of making cloth diapers at home is the ability to tailor them to your baby’s specific size and shape, as well as your personal aesthetic preferences.
- Skill Development and Satisfaction: The process of making cloth diapers can be a fulfilling hobby, offering personal satisfaction and the joy of creating something unique and practical for your child.
- Quality Control: When you make diapers yourself, you have complete control over the materials and construction, ensuring the highest quality and safety for your baby.
9 Wrapping Up
The impact of choosing to make cloth diapers at home extends beyond just the immediate benefits. It’s a decision that positively affects your lifestyle, allowing for a deeper connection to the care of your child. It also contributes to a more sustainable and environmentally conscious way of living, reducing waste and promoting the use of safe, natural materials.
As you embark on this journey of creating homemade cloth diapers, remember that each stitch is a testament to your love and commitment to your child’s well-being and the health of the planet they will inherit. So, gather your materials, unleash your creativity, and enjoy the process of making something truly special for your baby.
Community Q&A
About This Article

This article has been viewed 108 times.