How To Install Baby Gate For Your Child’s Safety?

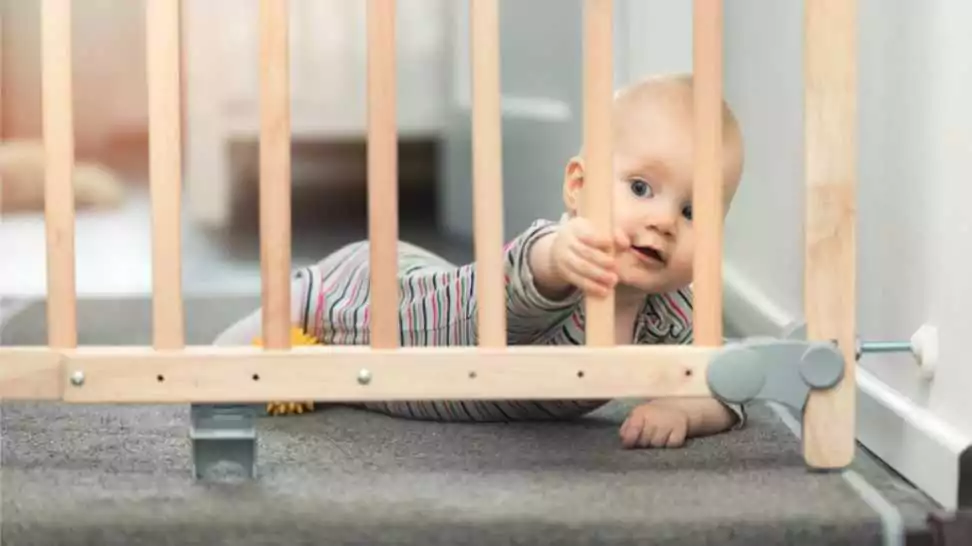
As our children begin to crawl and explore, ensuring their safety becomes paramount. Baby gates play a crucial role in childproofing our homes, safeguarding against hazards like stairs and kitchens. These gates come in various types, each designed for specific needs and areas. Hardware-mounted gates offer a permanent solution for high-risk zones, while pressure-mounted gates are better for temporary or low-risk spaces. This guide will help you understand how to install baby gate along with different baby gate options and provide a step-by-step method for safe and effective installation, ensuring a secure environment for your little explorers.
1 Understanding Different Types of Baby Gates
Pressure-Mounted Baby Gates
Pressure-mounted baby gates are popular for their ease of installation and portability. They work by exerting pressure against the walls or door frame to stay in place. These gates are ideal for spaces where drilling is not an option, like rental homes, or for areas where you need a temporary barrier.
Pros and Cons:
Pros:
- No drilling or permanent installation is required.
- Easy to move and adjust as needed.
- Generally less expensive than hardware-mounted gates.
Cons:
- Not as stable as hardware-mounted gates; not recommended for high-risk areas like the top of stairs.
- May leave marks on walls or door frames.
- Requires flat surfaces on both sides to be effective.
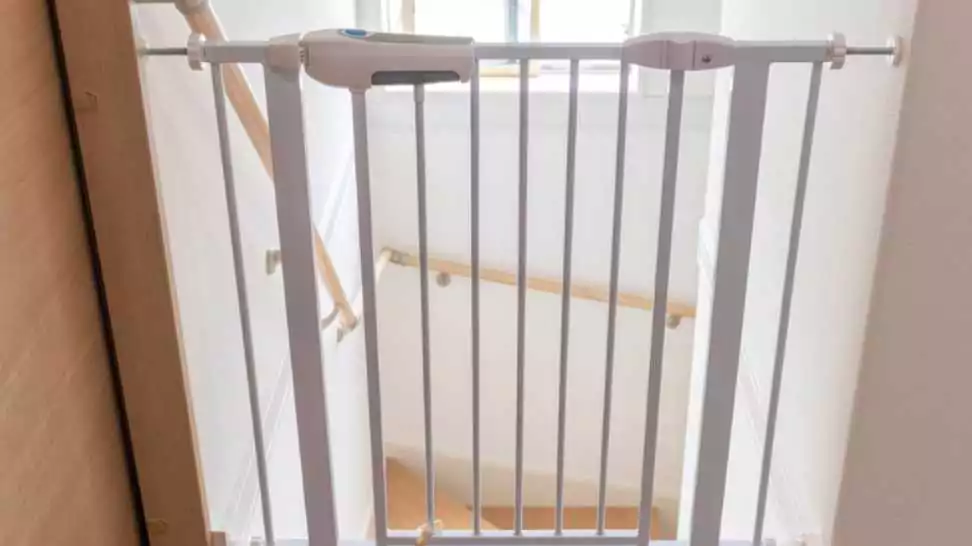
Hardware-Mounted Baby Gates
Hardware-mounted gates are secured to the walls using screws, making them a more permanent solution. They are best used in high-risk areas such as the top or bottom of stairs, where the stability and security of the gate are paramount.
Pros and Cons:
Pros:
- More secure and stable, ideal for protecting high-risk areas.
- Can accommodate a wider range of wall surfaces, including uneven or nonparallel walls.
- Long-lasting and durable.
Cons:
- Requires drilling, making it less ideal for renters or those who prefer minimal alterations to their homes.
- More challenging to move or remove once installed.
- Generally more expensive than pressure-mounted gates.
Speciality Gates (For Irregular Spaces, Extra-Wide, or Extra-Tall Areas)
Specialty gates are designed for unique or challenging spaces that standard gates can’t accommodate. This includes irregularly shaped areas, extra-wide or extra-tall openings, and spaces with unusual mounting points.
Pros and Cons:
Pros:
- Tailored for specific needs, ensuring safety in complex spaces.
- Often feature flexible configurations and extensions.
- Can cater to both aesthetic and functional requirements.
Cons:
- Typically more expensive due to their specialized nature.
- May require more complex installation processes.
- Limited choices in terms of design and material compared to standard gates.
2 Pre-Installation Preparation
Tools and Materials Needed for Installation
Before you begin the installation of a baby gate, it’s crucial to gather all the necessary tools and materials. The requirements may vary slightly depending on the type of gate you choose, but here’s a general list:
- Measuring tape: Essential for accurate measurement of your space.
- Pencil or marker: For marking drill points or alignment spots on the wall.
- Drill and drill bits (for hardware-mounted gates): For making holes in the wall for screws.
- Screwdriver or power drill with a screwdriver bit: For securing the gate to the wall.
- Wall anchors (if applicable): To ensure a secure fit in drywall or plaster.
- Level: To ensure the gate is perfectly horizontal.
Additional tools or materials are specified in the gate’s installation manual.
Measuring Your Space: How to Get Accurate Measurements
Accurate measurements are key to selecting the right baby gate. Here’s how to measure your space effectively:
- Measure the width of the opening at the top and bottom. Use the wider measurement if there’s a difference.
- For irregular areas or areas with baseboards, measure the space at multiple points to ensure the gate will fit.
- If you’re installing a gate at the top of the stairs, measure the width of the landing and consider the swing direction of the gate.
- Record these measurements and keep them handy when selecting your gate.
Choosing the Right Gate for Your Specific Needs and Space
With measurements in hand, you can now choose the right gate. Consider the following:
- Location: High-risk areas like stair-tops need hardware-mounted gates for maximum safety.
- Type of Walls: Certain gates require flat surfaces or specific wall materials for installation.
- Width and Height: Ensure the gate fits your measured space and is tall enough to prevent your child from climbing over.
- Your Lifestyle: If you need to move or remove the gate frequently, a pressure-mounted gate might be more suitable.
- Aesthetic Preferences: Consider how the gate’s design and colour fit with your home decor.
3 Installing Pressure-Mounted Baby Gates
Step-by-Step Installation Guide
Pressure-mounted gates are relatively easy to install, but it’s crucial to follow each step carefully to ensure the safety and effectiveness of the gate:
- Unbox and Assemble the Gate: Lay out all the parts and read through the manufacturer’s instructions. Assemble the gate if necessary, following the provided steps.
- Position the Gate: Place the gate in the desired location. Most pressure-mounted gates are designed for doorways or hallways. Ensure it’s level and centred.
- Extend the Pressure Bars: These gates come with adjustable bars or spindles on either side. Extend these bars until they touch the walls or door frame on each side.
- Lock the Gate into Place: Depending on the model, you’ll either push, slide or twist the gate to secure it. Some gates have a visual indicator to show when they’re properly installed.
- Test the Gate: Push and pull on the gate gently to ensure it’s secure. It should stay firmly in place without damaging the walls.
Tips for Ensuring Stability and Safety
- Check the Surface: The walls or door frame where the gate will be installed should be flat and sturdy.
- Avoid Too Much Pressure: Over-extending the pressure bars can damage your walls and might not necessarily make the gate more secure.
- Use Wall Cups if Provided: Some models come with wall cups for extra stability. These can be especially useful on smooth surfaces where the gate might slip.
Common Mistakes to Avoid
- Ignoring Weight Limits: Don’t exceed the weight limit specified by the manufacturer. These limits are there to ensure the safety of your child.
- Overlooking Regular Checks: Regularly check the gate to make sure it hasn’t loosened over time.
- Placing the Gate Too High: The gap at the bottom shouldn’t be large enough for your child to crawl under.
- Using Pressure-Mounted Gates at the Top of Stairs: This is a common mistake. For safety, always use hardware-mounted gates in these high-risk areas.
4 Special Considerations
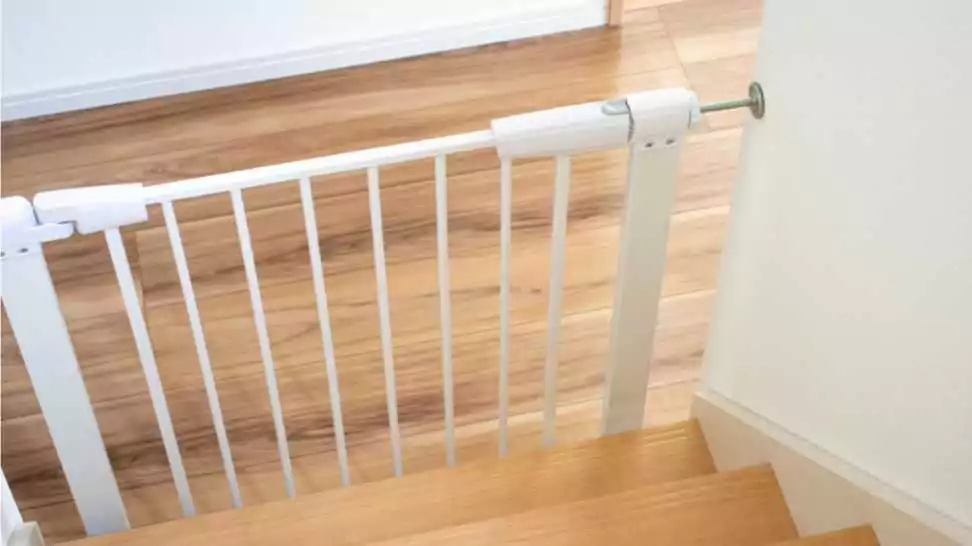
Installing Baby Gates on Stairs
Installing baby gates on stairs requires extra caution due to the increased risk of falls and injuries in these areas. Here are key points to consider:
- Choose the Right Type of Gate: Always use hardware-mounted gates for the top of stairs for maximum safety. Pressure-mounted gates are not suitable for these high-risk areas.
- Ensure Proper Alignment: The gate should be installed so that it swings away from the stairs, not towards them, to prevent the risk of falling down the stairs.
- Secure Mounting: Make sure the gate is firmly attached to the wall or stairway posts. If your staircase has bannisters or spindles, you might need a gate adapter kit.
- Height Considerations: The gate should be tall enough to prevent children from climbing over it and positioned close enough to the ground so they can’t crawl underneath.
Dealing with Non-Standard Spaces or Surfaces
Sometimes, homes have an unconventional architecture that poses challenges for baby gate installation:
- Irregular Spaces: For spaces with irregular shapes or wide openings, consider using configurable gates or gates with extension panels.
- Uneven Surfaces: If the walls or door frames are not flat, look for gates with adjustable mounts that can accommodate angles.
- Bannisters or Metal Railings: Special mounting kits are available for securing gates to bannisters without drilling or for attaching to metal railings.
5 Wrapping Up
In this guide, we’ve seen how crucial it is to properly install and maintain baby gates – they’re key to a safe home for your adventurous child. A well-fitted baby gate, whether pressure-mounted, hardware-mounted, or a speciality type, is vital for their safety. But remember, childproofing doesn’t stop here. It’s an evolving process that includes securing furniture, using corner protectors, and keeping hazards out of reach. We urge all parents and caregivers to take childproofing seriously, continuously enhancing home safety. This way, you’ll protect your little ones while giving them the freedom to explore and grow. Here’s to creating a safer environment for our curious, active children!
Community Q&A
About This Article

This article has been viewed 72 times.