How To Sterilize Baby Bottles In Boiling Water?
The arrival of a newborn brings immense joy and a set of important responsibilities, notably in ensuring their health through proper feeding practices. One key aspect of this is sterilizing baby bottles, a vital step for protecting the health of infants who are more vulnerable to infections due to their developing immune systems. Sterilizing bottles, nipples, and feeding accessories help create a germ-free feeding environment for your little one.
This guide focuses on how to sterilize baby bottles in boiling water. Simple and accessible, this method requires just a pot and a heat source to eliminate harmful germs from baby bottles and accessories. We will guide you through the steps, offering tips to ensure effective and safe sterilization. Let’s begin our journey into baby bottle sterilization, a critical routine for maintaining your baby’s health.
1 Why Sterilize Baby Bottles?
When it comes to infant care, the phrase ‘better safe than sorry’ could not be more applicable, especially in the context of feeding practices. The first year of a baby’s life is critical for their development, and as parents or caregivers, one of the simplest yet most significant things you can do is to ensure the cleanliness of their feeding equipment. Sterilising baby bottles is not just a precaution; it’s a necessary step in your daily routine to protect your infant from potential health hazards.
The Risks of Bacteria and Germs for Infants
A newborn’s immune system is still developing, which means its ability to fend off infections and bacteria is not as strong as that of an older child or adult. Common bacteria like E. coli, Salmonella, and Rotavirus can be particularly harmful to infants, and these germs can easily cling to surfaces of bottles and nipples. These bacteria can thrive in milk residues, which are a breeding ground for harmful microorganisms. Ingesting these bacteria can lead to various health issues in infants, ranging from mild gastrointestinal discomfort to more serious conditions like gastroenteritis.
The Role of Sterilisation in Preventing Illnesses
This is where sterilisation comes into play. By regularly sterilising baby bottles, you eliminate harmful germs and bacteria that could be lurking on the bottle’s surface or in the nipple. This process is crucial after each use to ensure that the feeding equipment is safe for the next use. Sterilisation doesn’t just clean; it disinfects, which is essential for the health and well-being of your baby. It’s a proactive step in preventing various illnesses that can be caused by contaminated feeding equipment. This simple practice plays a vital role in maintaining your baby’s overall health and ensuring their feeding environment is as safe as possible.
2 Preparing for Sterilisation
Before diving into the sterilisation process, it’s essential to prepare adequately. This preparation not only makes the process more efficient but also ensures safety and effectiveness. Here’s how you can get started,
Choosing the Right Equipment
The first step in preparing for sterilisation is to gather the necessary equipment. You will need:
- A Large Pot: Choose a pot large enough to hold all the bottles and accessories you plan to sterilise at once. It should have enough space to allow water to circulate freely around each item.
- Tongs: These are essential for safely removing hot items from the boiling water. Ensure the tongs are clean and sterilised as well.
- A Timer: This helps you keep track of how long the bottles have been boiling, ensuring that they are sterilised effectively.
- A Clean Cloth or Drying Rack: You’ll need a sterile area to place the bottles and accessories once they are sterilised.
Cleaning the Bottles Before Sterilisation
Before sterilising, it’s crucial to clean the bottles thoroughly. Remove all traces of milk by washing with warm, soapy water. Use a clean bottle brush to scrub inside the bottles and nipples, making sure to remove any residual milk or formula. Rinse thoroughly to ensure all soap suds are gone, as any residue can be harmful to your baby. This cleaning step is vital because sterilisation will not be effective if there is remaining dirt or milk residue.
Safety Tips for Handling Boiling Water
Handling boiling water requires care to ensure your safety and that of those around you:
- Never Leave Boiling Water Unattended: Always stay nearby when you have water boiling for sterilisation.
- Use Heat-Resistant Gloves or Potholders: This will protect your hands from steam burns when handling the pot or lid.
- Keep Children Away: Make sure children are at a safe distance to prevent accidents.
- Carefully Add and Remove Items: Use the tongs to gently place and remove bottles and accessories, avoiding splashes.
3 The Boiling Water Method Step-by-Step
Sterilizing baby bottles using the boiling water method is a straightforward process. By following these steps, you can ensure that your baby’s bottles are free from harmful bacteria and safe for use:
Step 1: Fill a Large Pot with Water
Begin by filling a large pot with enough water to completely submerge all the bottles and accessories. Make sure there is enough room in the pot for the water to circulate the items. It’s important not to overcrowd the pot to ensure each item gets adequately sterilised.
Step 2: Bring the Water to a Boil
Place the pot on the stove and turn the heat to high. Wait for the water to reach a rolling boil. A rolling boil is when the water is bubbling vigorously, which is the temperature needed to kill harmful germs and bacteria effectively.
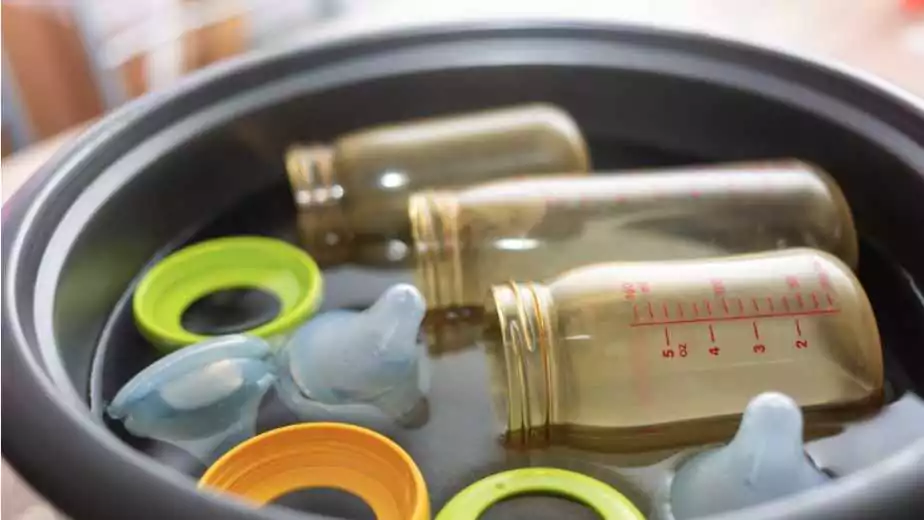
Step 3: Submerge Bottles and Accessories
Once the water is boiling, use clean tongs to gently lower the bottles, nipples, and other feeding accessories into the water. Ensure that the items are fully submerged and that air bubbles are not trapped inside the bottles or nipples.
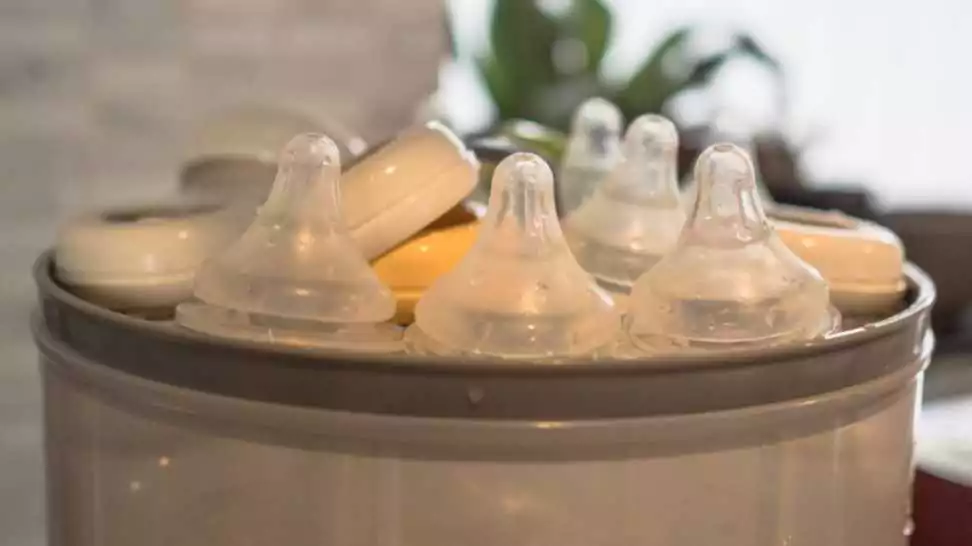
Step 4: Boiling Duration
Allow the bottles and accessories to boil for at least 5 minutes. Some experts recommend extending this time to 10 minutes, especially for items used by newborns or in areas with unsafe water supply. However, be sure to check the manufacturer’s recommendations as some materials might have a maximum boiling time.
Step 5: Safely Removing the Bottles and Accessories
After the boiling time is complete, turn off the heat. Wait for the water to stop boiling before you start removing the items. This reduces the risk of burns from splashing hot water. Using the clean tongs, carefully remove the sterilised items and place them on a clean, dry cloth or a drying rack. Allow them to air dry completely before use or storage.
Remember, it’s important to handle the sterilised items with clean hands and to avoid touching the inside of the bottles or the nipple to keep them sterile.
4 Post-Sterilization Care
After sterilising your baby’s bottles and accessories, it’s important to follow proper post-sterilization practices. This ensures that the bottles remain sterile until their next use. Here’s what you need to know about post-sterilization care:
Drying the Bottles and Accessories
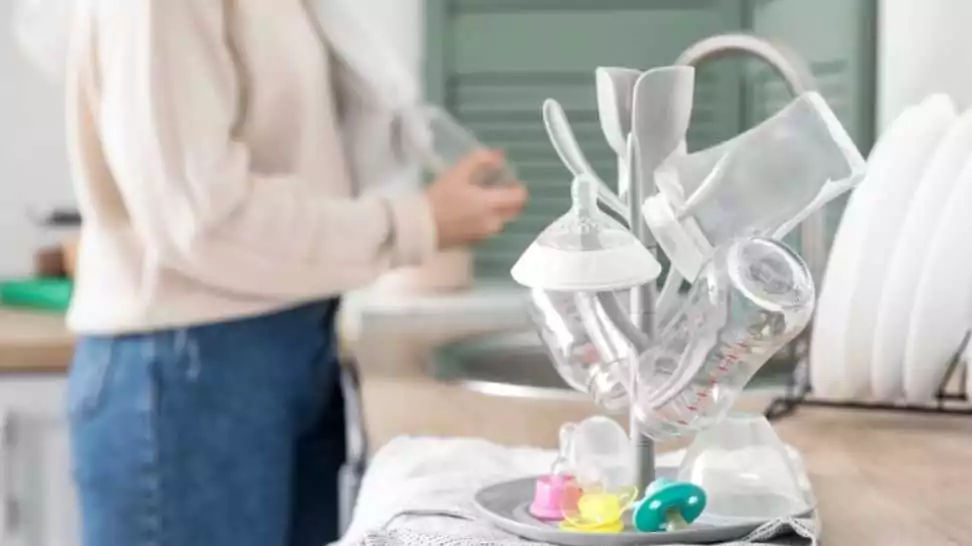
Once you have safely removed the bottles and accessories from the boiling water:
- Air Dry on a Clean Surface: Place them on a clean drying rack or a sterile cloth. It’s crucial not to use a towel or any cloth that might harbour bacteria to dry them.
- Avoid Handling the Inside: Try not to touch the inside of the bottles or the tip of the nipples to maintain sterility.
- Let Them Dry Completely: Ensure the bottles and accessories are entirely air-dried before storing them. Moisture can be a breeding ground for bacteria.
Storage Tips to Maintain Sterility
Proper storage is key to maintaining the sterility of your baby’s bottles:
- Use a Sterile Container: Once the bottles and accessories are dry, store them in a clean, dry, and sterile container. You can use a sealed container or a dedicated closed storage area.
- Keep in a Dry Place: Ensure the storage area is dry and free from contaminants. Avoid places prone to dust or where the bottles might come into contact with other non-sterile items.
How Often to Sterilise Baby Bottles
The frequency of sterilisation can vary based on your baby’s age, health, and specific needs:
- Newborns and Young Infants: It’s advisable to sterilise bottles and accessories after every use for newborns and babies up to three months old, as they are most vulnerable during this time.
- Older Infants: For older infants with more developed immune systems, you might choose to sterilise less frequently, such as once a day or every few days.
- If Your Baby is Ill: Increase the frequency of sterilisation if your baby is sick, to avoid any risk of recontamination.
5 Alternatives to Boiling Water
While boiling water is a tried and true method for sterilising baby bottles, it’s not the only option available. Modern parents have access to a variety of methods that can efficiently sterilise feeding equipment. Here’s a brief overview of some popular alternatives:
Chemical Sterilizers
Chemical sterilisers use a special antibacterial solution to disinfect baby bottles and accessories. The process involves diluting a sterilising solution with water and submerging the bottles and accessories in it for a specified period, usually around 30 minutes. After sterilisation, items need to be rinsed with boiled water to remove any residual solution. This method is convenient for travelling as it doesn’t require heating, but it’s essential to follow the manufacturer’s instructions carefully to ensure effectiveness and safety.
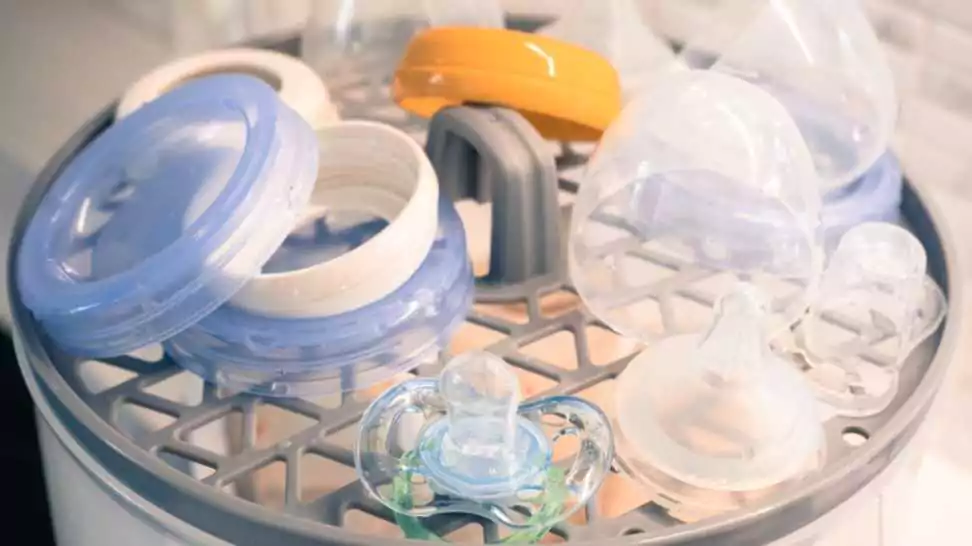
Steam Sterilizers
Steam sterilisers use high-temperature steam to kill germs and bacteria. There are several types of steam sterilisers, including electric steam sterilisers, microwave steam sterilisers, and stovetop steamers. Electric models are convenient and can sterilise multiple bottles at once, while microwave versions are compact and quick. Stovetop steamers work similarly to boiling but are more controlled and can be quicker. Steam sterilisation is efficient and doesn’t involve chemicals, but you need to ensure the items are compatible with high heat.
UV Sterilizers
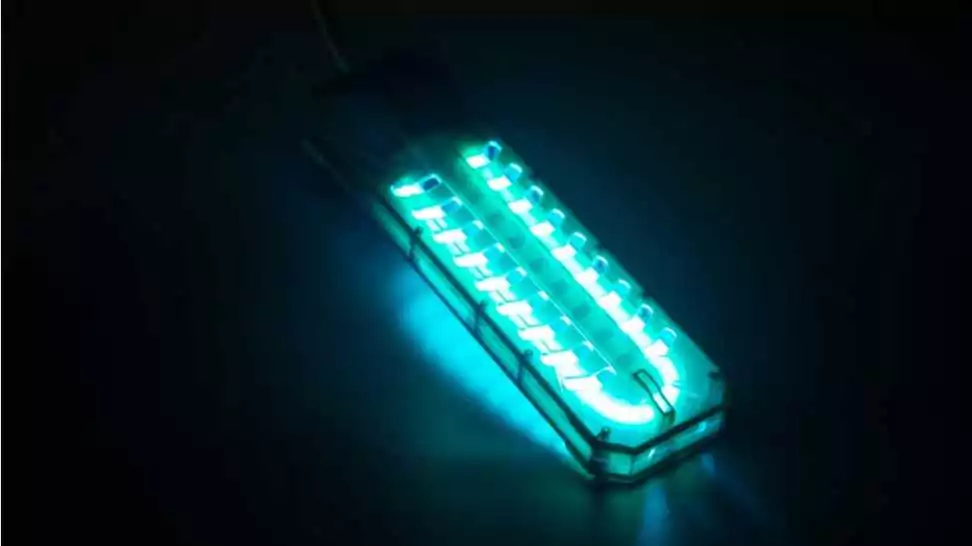
UV sterilisers use ultraviolet light to kill bacteria and viruses. They are a relatively new technology in the field of baby bottle sterilisation. Compact and easy to use, UV sterilisers are effective and don’t require water or heat. They are particularly useful for sterilising items that cannot be boiled or steamed. However, they tend to be more expensive than other methods and have limitations in terms of the size and number of items they can sterilise at one time.
6 Wrapping Up
In summary, the importance of sterilising baby bottles cannot be overstated when it comes to safeguarding your infant’s health. We’ve explored the critical reasons why sterilisation is necessary, highlighting the vulnerability of infants to bacteria and the role of sterilisation in preventing illnesses. The guide provided a detailed walkthrough of the boiling water method, emphasising its simplicity and effectiveness. We also discussed the importance of post-sterilization care, including drying and storing the bottles properly, and the recommended frequency of sterilisation.
Additionally, we’ve touched upon alternative methods such as chemical sterilizers, steam sterilisers, and UV sterilisers, offering options to suit different needs and preferences.
Community Q&A
About This Article

This article has been viewed 101 times.