
How to Make AC at Home from Scratch – Step-by-Step Guide
If you’re one of those people who want to know how to make the best ac in India at Home and are interested in experimenting with homemade mechanics or hacks to sometimes skip on the extra expenses, this blog is for you!
Today, we will discuss a step-by-step guide on how to make an Air Conditioner at home.
Follow these exact steps to design a homemade AC with simple tools.
Moreover, you can also calculate the room size for AC before purchasing or making it.
Let’s get started with professional style ac cleaning for your AC to keep yourself cool in this scorching heat.
1 Step 1: Collect the things to make AC at home
We will be designing a Peltier based AC module to make a portable Air Conditioner.
The following are the list of things you will need along with the knowledge for all about inverter technology in ac:
- 12v DC Cooling Fan
- 12v DC Power Adapter
- Digital Thermoelectric Sensor for Room Temperature
- Thermoelectric Peltier Cooler
- Aluminum Heatsink Radiator (2)
- I/O SPST Switch with Wire
- Craft Board Sheets (Medium Thickness)
- Some Toothpicks and Ice Cream Craft Sticks
You can find all of this stuff online on Amazon or electric stores as well.


2 Step 2: Design the Outer Body of the Air Conditioner
1. Take three craft board sheets to make the outer body of our DIY AC. Cut one sheet measuring 38 cm (l) and 26 cm (b). Cut the other two sheets in 26 cm (l) and 13 cm (b). Join both of these sheets on the sides with glue to make an open-ended rectangular box.
2. To make the front side window of our AC, we need to take another sheet of 38 cm (l) and 13 cm (b). Leave an 8 cm space on the left side of the sheet and 2 cm on the right side to cut the window into a rectangular shape. Also, design three sleek horizontal vents in the size of 28 cm (l) and 3.5 cm (b).
3. Fix three toothpicks into the vents at equal spacing on the window lining on the left side, apply glue, and join the vents respectively in the horizontal manner. Now insert toothpicks from the outer side of the window lining on the right side. Finally, connect the vents from both sides with the toothpicks.
4. Get an Ice-cream craft stick and make three holes to poke the toothpicks. Now, fix the ice cream stick to the right side of the window vents by poking the toothpicks into the sheet, to make it flutter across the area.
5. Our moving window vents literally give the feeling of DIY AC at home. Finally, connect this sheet on the front-end of the previously prepared box. Our outer body is ready to work. Here you go!
3 Step 3: Making of the AC Mechanism
To make the inside AC system, take the heatsink and place the Peltier module on it in such a manner that the heating side is towards the heatsink. Cover the entire side with an aluminium foil for thermal control. Now put another heatsink on the cooling side of the Peltier Cooler. Use thermal grease to stick it firmly.
Place the cooling fan on both the sides of heatsinks and connect it well. Next, connect all the negative ends of the wire into one and positive ends of the wire into one. This is one module for the AC mechanism. You can make two for a good amount of cooling.
Get a cardboard sheet and place the modules on it in such a way that it doesn’t move. Now place this entire sheet inside the outer body of AC and stick it with the glue.
4 Step 4: Run the Homemade AC
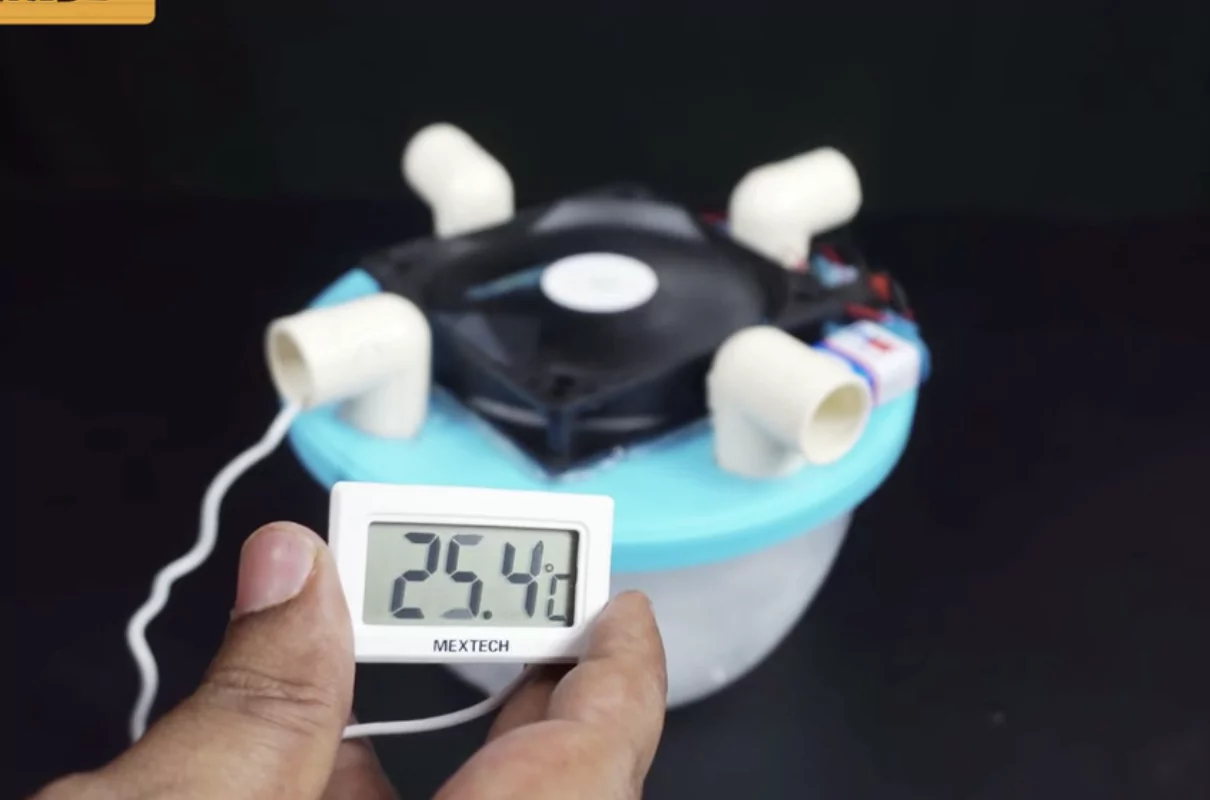
In the final step, attach the I/O Switch in the front side of the outer body and make a hole to pass the wire inside the box. Similarly, attach the digital thermoelectric sensor to measure the room temperature and pass the wire through the hole.
Close the backside of the outer body with a 38 cm (l) and 13 cm (b) cardboard sheet. Make 4-6 medium holes for the air to pass through. Next, connect the 12v DC power supply adapter from the backside of the cardboard box and pass the wire through the hole. Connect the module, I/O switch, and sensor respectively to the positive and negative ends of the power adapter.
Plugin the adapter with the main switchboard. At last cover the upper side of the outer body with a cardboard sheet using glue to make it portable.
Voila, it’s testing time! Enjoy the cool breeze and let us know your experience in the comments below.
Till then, stay tuned for more of such cool AC DIYs at home.
Happy Cooling!
Community Q&A
About This Article

Hardik Jethva is an experienced author of the BestCheck family. Working from scratch, he has developed an amazing interest in testing and writing about different products in a transparent manner. His writing skills got more audience for BestCheck. Apart from his professional life, Hardik has his eyes on travelling, meditation, eating healthy food, socializing with people, and car rides.
This article has been viewed 2025 times.

Featured Articles
 Beat the Heat with 7 top 5-star Inverter Split ACs in India
 Best Ceiling Fans in India under 3000 – Homes & Kitchens