
How to Open Laptop – Step by Step Guide
Welcome to this in-depth guide designed to assist you in understanding the various processes involved in opening a laptop. Whether you’re a casual user, a tech enthusiast, or even an IT professional, you’ve come to the right place. This guide aims to be an authoritative resource for anyone looking to get under the hood of their laptop—both figuratively and literally.
Navigating the inner workings of a laptop without knowing how to open laptop can be a daunting experience, especially if you’re new to it. From gaining access to internal components like RAM, SSDs, or the cooling system, to troubleshooting problems with your keyboard and screen, our step-by-step instructions are tailored to guide you through each process with utmost clarity. This guide is meticulously crafted to serve beginners who are taking their first steps into hardware troubleshooting, as well as experienced users who are looking for a reliable point of reference.
-
Instructions for Opening a LaptopDetailed procedures for safely accessing the internal hardware components.
-
Keyboard Removal TechniquesStep-by-step guidelines on how to successfully remove and possibly replace your laptop's keyboard.
-
Screen DisassemblyA structured approach to detaching the laptop screen, useful for repair or replacement tasks.
-
Alternate Powering MethodsProcedures for turning on your laptop when the conventional power button is not an option.
-
Required ToolsA comprehensive list of tools necessary for each operation.
-
Safety MeasuresImportant precautions to take into account to ensure a risk-free operation.
1 How to Open a Laptop
Required Tools
- A set of precision screwdrivers
- A plastic prying tool or guitar pick (for certain models)
- An anti-static mat or wristband
- A clean workspace
Step 1: Turn Off the Laptop and Unplug It
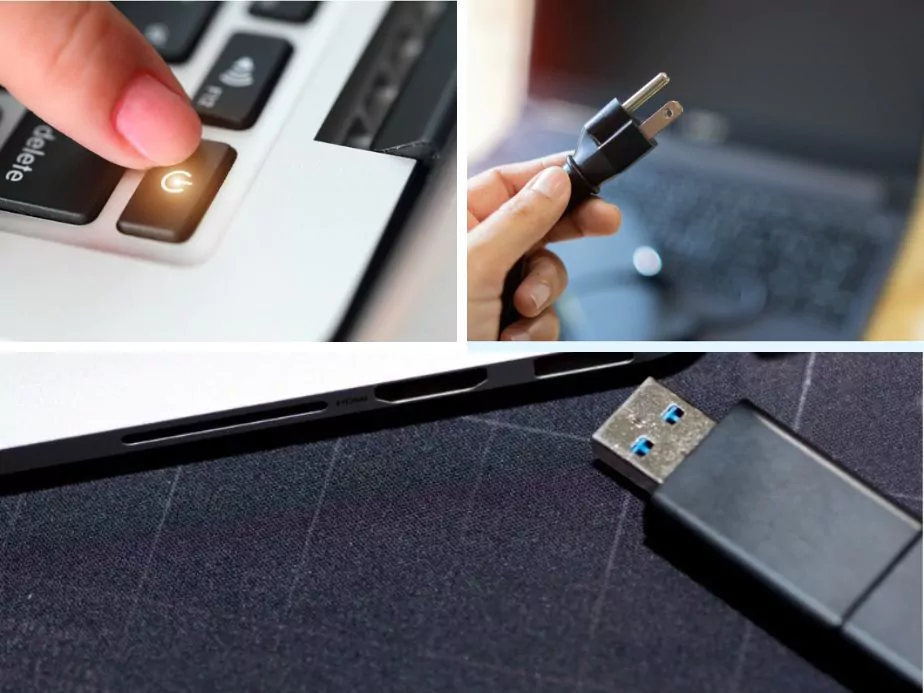
Before opening your laptop, make sure it’s turned off and disconnected from any power sources.
- Turn off the laptop.
- Unplug the laptop charger.
- Remove any connected peripherals like mouse, USB drives, etc.
Step 2: Remove the Battery
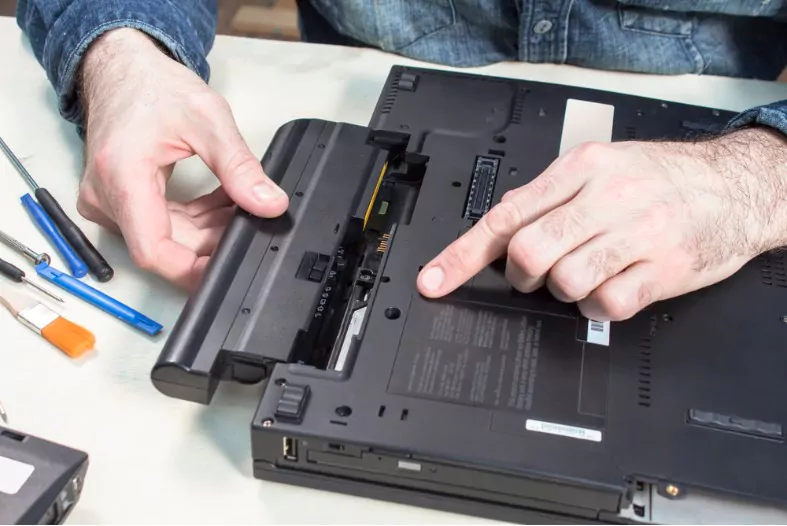
Remove the battery if it is removable. This can usually be done by sliding or unlocking a battery latch at the bottom of the laptop.
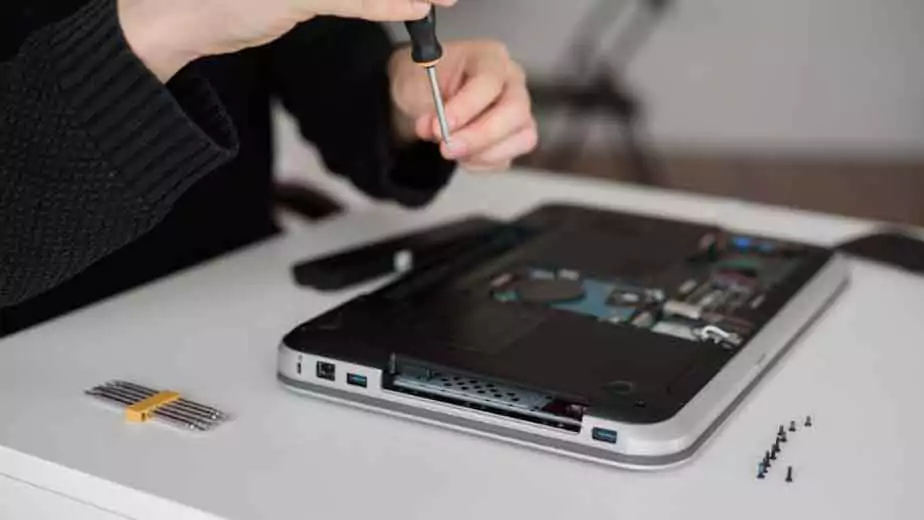
Step 3: Open the Back Panel
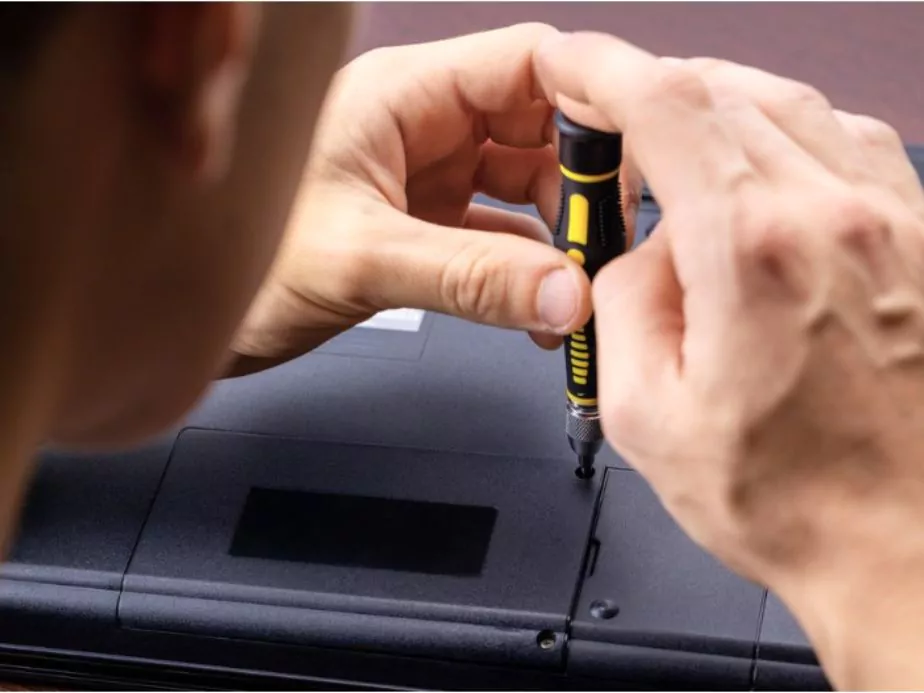
- Locate the screws on the bottom panel of the laptop.
- Use a suitable precision screwdriver to unscrew these.
- Gently lift or slide off the back panel using your hands or a plastic prying tool.
Step 4: Access the Internal Components
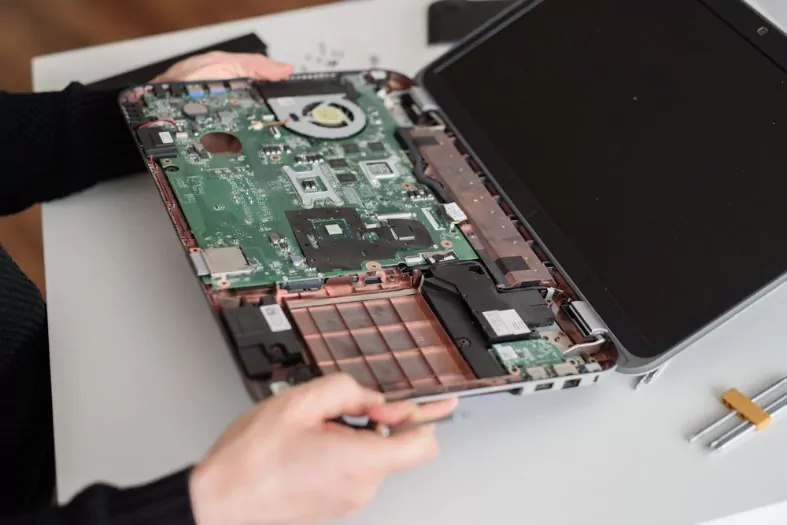
You can now access the internal components like RAM, HDD/SSD, and the cooling system. Be careful not to touch any components if you aren’t sure what you’re doing.
2 How to Open a Laptop Keyboard
Required Tools
- A Set of Precision Screwdrivers
- Microfiber Cloth:
- Magnetic Parts Tray (Optional)
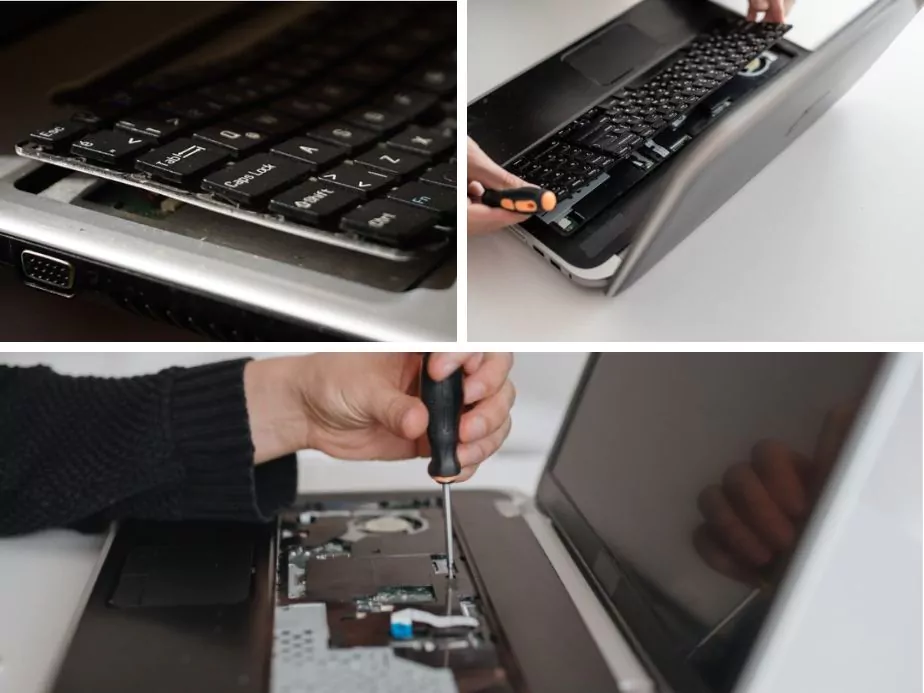
Step 1: Identify the Type of Keyboard Attachment
Some keyboards are attached with screws from the bottom, while others are snapped into place.
Step 2: Remove Screws If Necessary
If your keyboard is screwed in:
- Locate the screws on the bottom that correspond to the keyboard (they may be marked with a small keyboard icon).
- Unscrew them carefully.
Step 3: Pry the Keyboard
For Snap-On keyboards:
- Insert a plastic prying tool or a flat-head screwdriver carefully between the keyboard and the laptop body.
- Gently lift the keyboard starting from one corner and proceed to unsnap it as you move along the sides.
Step 4: Disconnect the Ribbon Cable
- Locate the ribbon cable that connects the keyboard to the motherboard.
- Carefully disconnect it, usually by lifting a small latch.
3 How to Open a Laptop Screen
Required Tools
- A set of precision screwdrivers
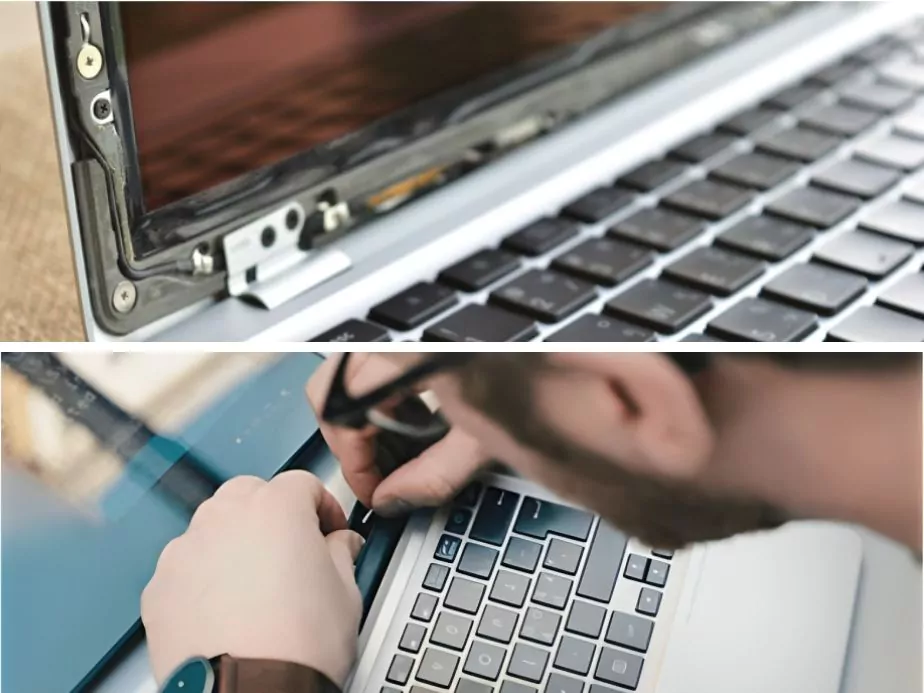
Step 1: Remove the Screw Covers
- Locate the screw covers around the bezel of the screen.
- Carefully remove them using a flat tool.
Step 2: Unscrew the Bezel
- Unscrew the screws holding the bezel in place.
- Carefully lift off the bezel.
Step 3: Remove the Screen
- Unscrew the screws that hold the screen onto the lid.
- Lift the screen out carefully.
4 How to Open a Laptop Without a Power Button
Required Tools
- Flathead Screwdriver
Step 1: Locate the Power Button’s Connector
Open the back panel or keyboard to locate the power button’s connector on the motherboard.
Step 2: Identify the Power Pins
Usually, the power button connector will lead to two power pins on the motherboard.
Step 3: Short the Pins
- Use a flat-head screwdriver to carefully short the pins by touching them simultaneously.
- This will power on the laptop if done correctly.
FAQ's about How to open Laptop
1. Is it safe to open my laptop myself?
Opening a laptop involves some level of risk if you are not familiar with the procedure or the internal components. However, if you follow safety guidelines and step-by-step instructions carefully, you can safely access the internals of your laptop. Always remember to unplug the laptop and remove the battery before opening it.
2. What tools will I need to open my laptop?
You will generally need a set of precision screwdrivers, a plastic prying tool or guitar pick, and an anti-static mat or wristband. Each section of the guide specifies the tools you’ll need for the specific operation.
3. Will opening my laptop void the warranty?
In many cases, opening the laptop yourself can void the manufacturer’s warranty. It’s advisable to check your warranty terms and conditions before proceeding.
4. Can I replace or upgrade hardware components myself?
Yes, many components like RAM, HDD/SSD, and sometimes even the CPU can be replaced or upgraded. However, make sure to consult your laptop’s manual or manufacturer’s website to know what components are user-replaceable.
5. How can I turn on my laptop if the power button is not working?
The guide includes a section that shows how to locate the power button’s connector on the motherboard and short the pins to power on the laptop. This should be done carefully and as a last resort.
6. Is it possible to remove the laptop screen?
Yes, the screen can usually be detached after removing specific screws and possibly disconnecting some cables. The guide includes a detailed section on how to do this.
7. What should I do if I encounter problems while following this guide?
If you encounter any issues, it’s recommended to consult a professional. Incorrectly handling internal components can result in permanent damage to your laptop.
8. Do I need to take any static precautions?
Yes, static electricity can damage internal components. It’s advised to use an anti-static mat or wristband when performing these tasks.
9. How do I know which screws to remove for opening the back panel or detaching the keyboard?
The guide outlines how to locate these screws. In many cases, screws associated with a component (like the keyboard) may have a corresponding icon next to them.
10. Is this guide applicable for all laptop brands?
The general principles covered in this guide apply to most laptops, but the exact procedures may differ depending on the brand and model. Always refer to your laptop’s specific user manual for model-specific instructions.
Community Q&A
About This Article

This article has been viewed 826 times.

Featured Articles
 7 Best Laptops under 30000 Rupees to Buy in 2024
 How to Format Laptop Windows 10 and 7 – Step by Step Guide