
How To Remove Pressure Marks From Laptop Screen – Step by Step Guide
Welcome to our comprehensive guide on how to remove pressure marks from laptop screen. If you’ve noticed disturbing blemishes or discoloured spots on your screen, it’s likely you’re dealing with pressure marks. These can be quite distracting, especially when you’re working on important projects or enjoying your favourite movies. Fortunately, there are various methods to treat these pressure marks, and we’re here to guide you through them.
- Understanding Pressure Marks
- Common Causes of Pressure Marks
- Simple DIY Methods To Remove Pressure Marks From Laptop
- Using Specialized Screen Repair Kits
- What You Will Need
- Step 1: Prepare Your Work Area
- Step 2: Turn Off Your Laptop
- Step 3: Clean the Screen
- Step 4: Read Instructions Carefully
- Step 5: Apply Specialized Cleaning Solution
- Step 6: Use the Tools Provided (If Any)
- Step 7: Dry and Check
- Step 8: Repeat (If Necessary)
- Step 9: Final Cleaning
- Step 10: Dispose of Materials
- When to Seek Professional Help
- FAQ's about How to remove pressure marks on Laptop screen
1 Understanding Pressure Marks
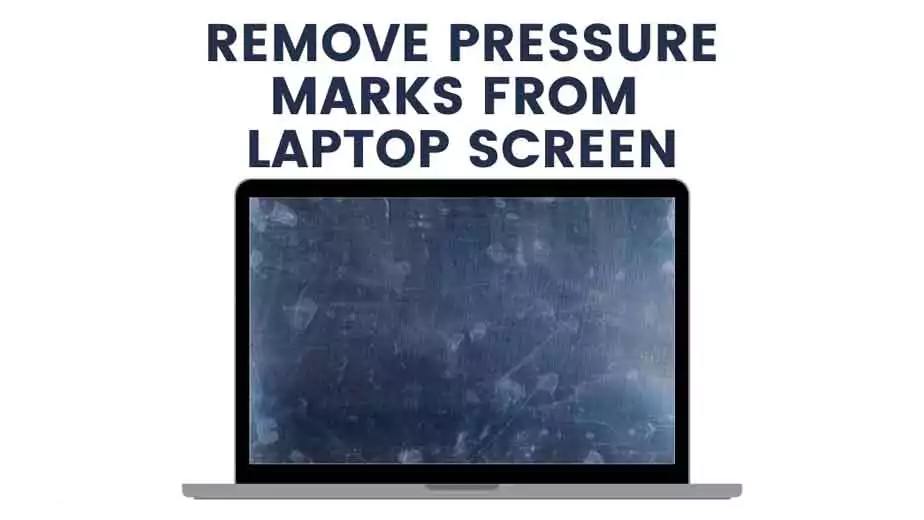
What Are Pressure Marks?
Pressure marks are discoloured or darkened areas that appear on LCD screens, including laptop screens. These marks typically form when excess pressure is applied to the screen, either from the front or back. Unlike dead pixels or screen burns, pressure marks are usually not caused by the display technology itself but by physical force.


 15s-fq5007TU")
2 Common Causes of Pressure Marks
Accidental Pressure: Applying accidental force to the screen, like placing heavy objects on a closed laptop.
Inadequate Storage: Store the laptop in a cramped space, such as a stuffed backpack, where it can be compressed.
Manufacturing Flaws: Sometimes, pressure marks are due to flaws in manufacturing and can appear shortly after purchase.
Screen Touch or Taps: Continuous tapping or touching the screen can also cause pressure marks, especially on touch-screen laptops.
Lid Closures: Closing the laptop lid with objects like pens or earbuds left on the keyboard can cause pressure marks on the screen.
3 Simple DIY Methods To Remove Pressure Marks From Laptop
What You Will Need:
- A soft microfiber cloth
- Warm water
- A flat, clean workspace
- Optional: Compressed air canister for dust removal
Step 1: Prepare Your Workspace
- Choose a clean, flat surface where you can lay your laptop.
- Make sure the workspace is free from dust or particles that might scratch or damage your screen further.
Step 2: Turn Off Your Laptop and Unplug
- Safety first! Turn off your laptop and unplug it from any power source to minimize the risk of electrical shock and further damage to the screen.
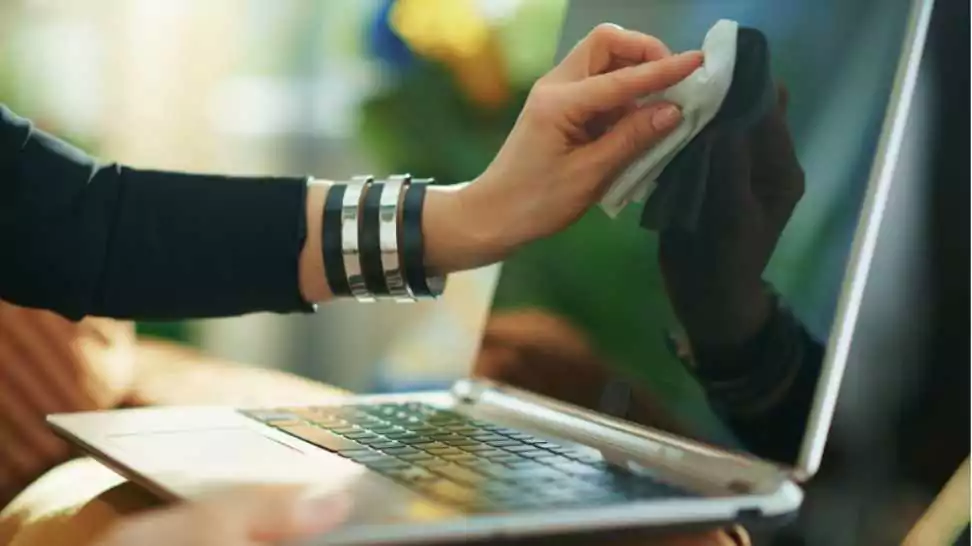
Step 3: Clean Your Screen
- Use a soft microfiber cloth to gently remove any dust or debris from your laptop screen.
- Optionally, you can use compressed air to blow away loose particles, but do this from a distance to avoid causing more pressure marks.
Method 1: The Gentle Rubbing Method
Step 4: Begin Rubbing Gently
- Fold your microfiber cloth so that you have a soft, cushioned edge.
- Gently rub the cloth on the affected area in a circular motion. Apply consistent but light pressure.
Step 5: Check the Screen
- Turn your laptop back on to see if the pressure mark has been removed or reduced.
- If the mark is still visible, you may repeat this method a couple more times.
Method 2: The Warm Cloth Method
Step 6: Prepare a Warm Cloth
- Dampen another section of your microfiber cloth with warm water.
- Wring out the cloth to remove excess water, making sure it is damp but not dripping.
Step 7: Apply the Warm Cloth
- Place the damp, warm cloth over the affected area.
- Gently press down with your fingers, being careful not to apply too much pressure.
Step 8: Check the Screen
- Remove the cloth and turn your laptop back on to check for improvements.
- If the pressure mark persists, you may try this method again.
Step 9: Final Cleanup
- Once you are satisfied with the result or have decided to seek professional help, clean the screen one last time with a dry microfiber cloth.
- Turn your laptop on to make sure the screen is clear and the pressure marks are gone or reduced.
Step 10: Power On and Observe
- Turn your laptop on and review the screen to see if the pressure marks have been successfully removed. If they haven’t, you may need to move on to specialized kits or professional assistance.
4 Using Specialized Screen Repair Kits
What You Will Need
- Specialized Screen Repair Kit (typically includes specialized cleaning solutions, microfiber cloths, and sometimes a small suction cup or similar tool)
Gloves - A flat, clean workspace
- Optional: Compressed air canister for dust removal
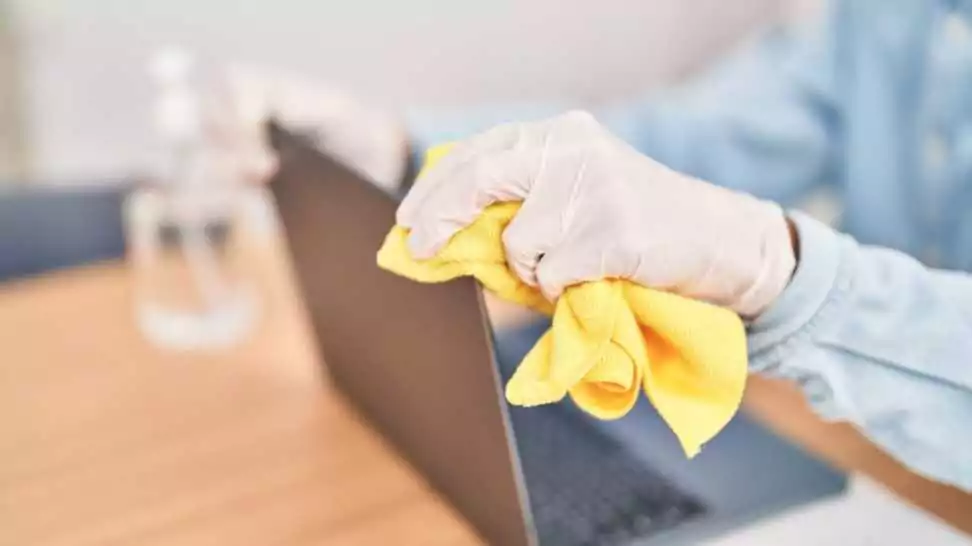
Step 1: Prepare Your Work Area
- Clear a flat workspace where you can lay your laptop.
- Ensure the area is clean to avoid additional damage to your laptop screen.
- Put on gloves to prevent oils or dirt from your hands from affecting the repair process.
Step 2: Turn Off Your Laptop
- Always turn off your laptop and unplug it from any power sources to minimize the risk of electrical shocks and further damage.
Step 3: Clean the Screen
- Use a microfiber cloth to remove any dust or debris from the screen.
- Optionally, you can use a canister of compressed air to blow away any loose particles.
Step 4: Read Instructions Carefully
- Before you begin, read the instructions that come with your specialized screen repair kit. Different kits have different methods and components, so it’s essential to understand the procedure specific to your kit.
Step 5: Apply Specialized Cleaning Solution
- Use the specialized cleaning solution provided in your kit. Apply it to a microfiber cloth.
- Gently rub the affected area, following the instructions given in your kit.
- Note: Never pour the solution directly onto the screen.
Step 6: Use the Tools Provided (If Any)
- Some kits come with additional tools, like a small suction cup, to help remove pressure marks. If your kit includes such tools, use them as directed in the instruction manual.
Step 7: Dry and Check
- After you’ve applied the solution and used any tools, use a clean microfiber cloth to dry the screen.
- Turn on your laptop to check if the pressure mark has been successfully removed.
Step 8: Repeat (If Necessary)
- If the pressure mark is still visible, you may need to repeat the process. Make sure to read your kit’s guidelines on how many times you can safely repeat the procedure.
Step 9: Final Cleaning
- Once you’re satisfied with the results, clean your screen once more with a fresh microfiber cloth to remove any remaining solution or residue.
Step 10: Dispose of Materials
- Dispose of any used clothes and empty solution bottles according to your local disposal regulations and the kit’s guidelines.
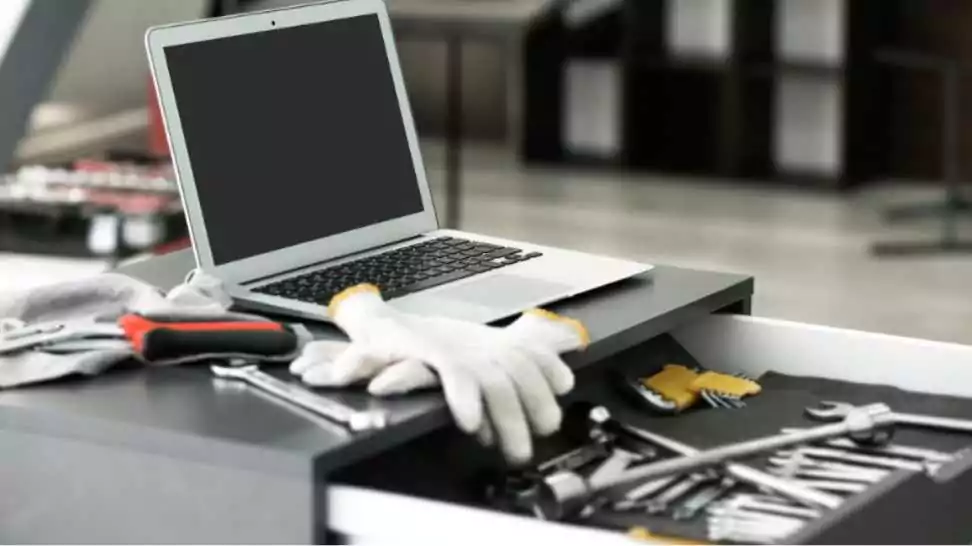
5 When to Seek Professional Help
Pressure marks on your laptop screen can be highly distracting and can even degrade the quality of your display over time. While many minor pressure marks can be fixed using simple DIY methods or specialized kits, there are instances when professional intervention is the most viable option. Below are some guidelines to help you determine when it’s time to consult a professional, along with what you can expect in terms of cost and process.
1. Severity of the Pressure Marks
The most immediate indicator that you need professional help is the severity of the pressure marks. If you’ve tried DIY methods and used specialised kits with no improvement—or even worsening of the condition—it’s time to consult a specialist.
2. Impact on Functionality
Sometimes pressure marks can interfere with the screen’s touch sensitivity or visibility, severely impacting your ability to use the laptop effectively. In such cases, DIY solutions may not suffice, and professional assistance becomes imperative.
3. Persistent Issues
If the pressure marks continue to reappear after you’ve attempted to remove them, there could be a more serious underlying issue with your laptop’s screen that requires professional diagnosis and repair.
4. Warranties and Guarantees
Before seeking professional repair, check if your laptop is still under warranty. If it is, consult your warranty guidelines to see if screen repair or replacement is covered. Keep in mind that attempting to repair it yourself could void the warranty, so if you’re covered, it’s often best to go straight to the professionals.
5. Cost Expectations
The cost for professional screen repair can vary greatly depending on several factors, including the severity of the pressure marks, the make and model of your laptop, and whether or not you’re covered by a warranty. Prices can range from $100 to several hundred dollars for more severe cases that require screen replacement.
6. Process and Timeframe
Once you’ve decided to seek professional help, the typical process involves diagnosing the problem, offering a repair quote, and then performing the necessary repairs or replacements. The timeframe can vary but expect to be without your laptop for at least a few days.
By understanding when to seek professional help, you’re better equipped to make informed decisions on how to deal with pressure marks on your laptop screen effectively.
FAQ's about How to remove pressure marks on Laptop screen
What causes pressure marks on laptop screens?
Pressure marks are usually caused by uneven force applied to the screen. This can happen due to pressing too hard with your fingers or placing objects on the closed laptop.
Are pressure marks permanent?
Pressure marks are not always permanent and can often be fixed using various methods, such as those outlined in this guide.
Can I use a regular cloth to rub the screen?
It’s recommended to use a soft microfiber cloth to prevent further scratches or damage.
Can I use alcohol to clean the screen?
Avoid using alcohol or other abrasive cleaners, as they can damage the screen further.
How long should I use the warm cloth method?
Typically, a minute should be sufficient. However, if the marks persist, you can try repeating the process.
Where can I buy a specialized screen repair kit?
These kits are usually available at electronics stores or online retailers.
How much does professional repair cost?
The cost can vary greatly depending on the severity of the pressure marks and the specific repair service. It’s best to get a quote for your particular situation.
Can pressure marks spread over time?
Yes, if left untreated, pressure marks can spread and worsen, affecting the overall display quality.
Is it possible to prevent pressure marks?
Being cautious when handling your laptop and avoiding putting pressure on the screen can help prevent these marks.
Can pressure marks affect touchscreen functionality?
In some cases, severe pressure marks can affect the touchscreen’s responsiveness.
Community Q&A
About This Article

Hardik Jethva is an experienced author of the BestCheck family. Working from scratch, he has developed an amazing interest in testing and writing about different products in a transparent manner. His writing skills got more audience for BestCheck. Apart from his professional life, Hardik has his eyes on travelling, meditation, eating healthy food, socializing with people, and car rides.
This article has been viewed 883 times.

Featured Articles
 7 Best Laptops under 30000 Rupees to Buy in 2024
 How to Format Laptop Windows 10 and 7 – Step by Step Guide