
Step-by-Step Guide: How to Make Ghee from Malai?
If you’re passionate about exploring the traditional essence of Indian cuisine, there’s no better place to start than learning how to make ghee from malai. This ancient culinary practice has been passed down through generations and continues to be a staple in kitchens across the Indian subcontinent. Ghee, a type of clarified butter, holds a special place in Indian cooking, lending its distinct, rich flavour to a variety of dishes, from curries to sweets. Not just a cooking medium, ghee is revered for its medicinal and nutritional properties, playing a significant role in Ayurvedic practices.
Whether you’re an aspiring home chef seeking to try your hand at something new or you’re simply interested in the health benefits of this golden elixir, this guide will walk you through the process of making ghee from malai right at home. Making ghee might seem intimidating at first, but with careful guidance, anyone can master this art. Let’s unravel this culinary journey together!
1 Step 1: Gathering the Ingredients
First things first, to create ghee, you need malai. Malai is a thick layer of fat and proteins that accumulate on top of milk when it is boiled and cooled. This cream is what eventually becomes your delicious, aromatic ghee. For making ghee, full-fat milk is recommended. Approximately 1 litre of full-fat milk will yield about 100-150 grams of ghee, depending on the quality of the milk.
You will need:
- Full-fat milk (preferably organic)
- A large, heavy-bottomed pot
- A ladle
- A clean, dry jar for storing the ghee
- A strainer or cheesecloth
Remember, ghee is a pure form of fat, and thus, its quality heavily depends on the quality of milk used. Opting for organic, grass-fed milk can greatly enhance the nutritional profile of your homemade ghee.
2 Step 2: Collecting Malai
The process of collecting malai is a gradual one. Here’s how you do it:
- Boil the full-fat milk in a heavy-bottomed pot. Once it comes to a boil, lower the flame and let it simmer for a couple of minutes.
- Remove the pot from the heat and allow the milk to cool down to room temperature.
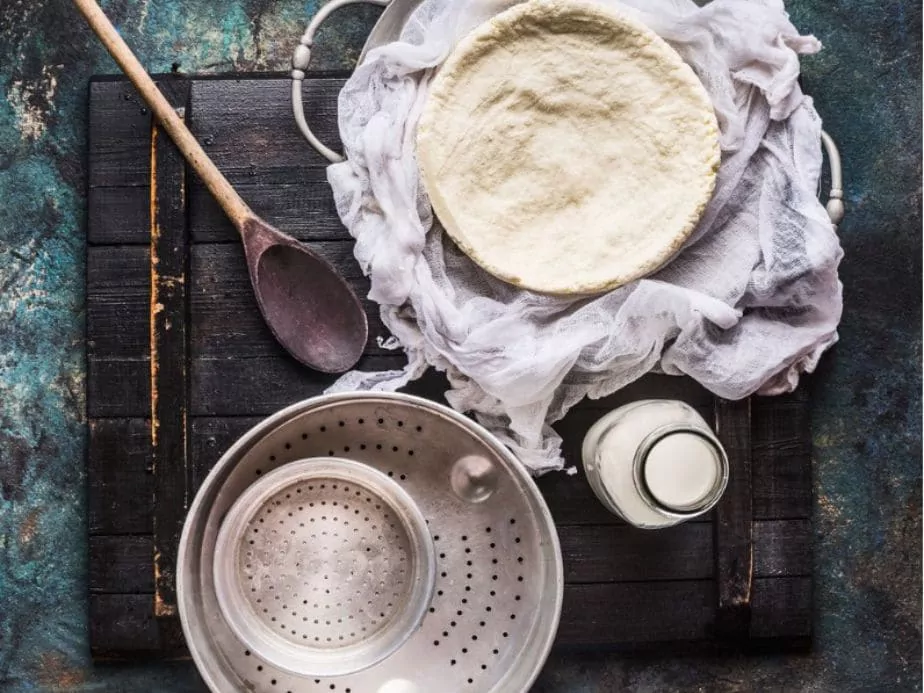
- Once cooled, a thick layer of cream (malai) will form on the top. Carefully collect this malai with a ladle or spoon and transfer it to a separate container.
- Repeat this process daily until you’ve collected a substantial amount of malai.
3 Step 3: Making Butter from Malai
Before you can make ghee, you need to churn the malai into butter. Here’s how:
- After you’ve collected enough malai (generally over a week or two), add a little bit of curd or leftover sour cream to it. This helps in the fermentation process. Stir it well and leave it in the refrigerator overnight.
- The next day, take the fermented malai out of the fridge and let it come to room temperature.
- Once at room temperature, you can either use a traditional churner or a blender to churn the malai into butter. If you’re using a blender, blend at a slow speed until the butter separates from the buttermilk.
- Separate the butter using a strainer or cheesecloth, and your homemade butter is ready.
4 Step 4: Making Ghee from Butter
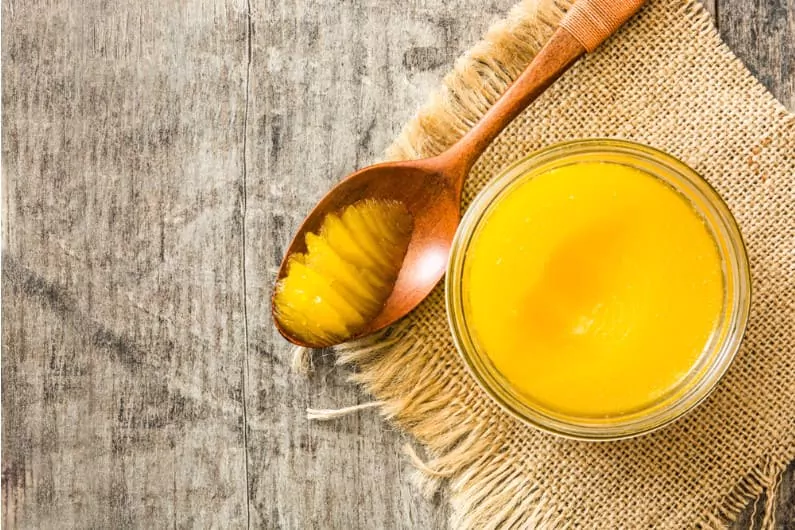
Now comes the final and most gratifying part: turning that homemade butter into ghee. Here are the steps:
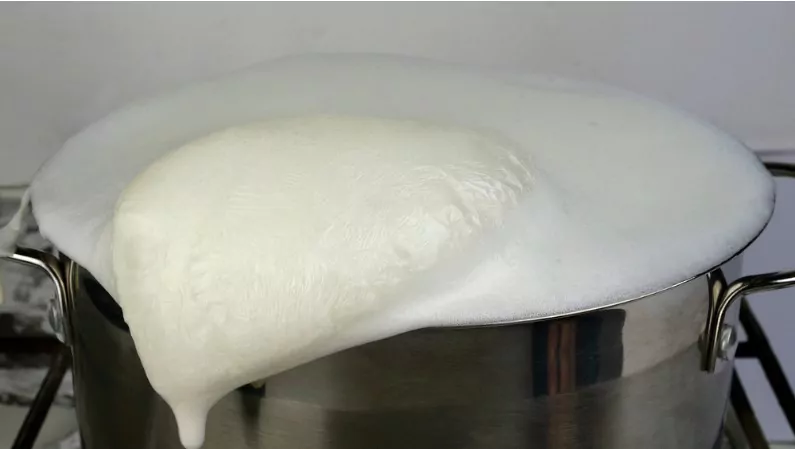
- Melt the homemade butter in a heavy-bottomed pan over medium heat.
- As the butter begins to melt, it will froth and start to bubble. Stir occasionally to prevent burning.
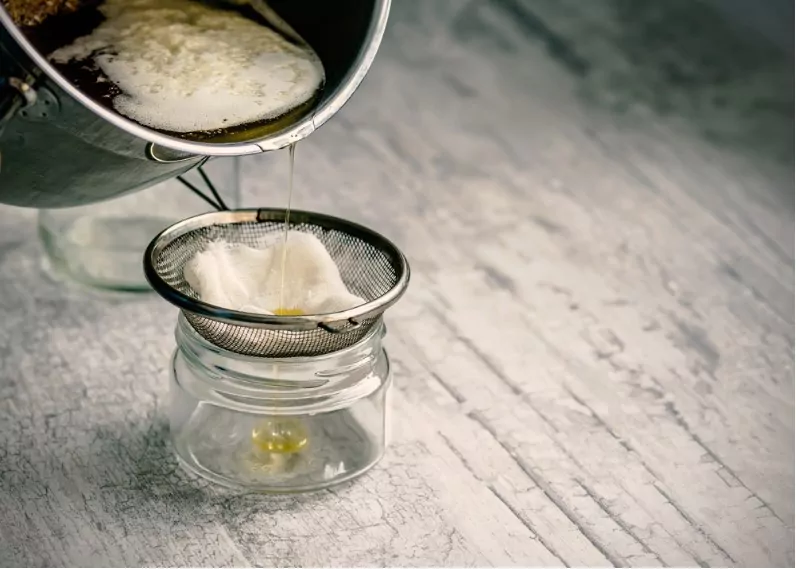
- The froth will gradually start to reduce, and the colour of the butter will change from yellow to golden brown.
- Continue to cook the butter on low to medium heat until the milk solids at the bottom of the pan turn brown and the bubbling subsides. The aroma of the ghee will become nutty and distinctive.
- Remove the pan from the heat and allow the ghee to cool slightly. Be careful not to burn the ghee, as it can become bitter and lose its delightful aroma.
- Once cooled but still in liquid form, strain the ghee into a clean, dry jar. It’s crucial to strain the ghee to remove any residual milk solids.
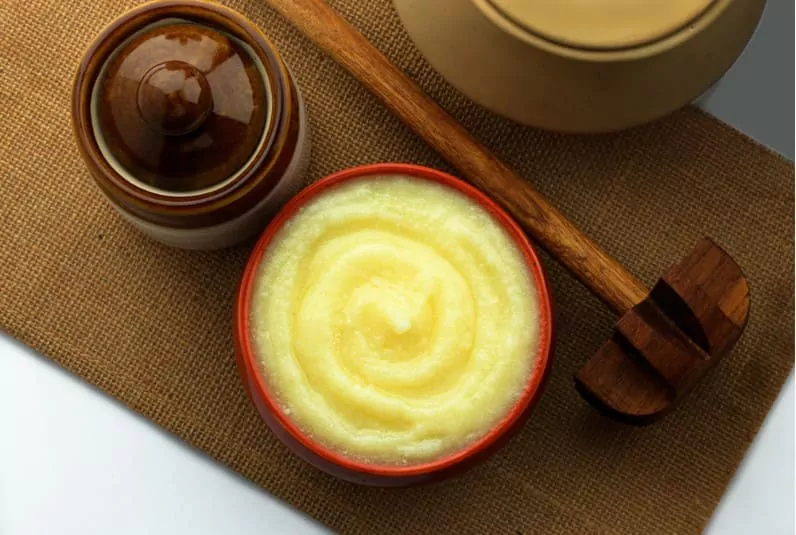
- Your homemade ghee is now ready! It will solidify as it cools, taking on a creamy, slightly grainy texture.
5 Preserving and Using Your Homemade Ghee
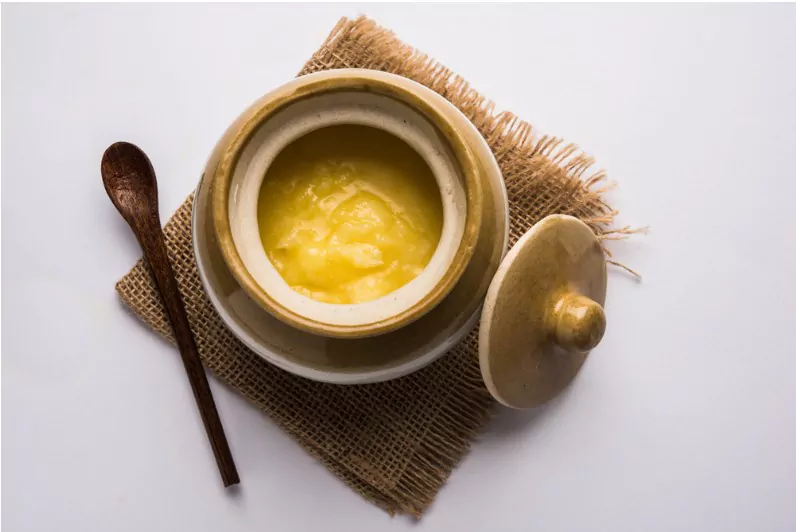
Properly prepared ghee has a long shelf life and does not require refrigeration. If stored correctly in an airtight jar, it can last for months or even a year. However, it’s essential to always use a clean, dry spoon when handling the ghee to avoid contamination.
Ghee’s uses in the kitchen are as diverse as they are delicious. Its high smoke point makes it ideal for frying and sautéing, and it can replace oil or butter in most recipes, adding a rich, nutty flavour. It’s a staple in Indian sweets, and a spoonful of ghee on hot steamed rice is a simple pleasure you won’t want to miss.
6 Health Benefits of Ghee
Ghee isn’t just a flavorful addition to your kitchen; it offers a plethora of health benefits. It’s rich in fat-soluble vitamins A, D, E, and K, which contribute to bone, brain, heart, and immune system health. The fatty acids in ghee, such as conjugated linoleic acid (CLA) and butyrate, have been linked to numerous health benefits, including reducing inflammation and promoting gut health. Ayurveda lauds ghee for its medicinal properties, using it in numerous remedies and treatments.
7 Wrapping Up
Making ghee from malai at home is a beautiful tradition that pays tribute to the age-old wisdom of Indian culinary practices. This labour of love culminates in a jar of golden delight, unparalleled in its purity and taste by any commercial counterpart. The process, though time-consuming, is simple and immensely satisfying. Not only does it provide you with a staple ingredient in Indian cooking, but it also offers a multitude of health benefits. So why not start collecting that malai and embark on this culinary journey? Your kitchen and your health will thank you!
Community Q&A
About This Article

This article has been viewed 473 times.

Featured Articles
 How to Make Crispy Dosa at Home? Crispy Dosa Recipe
 How to Whip Cream in Mixer Grinder [6 Easy Steps!]