
A Journey Into Flavor: How to Make Pani Puri at Home?
Hello culinary explorers! Today we embark on a journey to explore one of India’s most beloved street foods, the pani puri. Whether you call it pani puri, gol gappa, or puchka, this delightful bite-size snack packs a punch of flavor that will transport you to the bustling streets of India.
Before we dive into the specifics, let’s first explore the origins and the elements of this beloved dish. The name pani puri literally translates to ‘water bread’. ‘Pani’ meaning water, signifies the spicy, tangy, and sweet water, while ‘puri’ refers to the hollow, crispy shells that hold the delicious fillings.
So, let us learn how to make Pani Puri at home!
1 Ingredients
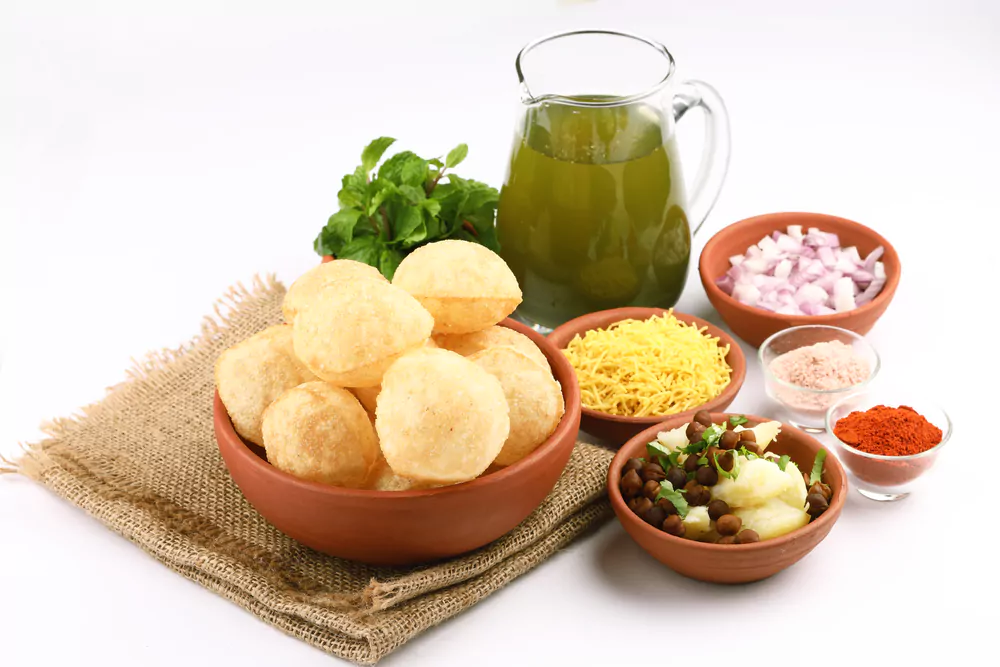
1. For Puris
- Semolina (Sooji/Rava): 1 cup
- All-Purpose Flour (Maida): 1 tablespoon
- Baking Soda: 1 pinch
- Salt: As per taste
- Warm Water: As required
- Oil: For deep frying
2. For Pani (Spiced Water)
- Mint Leaves: 1 cup
- Cilantro (Coriander leaves): 1/2 cup
- Green Chili: 2
- Tamarind Pulp: 3 tablespoons
- Jaggery (Gur): 2 tablespoons
- Black Salt (Kala Namak): 1 teaspoon
- Cumin Powder (Jeera): 1 teaspoon
- Salt: As per taste
- Chilled Water: 4 cups
3. For Filling
- Potatoes: 2 medium, boiled
- Brown Chickpeas: 1/2 cup, boiled
- Onion: 1 small, finely chopped
- Chat Masala: 1/2 teaspoon
- Salt: As per taste
2 Step-by-step Guide
Now that we have gathered all the ingredients, let us go through step-by-step process of making pani puri.
Step 1: Preparing the Dough
Mix semolina, all-purpose flour, baking soda, and salt in a bowl. Add warm water little by little and knead until you have a firm dough. This is important, as a firm dough will ensure crispy puris. Cover the dough and let it rest for 30 minutes. This resting time allows the gluten to develop, which is necessary for achieving the desired texture.
Step 2: Rolling and Cutting the Puris
Divide the dough into marble-sized balls. Roll each ball into a thin disc using a rolling pin. If you want uniformly shaped puris, you can use a round cookie cutter. It’s crucial to roll the puris thin so that they puff up nicely.
Step 3: Frying the Puris
Heat oil in a deep frying pan over medium-high heat. Slide in a few puris; don’t overcrowd the pan. Use a slotted spoon to gently press them down as they fry. This encourages them to puff up. Once they’re golden and crispy, remove and drain on a paper towel.
Step 4: Preparing the Pani
In a blender, add mint leaves, cilantro, green chilies, tamarind pulp, jaggery, black salt, cumin powder, and salt with a little water. Blend until you have a smooth paste. Strain this mixture into a large bowl, and add chilled water. Taste and adjust seasoning according to your preference.
Step 5: Preparing the Filling
In a separate bowl, mash boiled potatoes and chickpeas. Add finely chopped onions, chat masala, and salt. Mix well. The filling should be flavorful but not too spicy as the pani will also have spices.
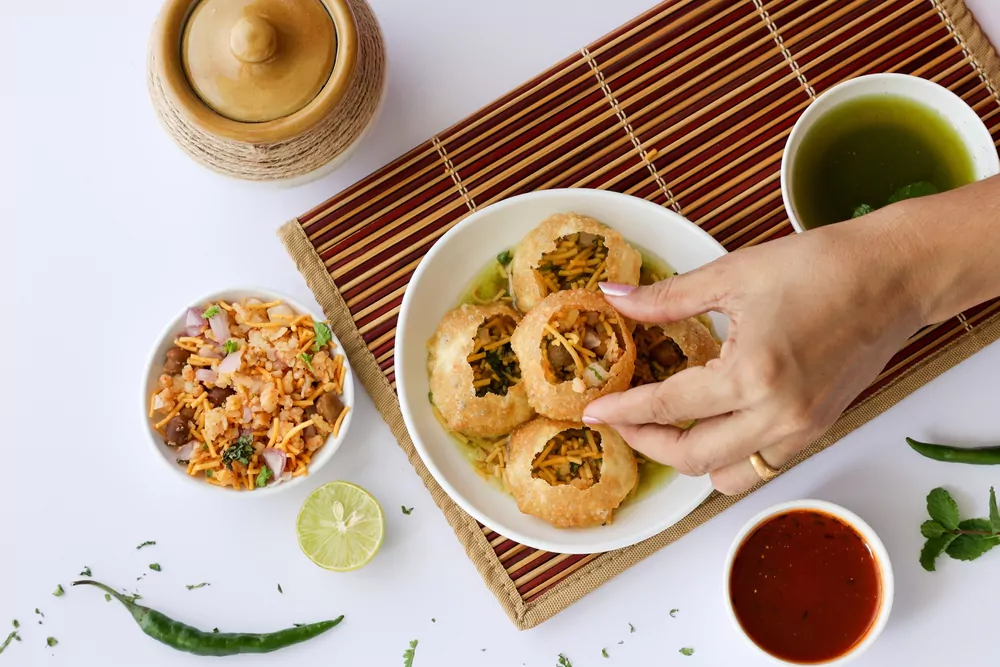
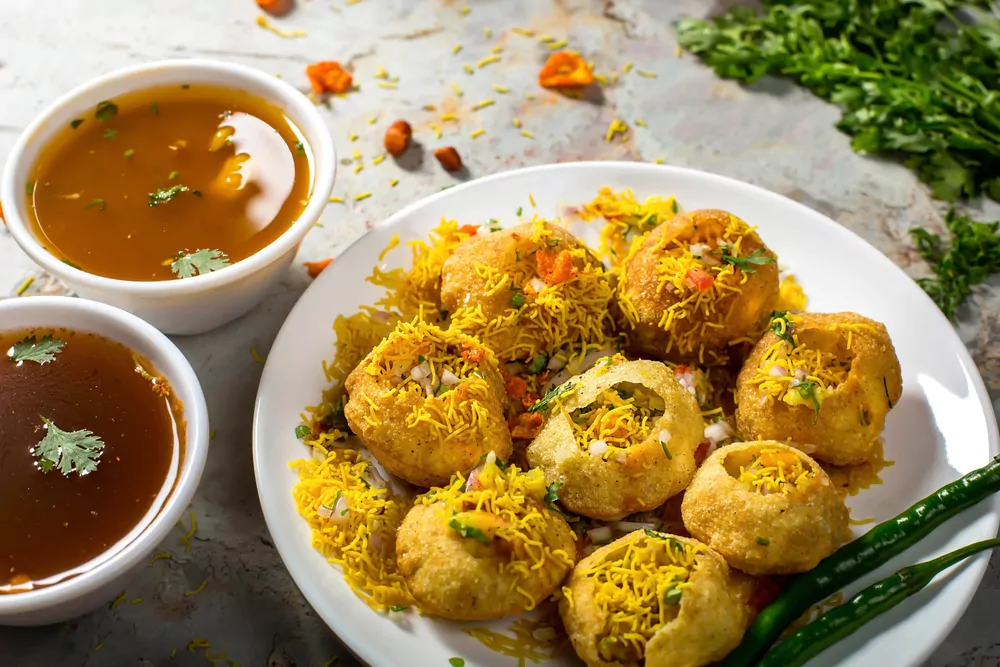
Step 6: Assembling the Pani Puri
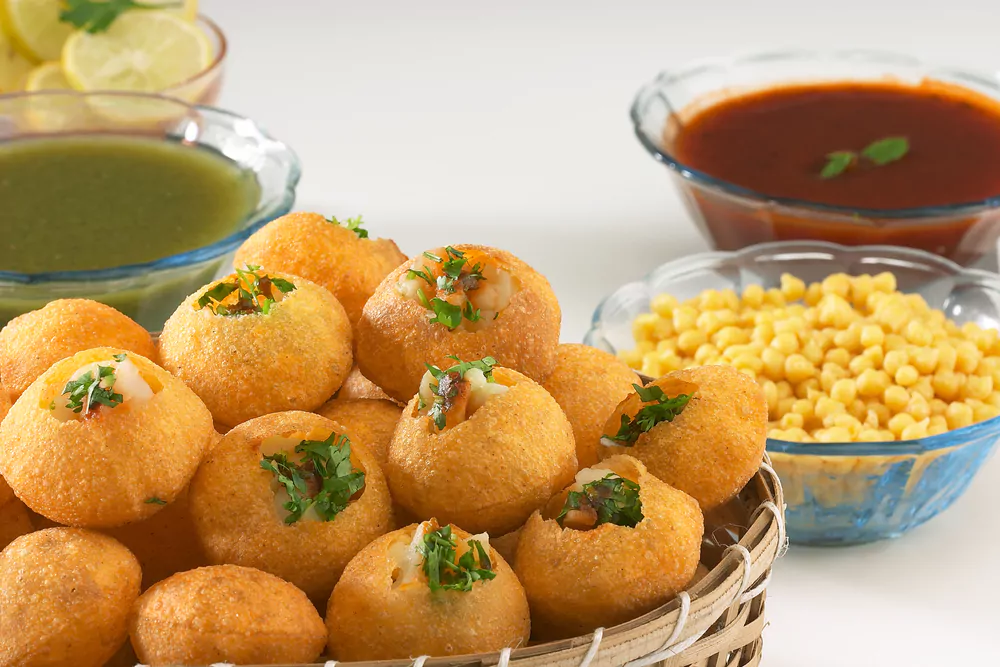
Carefully make a hole in the center of each puri. Stuff it with the potato filling and then dip it into the spiced water. Make sure the puri is well soaked in the pani.
Step 7: Relish the Flavors
This is the most enjoyable step. Eat the pani puri immediately! Experience the burst of flavors as the crispy puri combines with the spicy, tangy, and sweet water along with the savory filling.
3 Pro Tips
- Always serve pani puri fresh to enjoy the crunchiness of the puris.
- You can also serve with sweet tamarind chutney or pudina chutney for an added flavor dimension. You can also add sweet curd to make Dahi Puri!
- Experiment with different types of pani by adding ingredients like ginger or raw mango.
- Make sure to use chilled water for pani, as it enhances the taste.
4 Health Benefits and Nutrition
While pani puri is a street food snack and not specifically designed to be a health food, it does contain some nutrients. The ingredients used in pani, such as mint, tamarind, and cumin, have known health benefits. Mint is excellent for digestion, and tamarind can help control cholesterol levels. Cumin is rich in iron and promotes digestion. The filling, made with potatoes and chickpeas, provides some protein and fiber.
5 Wrapping up
Pani Puri is not just a dish; it’s an experience. The combination of textures and flavors is simply divine. It may seem like a lot of steps, but the process is quite simple and incredibly rewarding. So, don your apron, gather your ingredients, and embark on this culinary adventure to bring the tantalizing flavors of Indian street food to your kitchen. Happy Cooking!
Community Q&A
About This Article

Hardik Jethva is an experienced author of the BestCheck family. Working from scratch, he has developed an amazing interest in testing and writing about different products in a transparent manner. His writing skills got more audience for BestCheck. Apart from his professional life, Hardik has his eyes on travelling, meditation, eating healthy food, socializing with people, and car rides.
This article has been viewed 452 times.

Featured Articles
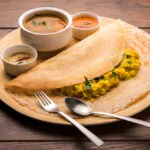 How to Make Crispy Dosa at Home? Crispy Dosa Recipe
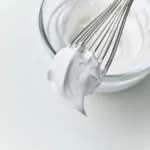 How to Whip Cream in Mixer Grinder [6 Easy Steps!]