
Simplify Search : How To Create A Rule In Gmail?
Managing your emails effectively is crucial in our digital age, especially considering the staggering amount of emails we receive daily. The need to categorise, filter, and streamline your inbox is more important than ever. Luckily, Gmail has a powerful tool for this purpose – the ability to create rules. In this blog post, we will delve into the specifics of “how to create a rule in Gmail” and utilise this feature to declutter and manage your email communications better.
1 Understanding the Importance of Creating a Rule in Gmail
Before we start explaining how to create a rule in Gmail, it’s important to understand why you should be doing it in the first place. Creating a rule in Gmail allows you to organise your inbox, reducing the time you spend managing your emails. Whether it’s automatically labelling emails, sending certain emails to the trash, or prioritising emails from specific senders, Gmail rules can significantly enhance your productivity.
2 So, How to Create a Rule in Gmail?
Creating a rule in Gmail, also known as setting up filters, can be done in a few easy steps. Here’s a step-by-step guide on how to create a rule in Gmail:
Sign into your Gmail account: The first step in how to create a rule in Gmail is to sign in to your account.
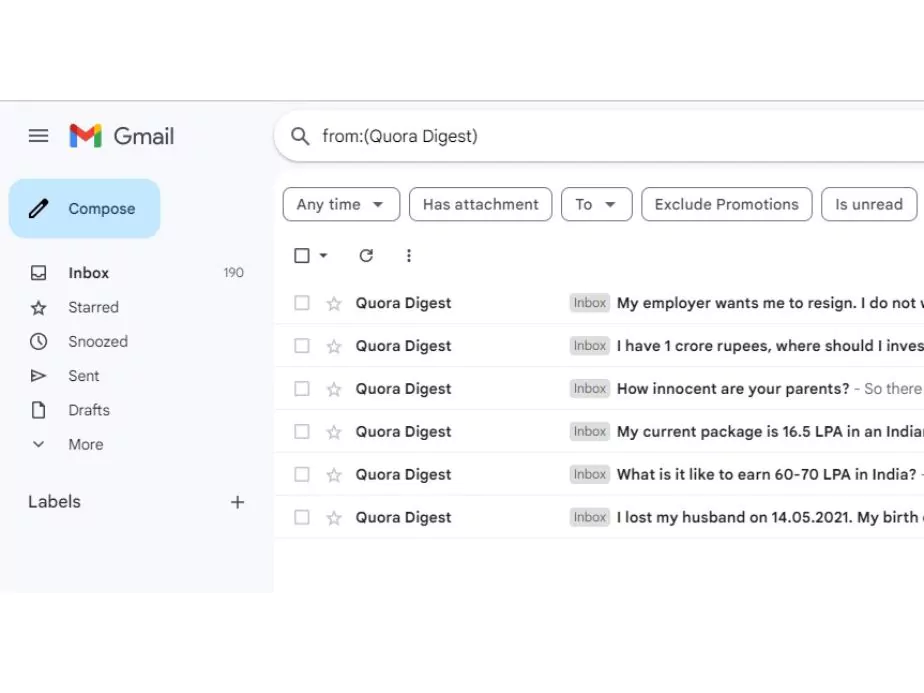
Search for the type of email you want to create a rule for: In the search box at the top of the page, type the email address, subject, or just a single keyword for the type of email you want to create a rule for. Click on the small arrow on the right side of the search box to open advanced search options.
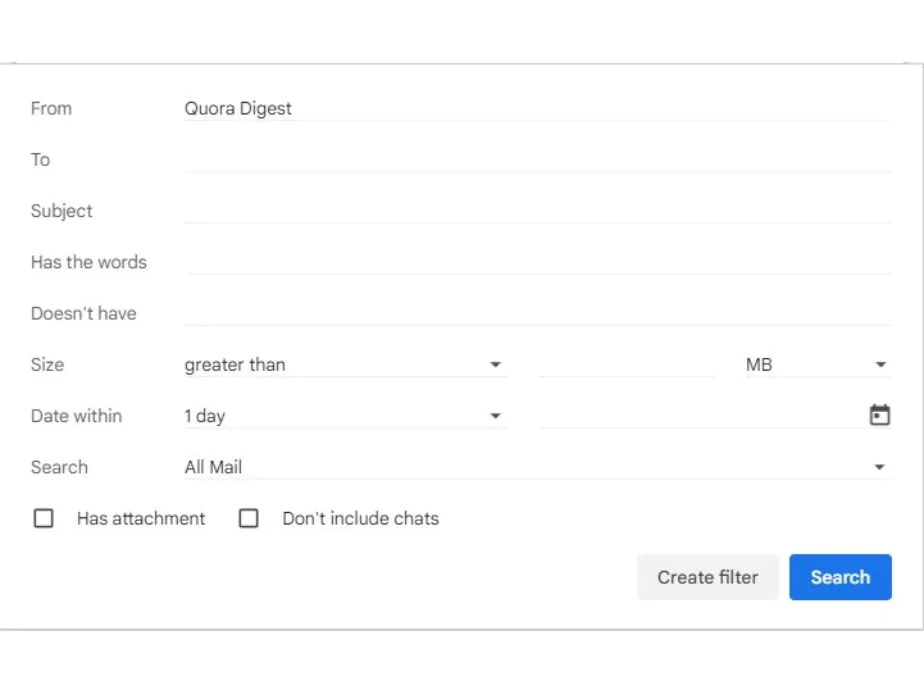
Set your search criteria: Fill in the boxes with the information about the emails you want to create a rule for. This could be anything from who the email is from to specific words in the email.
Create a filter: After you have filled in your criteria, click on the “Create a filter” button at the bottom right of the search window.
Choose what happens to the filtered emails: You will then be presented with a list of actions that can be applied to emails that match your criteria. These include options like marking it as read, deleting it, forwarding it, and applying a label, among others.
Create the filter: Once you’ve selected the actions you want to be performed, click on the “Create filter” button.
Congratulations! You’ve just learned how to create a rule in Gmail. These filters can be edited, turned off, or deleted at any time in your Gmail settings.
3 Tips and Tricks on How to Create a Rule in Gmail
Creating rules in Gmail isn’t just about managing your incoming messages but also about streamlining your productivity. Here are a few tips on how to create a rule in Gmail effectively:
Create rules based on priority: Consider creating rules based on the priority of emails. You can create a rule in Gmail to star emails from your boss or important clients so they stand out in your inbox.
Utilise labels: When learning how to create a rule in Gmail, the use of labels is an essential element. Labels can be used to categorise your emails, making it easier for you to find them later.
Avoid clutter with automatic delete: If you receive a lot of emails that you don’t necessarily need to read (like newsletters or promotional emails), you can create a rule to automatically send these emails to the trash.
Keep your inbox safe with the spam rule: Gmail already has robust spam filters, but sometimes spam emails still find a way into your inbox. In such cases, you can create a rule in Gmail to automatically send these emails to the spam folder or delete them.
Auto-forward emails: If you have multiple email accounts or you need someone else to respond to certain emails, you can create a rule in Gmail to auto-forward those emails to a different email address.
4 Editing and Deleting Rules in Gmail
Knowing how to create a rule in Gmail is essential, but what if you need to edit or delete those rules? Gmail makes this process quite simple. Here’s how:
Go to Settings: Click on the gear icon in the top right corner of your Gmail inbox and select “See all settings.”
Go to Filters and Blocked Addresses: In the settings menu, select the “Filters and Blocked Addresses” tab. Here you will see a list of all the filters (rules) you have created.
Edit or Delete: You can now choose to edit or delete your filters. Click on “edit” to change the criteria or actions of your filter, or click “delete” to remove the filter entirely.
Remember, when editing a filter, you’ll need to click “Update filter” to save any changes.
5 Optimising Your Gmail Experience
Now that you know how to create a rule in Gmail, you can optimise your email management strategy. Remember, the more specific your rules, the more effectively Gmail can organise your inbox. However, it’s essential not to overcomplicate things. Start with a few basic rules, and as you get more comfortable, you can begin creating more complex filters.
The process of learning how to create a rule in Gmail can revolutionise your email experience. Instead of sifting through an overflowing inbox, your emails will already be organised, labelled, and prioritised. Imagine starting your day with an inbox that’s already organised for you. This isn’t just a productivity dream, it’s a reality with Gmail rules.
6 Wrapping Up
Email management is a skill that everyone should master, especially in today’s fast-paced digital world. With the continuous flow of communication, having an organised and manageable inbox is not just a convenience, it’s a necessity.
Now that you have learned how to create a rule in Gmail, you are one step closer to having a clean, organised, and clutter-free inbox. Start creating rules today and experience the difference it can make in your productivity and peace of mind.
So the next time someone asks you “How to create a rule in Gmail?” not only will you have the answer, but you’ll also have a set of tips and tricks to help them optimise their Gmail experience.
Go ahead, take the leap, and embrace the power of Gmail rules. Your inbox (and your sanity) will thank you!
Community Q&A
About This Article

This article has been viewed 461 times.

Featured Articles
 How to Hide Reels on Instagram? An Ultimate Guide
 How to Add Stop in Ola? A Step-by-Step Guide