
How to Make a Sticker on Procreate?
Procreate has fast become one of the most popular graphic design applications out there for creatives. As an incredibly versatile tool, Procreate not only offers an array of advanced features but also makes it super easy for anyone to create stunning artwork – and that includes stickers. If you’ve always dreamed of creating your custom stickers but didn’t know where to begin, this guide is for you.
We’ll walk you through the step-by-step process of how to make a sticker on Procreate, from brainstorming your initial design to the final steps of exporting your digital sticker for printing or sharing. Let’s get creative!
1 Why is Procreate so famous?
First, a brief introduction to Procreate. Developed by Savage Interactive, Procreate is an app for iPads and iPhones that offer a full-bodied experience of digital painting. It’s adored by amateurs and professionals alike for its simplicity and breadth of features. However, its potential can seem overwhelming, especially for newcomers. Fear not, though; our step-by-step guide on sticker making will make Procreate your new favourite tool.
2 Getting Started: Brainstorming Your Design
Every great piece of artwork starts with an idea. For your sticker design, it’s best to start with brainstorming what you want your sticker to represent. It can be a fun character, an inspiring quote, a beautiful floral design, or anything that resonates with you. Remember, there’s no limit to your creativity. Once you have a basic idea of what you want to create, you can start to visualise it in Procreate.
Step 1: Setting Up Your Canvas
Begin by opening the Procreate app on your iPad. Tap the ‘+’ button on the top right corner to create a new canvas. This will open a list of available canvas sizes. Choose one that suits your needs, but a good default is “Square” (2048×2048 pixels). This size gives ample space to draw, and it’s perfect for Instagram and other social media.
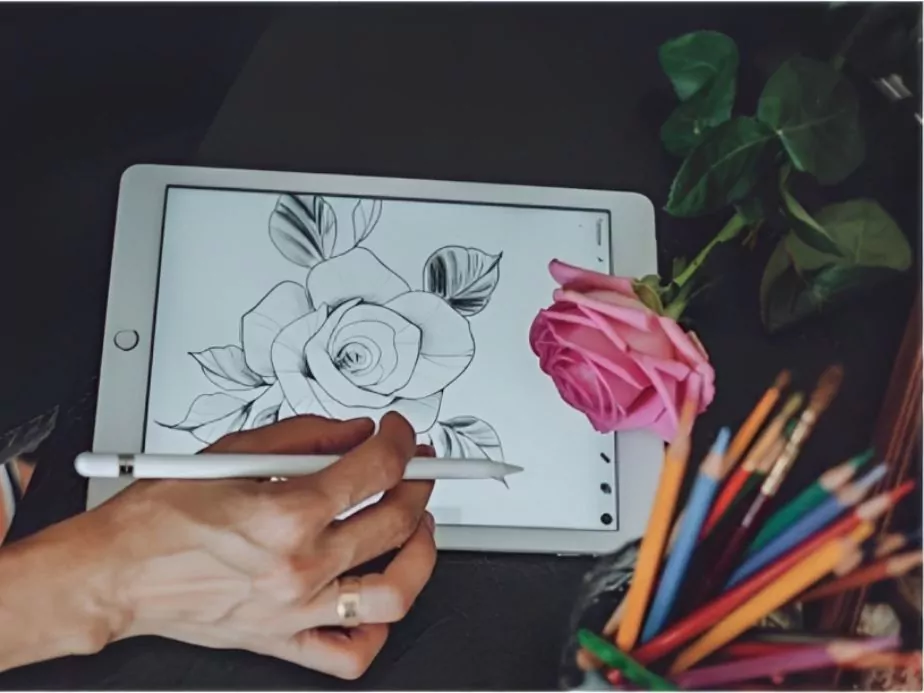
Step 2: Sketching Your Design
Next, tap on the paintbrush icon to select your drawing tool. There’s a wide array of brushes available, from sketching pencils to acrylics to airbrushing tools. Pick the one you’re most comfortable with, adjust the brush size and opacity, and start sketching your design. This draft doesn’t have to be perfect. It will merely serve as the outline for your sticker.
Step 3: Refining Your Design
Once you’re satisfied with your sketch, reduce its opacity by clicking on the layer and adjusting the slider. Then, create a new layer above it (by tapping on the layers icon and selecting the ‘+’ symbol) for your refined drawing. At this stage, add more detail and clean up the lines. Be patient; great art takes time.
Step 4: Colouring Your Design
When you’ve got the final line art, it’s time to breathe life into your sticker with colour. Create a new layer beneath the refined sketch layer. Then, choose your desired colours from the colour disc. You can colour each section manually or use the drag-and-drop feature of Procreate for larger areas. Remember to create a new layer for each colour. This practice will give you better control and flexibility to adjust colours and gradients later.
Step 5: Adding Shadows and Highlights
With the base colours in place, you can move on to shading and detailing to give your sticker a 3D look. Use different brushes, blend modes, and opacity levels to create shadows and highlights. Once you’re satisfied with your colours, it’s time to add depth to your design. You can do this by adding shadows and highlights. For shadows, choose a darker shade of your base colour. For highlights, choose a lighter shade. Remember, light usually comes from the top, so add your highlights and shadows accordingly.
Step 6: Adding a Background and Outlining Your Design
Stickers usually pop out more with a background colour or a border. Create a new layer beneath all the other layers, select your desired colour, and fill in the space. If you want a border, select the layer with your completed sticker design, hit the ‘Select’ button on the top menu, and choose ‘Outline.’ Choose your desired colour and thickness for the border.
Step 8: Saving and Exporting Your Design
Once you’re satisfied with your design, it’s time to export. Click on the wrench icon, select ‘Share,’ and choose a format. PNG is typically the best option as it supports transparent backgrounds, crucial for stickers. Save your file in your device or cloud storage.
3 Pro Tips for Creating Procreate Stickers
Using Layers Wisely
Layers are one of the most powerful tools in Procreate, allowing you to separate different elements of your design and edit them independently. By properly using layers, you can save time and have more control over your design.
Experimenting with Brushes
Procreate comes packed with a diverse range of brushes. Each brush has a unique texture and can create different effects. Don’t limit yourself to just a few brushes. Try out different ones and see how they can enhance your sticker design.
Leveraging Procreate’s Advanced Features
Procreate has a host of advanced features that can help elevate your sticker designs. For example, the alpha lock feature can help you colour within a specific area without going outside the lines, and the blending modes can create interesting colour interactions.
4 Wrapping Up
To wrap up, creating custom stickers in Procreate can be an incredibly fun and rewarding process. From sketching your initial design, and adding colour, to exporting your final design, each step offers a chance to unleash your creativity. Now that you’re equipped with these steps and tips, it’s time to open up Procreate and start creating your unique sticker designs. Happy creating!
Community Q&A
About This Article

This article has been viewed 393 times.

Featured Articles
 How to Hide Reels on Instagram? An Ultimate Guide
 How to Add Stop in Ola? A Step-by-Step Guide